


21 August 2023
|
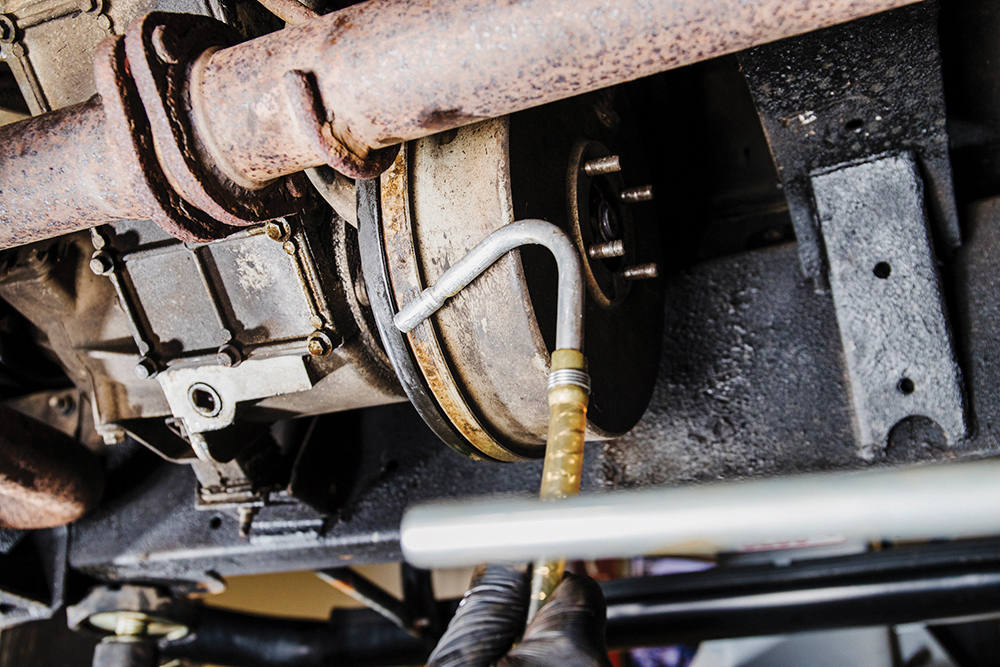
 Wear occurs between the splined parts on the shaft
: credit: © Alisdair Cusick
Wear occurs between the splined parts on the shaft
: credit: © Alisdair Cusick
Failed gearbox output shafts are a relatively common issue on TDCi Defenders. We show how to fix the problem and prevent it happening again
Need to know
Time: 4 hours
Difficulty:
Models: 2007-2016 Defenders.
Tools needed: ½in socket set and extensions, impact gun, slide hammer, seal pick, plastic hammer, fluid pump, transmission jack, propshaft socket, torque wrench, breaker bar, Torx sockets, thread lock, pry bar, ring spanner set, adjustable puller.
Parts used: HD two-piece adaptor shaft kit, IRB Developments, £396.
Work safely: This job involves working under a vehicle to remove the transfer ’box, so we advise using a vehicle lift. Otherwise, the vehicle should be securely supported on suitable stands or other safe equipment on a firm and level floor so that it cannot fall or move sideways. We also advise placing secondary supports underneath, and securely chocking the wheels. Never use a jack to support the vehicle while working underneath.
• Use the right tool for the right job.
• Use the correctly rated lifting and support equipment.
• Never take risks working underneath a vehicle.
• Wear eye protection when working under a vehicle.
• Get an expert to do the job, if in any doubt.
Thanks to: Ian Baughan and IRB Developments for their help with this feature: irbdevelopments.com.
Clunks when taking up drive, clunks when lifting off the throttle, or even loss of drive entirely: all these problems usually point to an issue with the output shaft on a Defender TDCi.
The TDCi’s M82 gearbox has a female splined cup bolted to its output shaft, into which fits a male splined shaft, that then transfers drive into the LT230 transfer ’box. Our problem arises when wear occurs between both splined parts of the shaft. The clunk we hear is the wear being taken up each time the car is engaged in drive or backs off. Eventually, the splines can wear through completely, which is when a total loss of drive occurs.
The issue is known, but at what mileage it appears is not confirmed. Some trucks see 100,000 miles and are problem-free, but others report having two or three failures within 20,000 miles or less, in some cases. Wear doesn’t happen in the same place, either. LRM has seen shafts that have ridden out of the gearbox cup, and worn only the last few centimetres, as well as the more expected issue of wearing through down the full length of the splines.
Fear not, for there are aftermarket solutions to the problem, one of which is IRB Developments’ uprated HD two-piece output shaft. A direct replacement for the factory part, it uses bolts to hold the cup and shaft together, so there are no splines to wear, and uses the factory main bolt to hold the cup to the M82’s shaft, meaning the factory clamping force is still applied. To aid fitting, it comes with a shaped tool to hold the shaft in position while torquing the main shaft bolt.
This isn’t a complicated task, but does require confident support and handling of the transfer case when it is removed. Because of this, we’ve given it a four out of five difficulty rating. It is possible to complete this job without the use of a vehicle lift, but manoeuvring the transfer ’box out and in is difficult and extra hands are essential. Ian Baughan of IRB Developments guides us through fitting a kit to a 2.4 Puma Defender 110.
Dismantling to reach the gearbox output shaft

The kit: Old and new, side by side. Factory splined part above, two-part uprated version below. Note fixings, seals and special tool to hold the new cup during fitting.
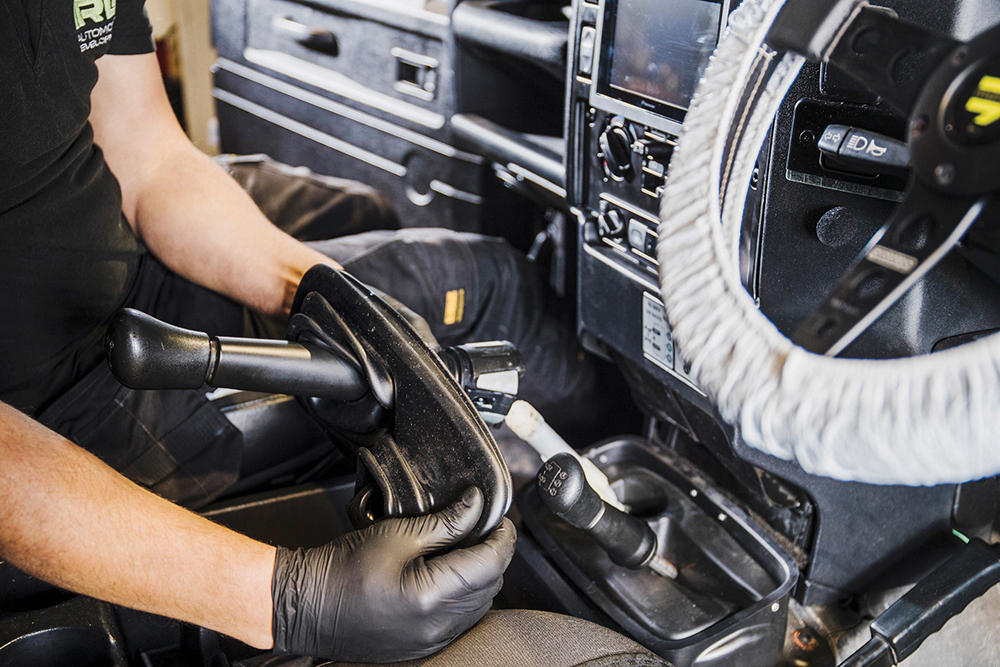
Inside job: Ian lifts out the transmission tunnel carpet, then thick sound deadening pad, and finally the gear lever grommets. They just pull straight off, with a sharp tug.

Lever out: He unbolts the four Torx fixings for the gear lever, and removes the lever. The transfer ’box needs the high/low selector unclipping before it can be removed.

Selector seal: The gearbox housing is next. Four M8 fixings: three are easy, one isn’t. Once unbolted, Ian moves it forward, but doesn’t lose the seal underneath in doing so.

Can you get oil back in? With the car on an hydraulic lift, Ian confirms the transfer ’box’s fill plug undoes, then removes the drain plug, and drains the oil. Always check fill plug first!

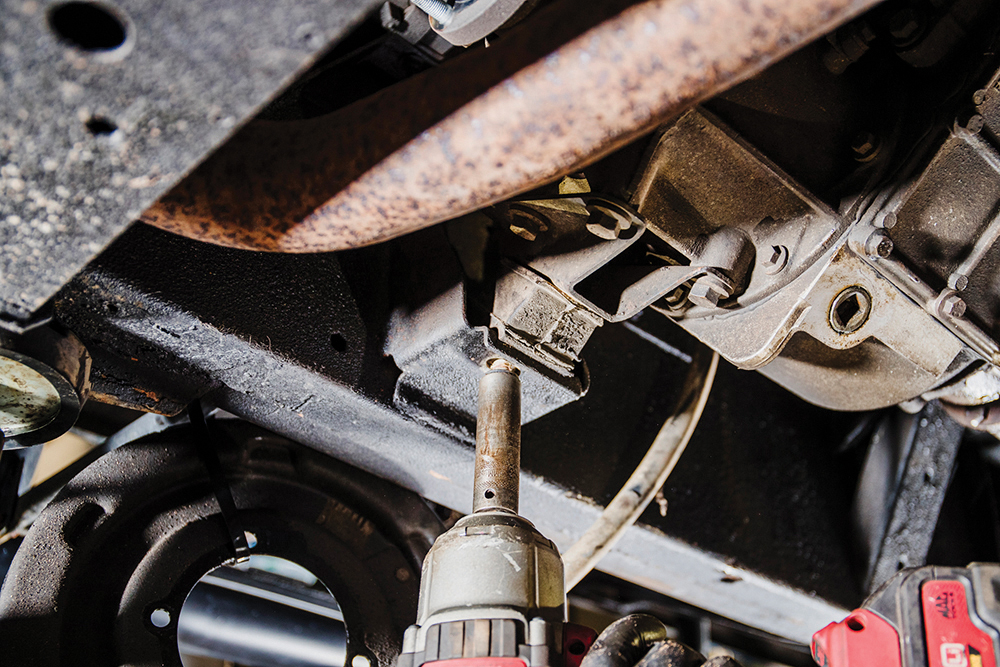
Prop off: Off comes the propshaft. One job where you need the correct 9/16in slim-headed propshaft socket, to easily access fixings around the universal joints.

Exhausted fixings: Exhaust centre section is unbolted and supported to the side. Expect fixings to be troublesome. Use penetrating oil and repeatedly tighten them then loosen off.

Spot the problem: The handbrake drum comes off, but notice the oil. A sure sign the rear output shaft seal has failed, taking with it any effectiveness of the handbrake, too.

Out of the way: The four fixings for the assembly are removed, and the assembly is then cable tied to a chassis leg, out of the way, which saves disconnecting it.

Earth calling: The small earth strap on the offside of the ’box is removed. Don’t forget to replace this when putting it all back together. A common cause of issues.

Speedo feed: Speedo wiring connector is unplugged, just inboard of the handbrake mounting face, and kept out the way. Forget this when refitting and speedo won’t work.
Diff lock connector: The diff lock selector is unbolted, on top of the case towards the left side. A 13mm flanged nut holds it on, which Ian accesses from the front.
Time for support: Ian then loosens, but doesn’t remove, the transfer ’box and gearbox mounts. A transmission jack is now used, so as to fully support the weight of both boxes.

Dismount: The transfer case mounts are then removed. Ian inspects them, as the rubber can split and come away from the metal. Replace if in any doubt, he advises.

Place of rest: The gearbox is now lowered on the jack to rest on the crossmember bracket, like this. This allows the transmission jack to then be safely removed.

Up above: The transfer case breather is unbolted then Ian disconnects the diff lock and high/low electrical connectors next to it. The release tabs can be awkward, he says.

Final earth: Ian unbolts the double-nutted larger earth strap on the nearside of the transfer case and pushes it to the side. Don’t forget those double nuts when reassembling.

Case fixings: Supporting the transfer ’box fully with the transmission jack, Ian undoes the transfer case to gearbox fixings. There are six: two from the front, four from the rear.

Out and down: Ensuring it is supported, Ian pulls the transfer case towards the back of the vehicle to release it from the gearbox. When free, he then lowers it.

Housing off: The 10 housing bolts are undone, and the housing is removed. Ian carefully uses a pry bar, as it’s located on steel dowels which go tight with age.
Removing and inspecting the shaft assembly
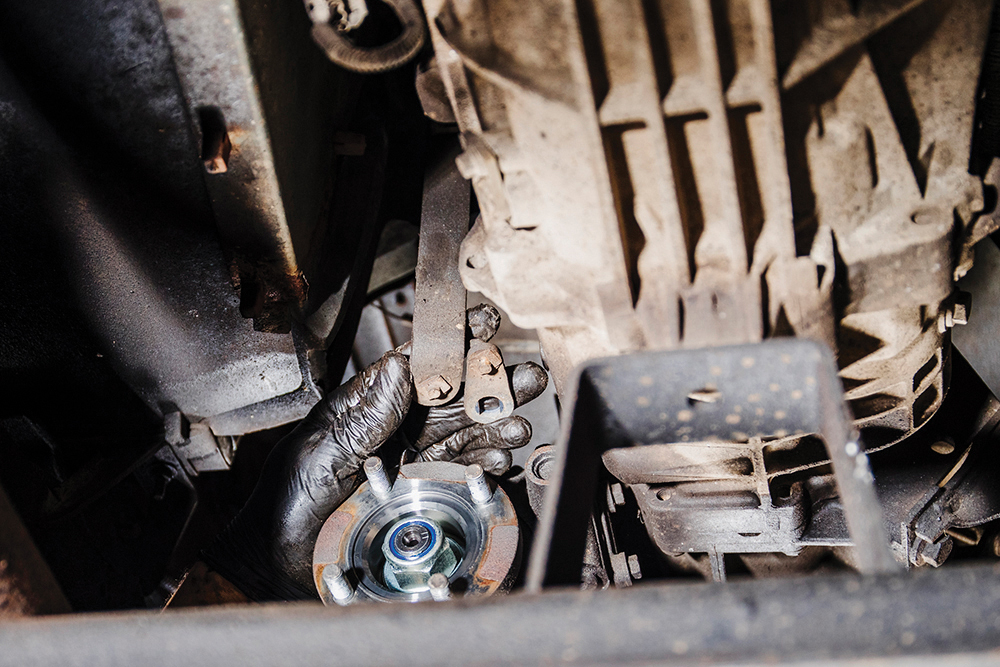
Big reveal: Our output shaft is revealed. A hefty wiggle evidences lots of play, but that red rust deposit is a sure sign of trouble. The dust shield is pulled off now.
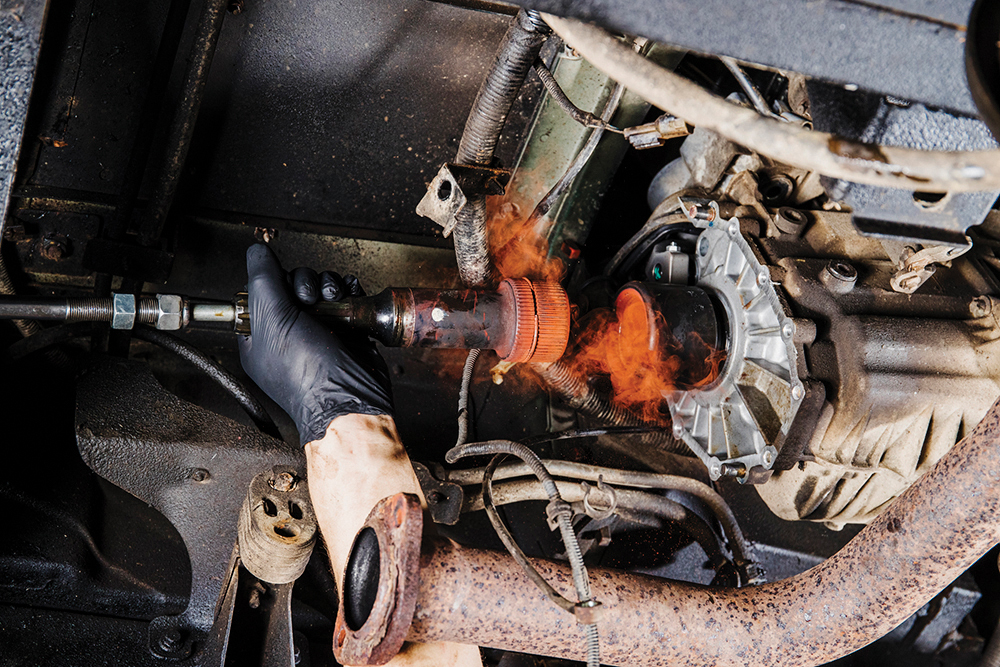
Cloud of dust: A slide hammer is threaded on the end of the shaft. It can then be tapped out, after a handful of hammer blows. Note the telltale dust cloud.
Pull, pull, pull: The output shaft cup retaining nut is removed, then the cup is carefully persuaded off, using a three-legged adjustable puller, so as not to cause damage.

Wear effects: Wear patterns can vary, but once started, wear will progress. The wear on the left-hand shaft’s splines can be clearly seen, especially in their end profile.
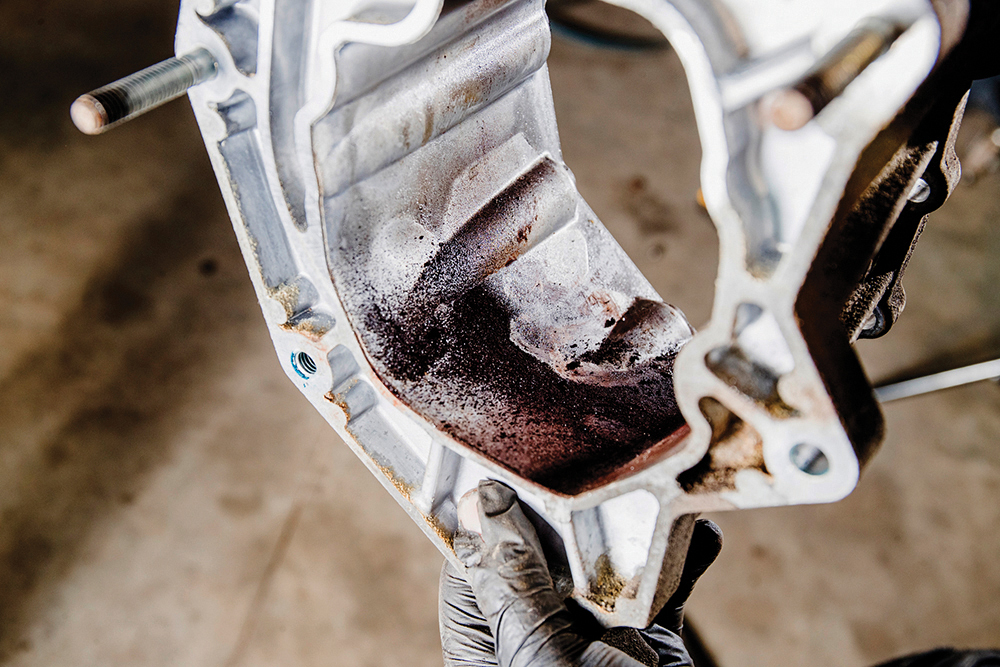
Potential failure: This residue inside the adaptor shaft housing is produced by the debris from the spline wear. The thinner the splines, the weaker they are, ending in failure.
Installing the improved shaft assembly

Whilst we’re there: As we’re this deep, it makes sense to change the gearbox output seal. The old one is levered out, a new one is tapped in using a bearing race.
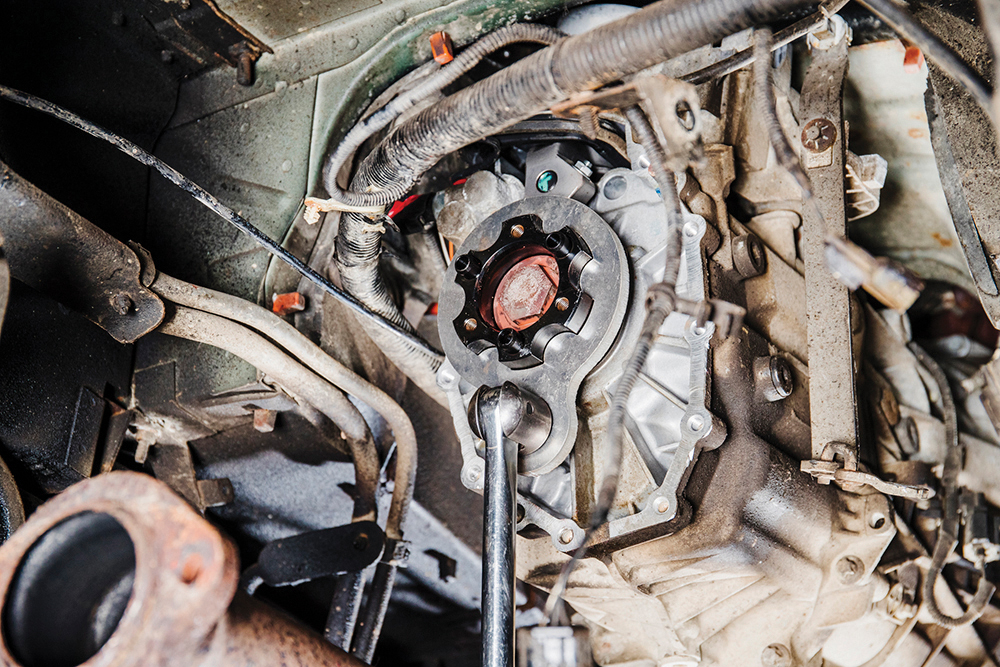
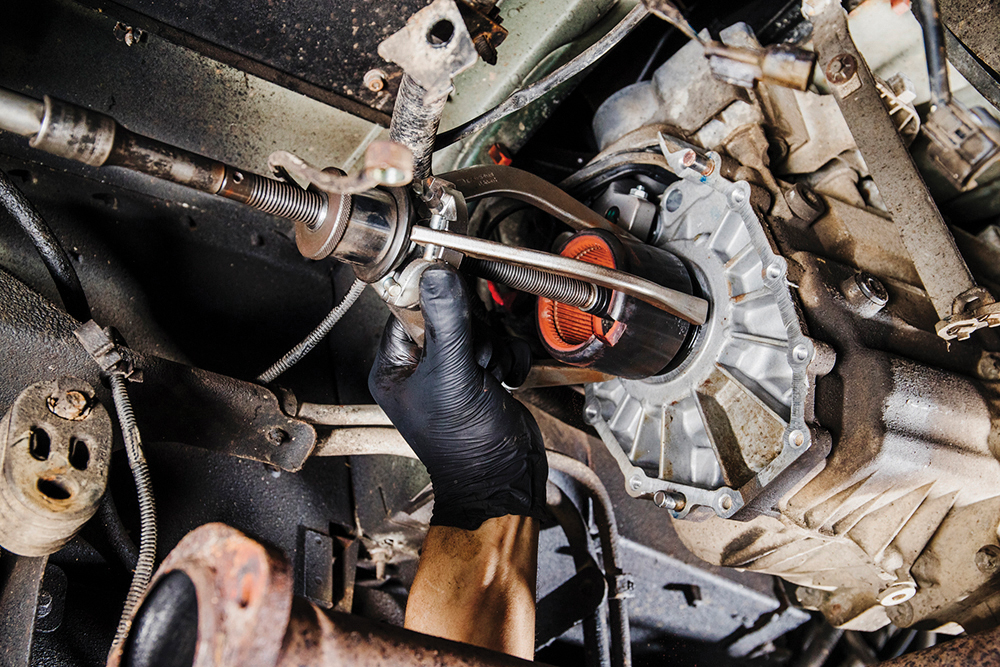
Process: On goes the new HD female adaptor. The old centre fixing bolt is reused to accurately locate the adaptor. Note the special tool, preventing the cup from rotating.

Locate it: Fitting is in two stages. The old fixing is torqued to 210Nm, then removed. This locates the adaptor. The new bolt is thread locked, then tightened to 180Nm.
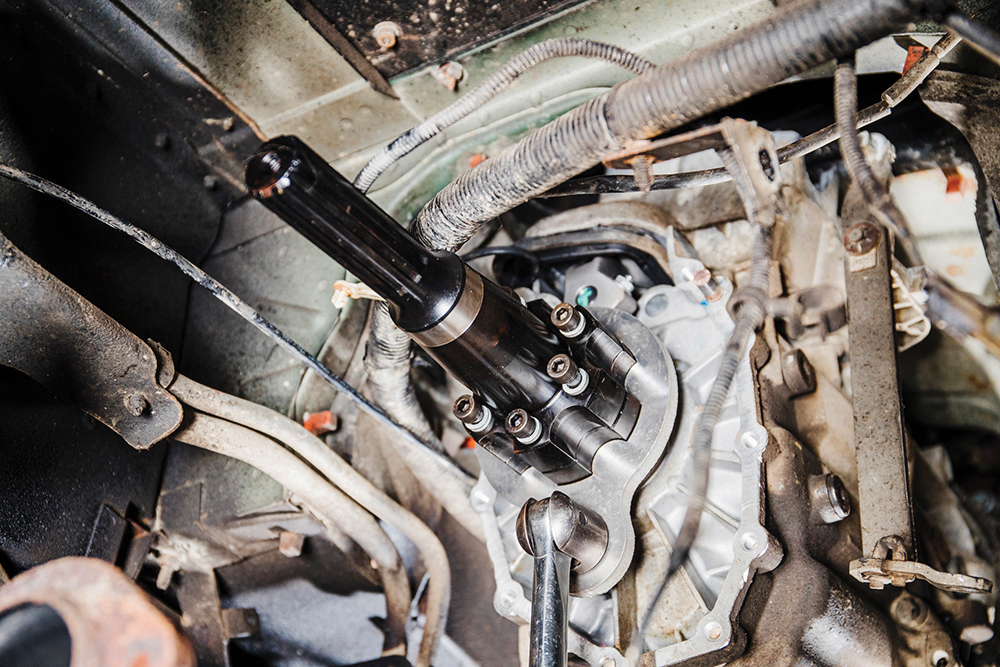
Male adaptor: The male adaptor is then fitted, along with its fixings. Ian tightens in a star pattern, torquing to 48Nm and finishes by paint marking each fixing. Very neat.
Reassembling the transmission

Refitting: The adaptor shaft housing goes back on. If the dowels are tight, smoothing them with emery cloth may assist. He taps the case home with a soft-faced hammer.

Top tip: Before refitting the transfer case, Ian likes to use a little RTV sealant around the lower join on the adaptor shaft housing. Not essential, but a useful practice.

The tricky part: The transfer ’box now needs careful pushing to locate, without tearing its input seal with the tip of the adaptor shaft. Patience – and a helper – is useful here.

Details: Case fixings torqued to 48Nm, threadlocking two front-facing bolts. Then, earth leads, difflock, high/low, speedo connectors, breather and difflock selector.

Last few jobs: Gearbox mounts refitted, then the handbrake assembly and drum. Ian replaced this leaking output seal and cleaned the handbrake components.

New fixings: Propshaft and exhaust are refitted, using new fixings: the propshaft because they’re locknuts, but the exhaust sheared, so it was drilled out and replaced.
Vital fluid: Ian refills the transfer box oil, noting TDCi models take 2.3 litres (not to the fill plug). In goes the interior, and I’m taken on a pleasingly clunk-free road test.
Like to have your own Land Rover library?
Try our Budget Digital Subscription. You'll get access to over 7 years of Land Rover Monthly – that’s more than 100 issues plus the latest digital issue. All issues are fully searchable so you can easily find what you are looking for and what’s more it’s less than 10p a day to subscribe. Click here to find out more details and start enjoying all the benefits now.