


05 May 2024
|
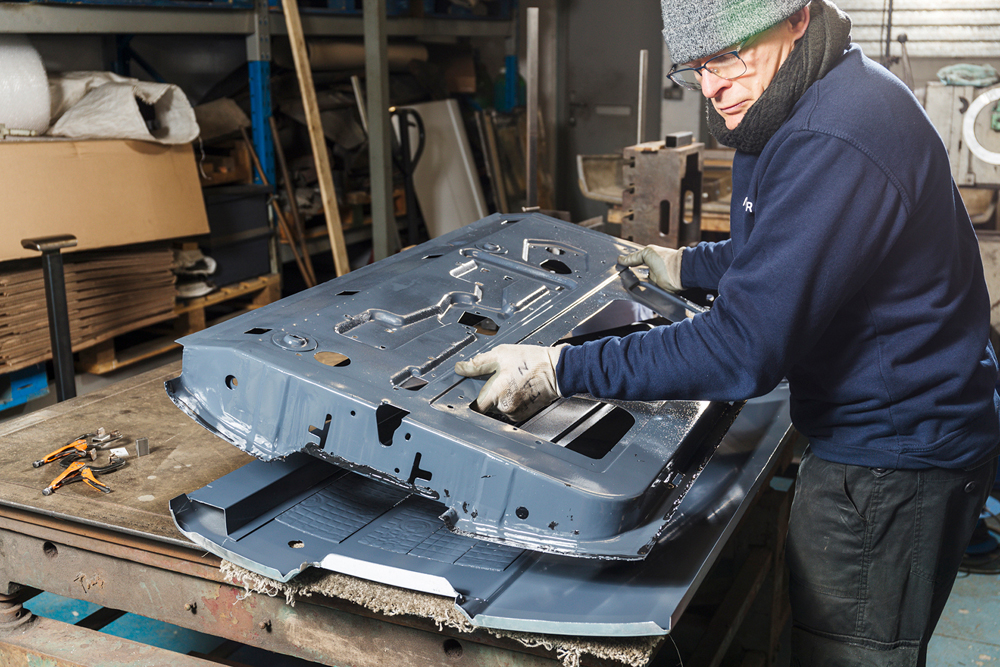
 A pro at work. But this job can be done at home as well.
: credit: © Alisdair Cusick
A pro at work. But this job can be done at home as well.
: credit: © Alisdair Cusick
Alisdair Cusick follows the reskinning and restoration of a Range Rover door, and discovers how to create a class job using professional skills
Need to know
Time: 3 hours, plus inner door repair work.
Difficulty: 3 out of 5
Models: Range Rover, 1970-1994.
Tools needed: Hammers, dollies, chisel, pliers/grips, angle grinder, solid bench, sockets, spanners, screwdrivers, clamps, small spacer blocks, sturdy table.
Parts and costs: Range Rover door skin £474.
Work safely:
• Use the right tool, for the right job.
• Never handle glass or metal without suitable gloves.
• Use eye and hearing protection and thick protective when operating angle grinders.
• If in doubt, hire a professional to do the job.
Thanks to: Stuart Jay and Barry Stanley of Machinor for their help with this feature: machinorltd.com.
The Range Rover restoration boom of recent years has moved the refurbishment of these vehicles to totally new levels. Project cars that a decade ago may have needed a simple respray, minor weld repairs and a mechanical fettle to get to an acceptable standard, can now involve a strip-down, bare metal respray and full refinish of everything right down to the axle cases and driveline, with the aim to create a collector-grade car. Combining this level of finish with ageing vehicles means that totally new resto skills can be involved.
Age-old problem
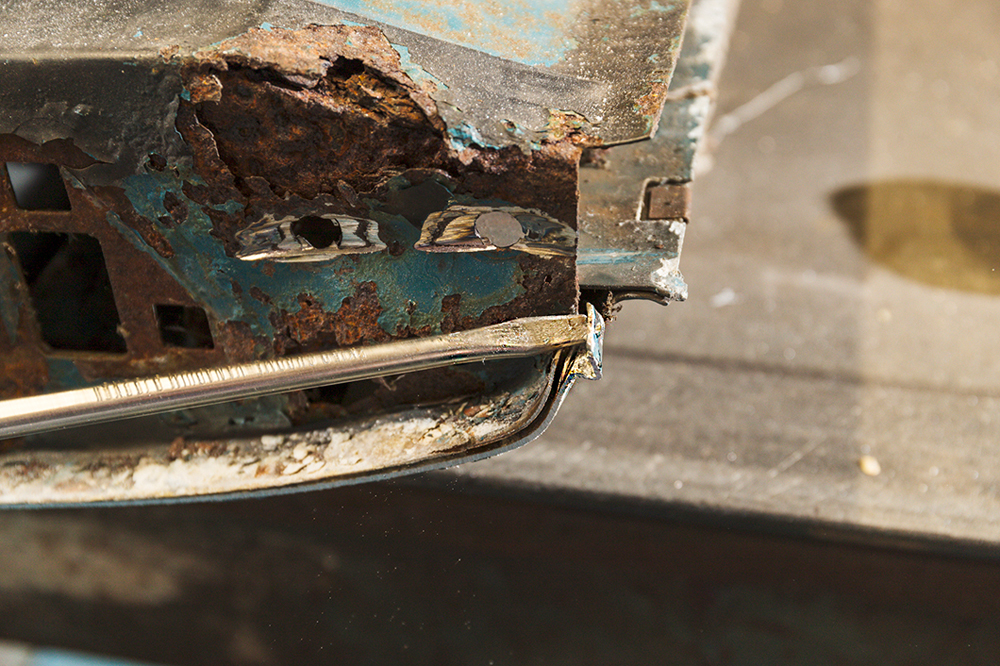
Reaching those high standards can mean solving many problems such as electrolytic corrosion of the doors. Common to all Range Rovers but also Land Rovers and Discoverys, electrolytic corrosion occurs when two dissimilar metals are in contact and an electrolyte (such as water) is present. One material becomes the cathode, one the anode. Current flows between the two and, while the cathode remains unchanged, the anode is eaten away. On Range Rover doors having aluminium outers and steel inner skins, such corrosion appears as a dry dust where the two materials meet and the aluminium crumbles away over time.
Restorers have worked around the problem by locally cutting out the corroded aluminium, TIG welding in replacement aluminium sections and dressing the weld repair back. That’s no longer necessary in the case of door panels because replacement door skins are now available as a restoration part, made by Range Rover parts specialist, Machinor. Unlike some others available, they are manufactured using 1050 aluminium and, crucially, the company utilises metalworking tricks to prevent the problem of the skins curving inwards
after fitting.
DIY-possible
This means door restoration is an easy DIY prospect. No complex welding skills are needed and it’s a simple process to strip the door, slice through the existing door skin edge, then fold over the new skin to the existing inner frame.
I visited Machinor to follow the process for LRM, and it really is that simple, though the correct tools, skills and knowledge of metalworking helps in achieving the perfect job. While the inner frame is separated, it makes sense to repair that part, too. Commonly, these corrode on the sides and bottom. But, being steel and relatively straight sections, it means that repair of these is a straightforward welding task.
Machinor’s door skin comes with sound deadening matting already applied, exactly as the factory parts. For the door shown here, the customer had already repaired and sprayed the inner frame and inside of the new door skin in grey primer, aiming for the best possible end result. For even more protection, consider some cavity wax along the bottom edge of the door.
Here’s how to go about the job, which any enthusiast really could do at home.
Stripping the old skin, and assessing repairs
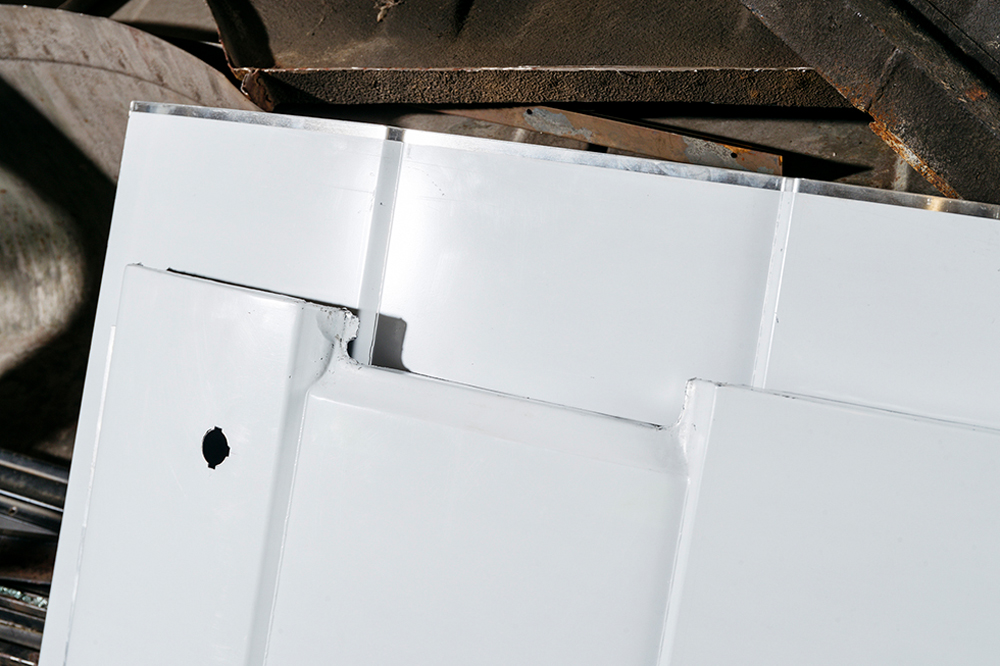
As original: Machinor makes the door blanks as a universal part, then turns them into left- or right-hand doors using a jig. It’s an exact copy the factory part.
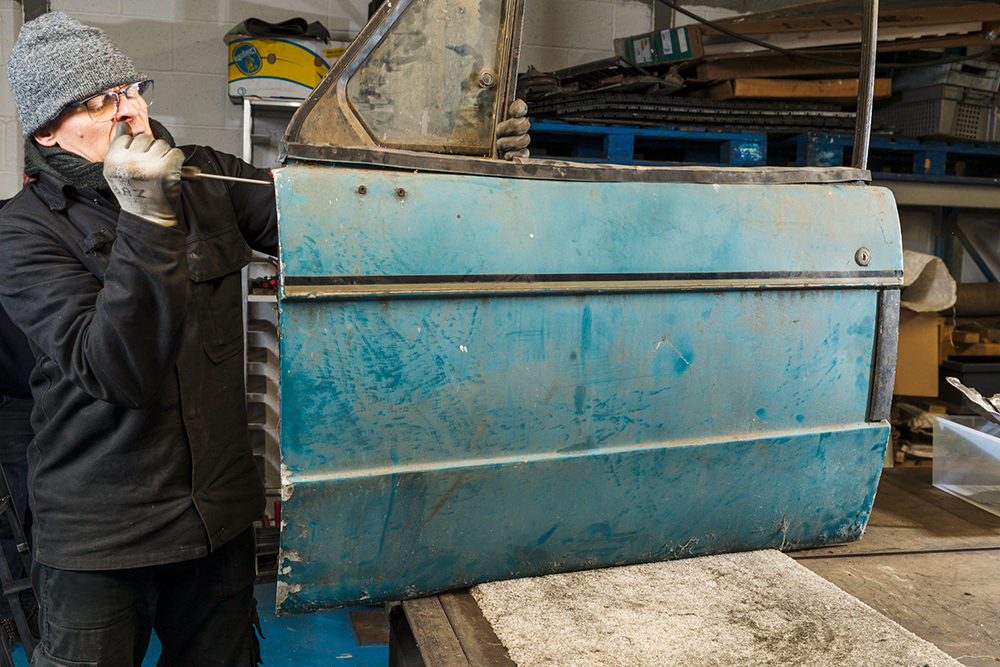
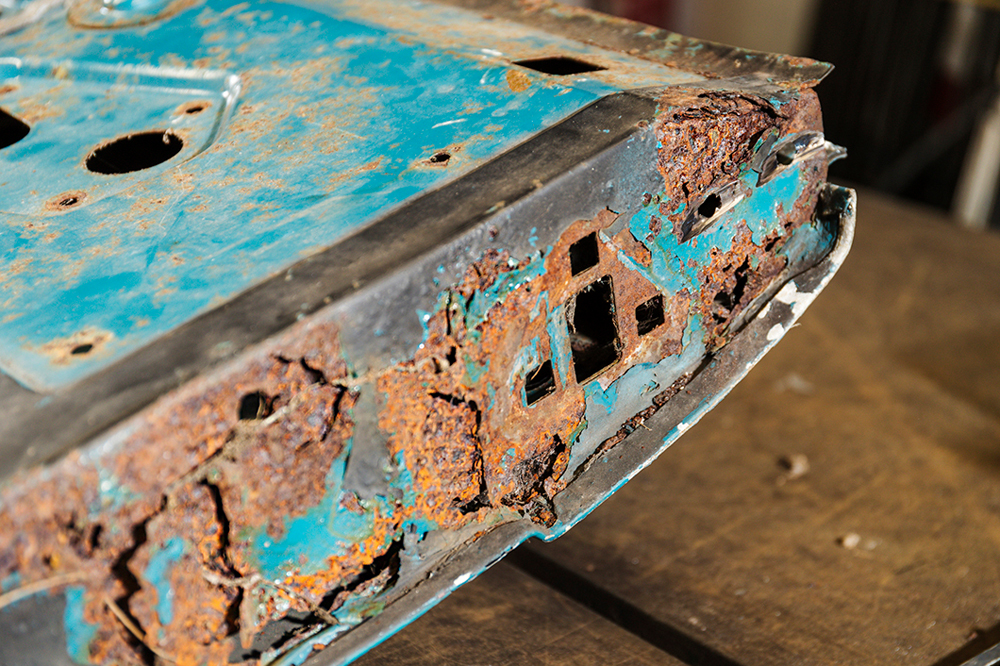
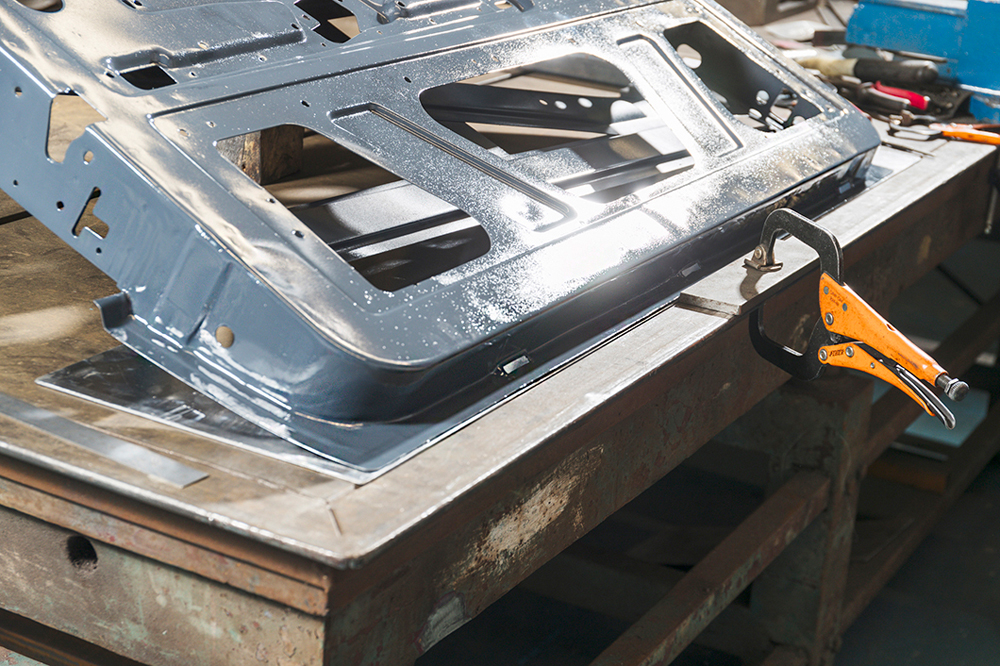
Typical starting point: The original donor door, ready for stripping. Note bubbling around the edges, caused by electrolytic corrosion. But there will be more issues to see inside.
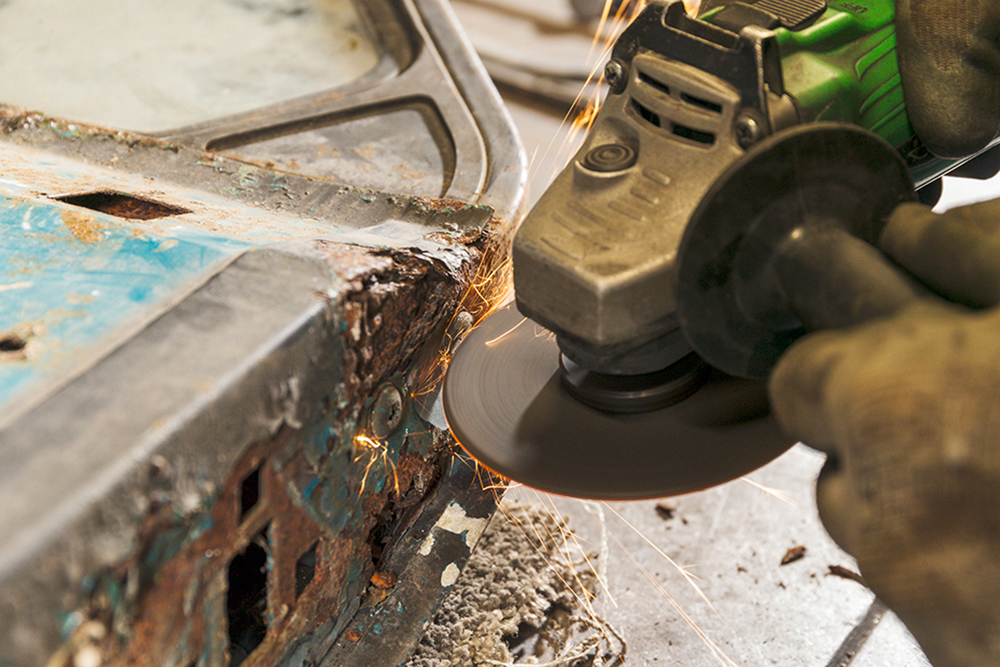
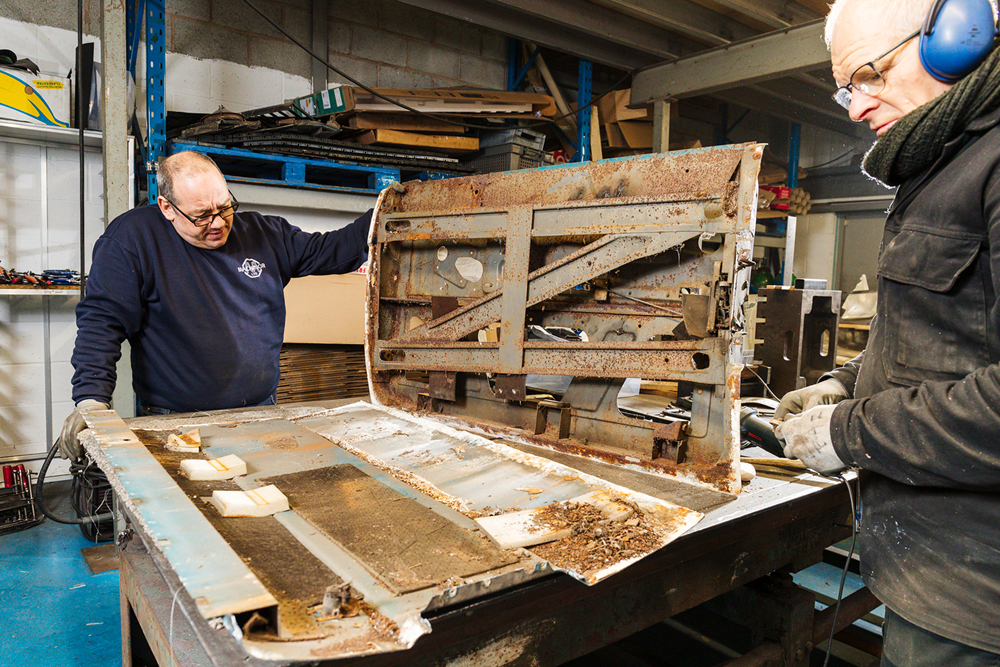
Rust: The door frame has to come off, held in place by reluctant corroded fixings. Barry gets the grinder out, carefully removing just the heads of the fixings.
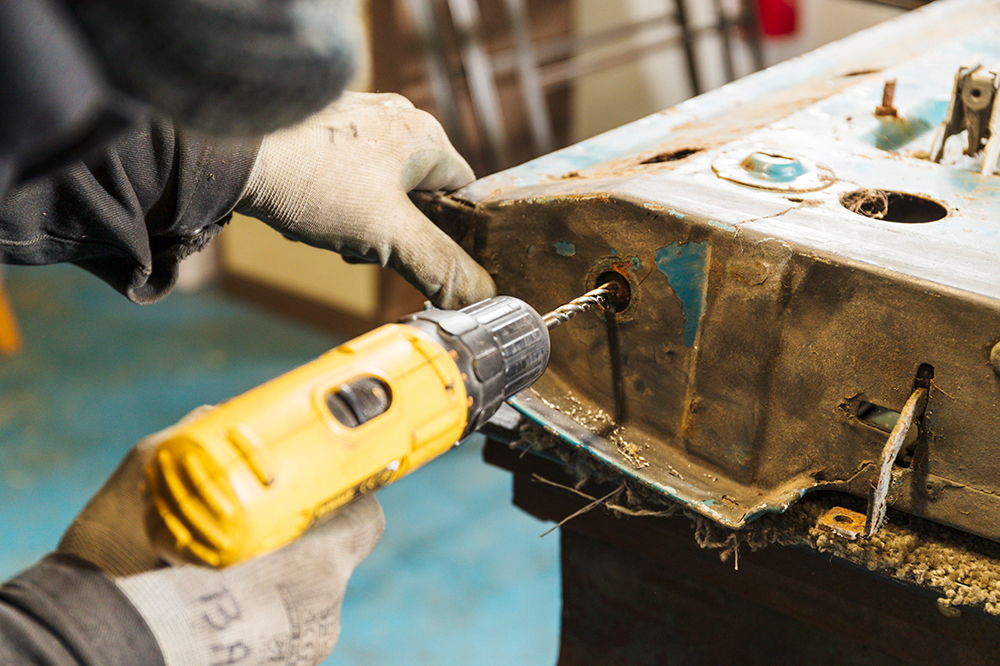
More reluctance: Some unscrew, but some won’t. No room for a grinder, so this head is drilled off. Barry uses small drill first, then a larger one to size up.
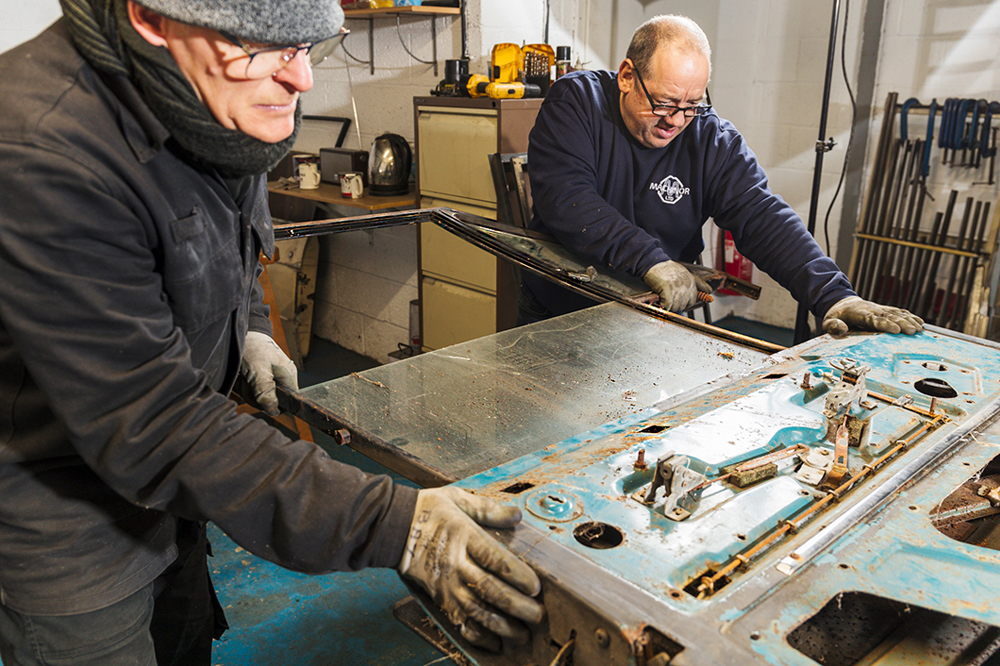
Out it comes: After undoing the interior bolts, Barry and Stuart withdraw the frame and glass as one. Careful – the window may drop straight out of the glass channel.
Crusty: Corrosion such as this is typical on the sides and bottom of the inner door frame. Separating the outer skin means proper restoration here is much simpler.
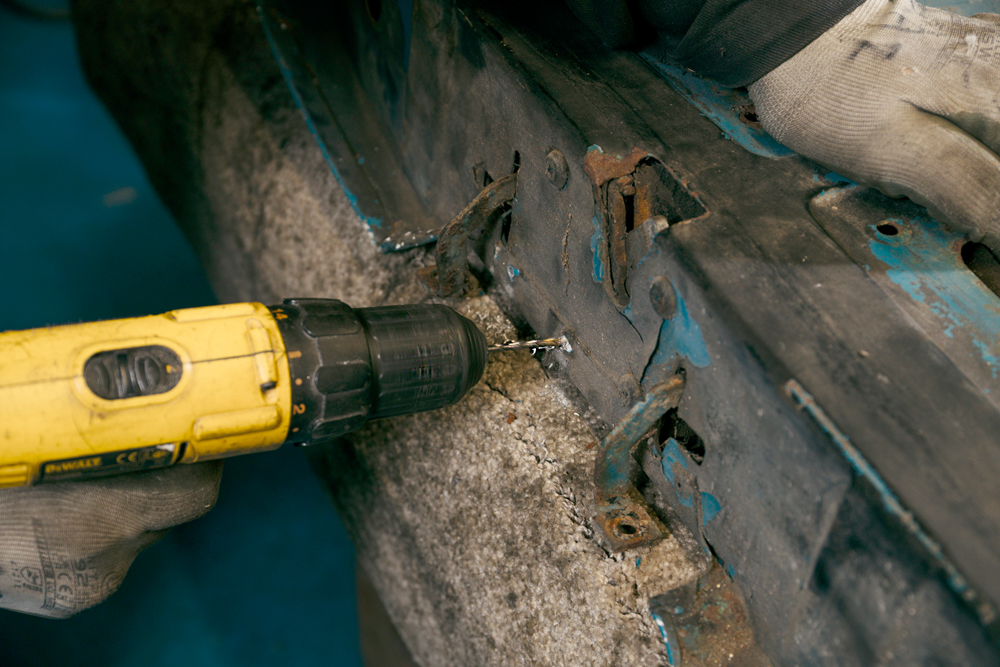
Accurate work: Finally, there are three rivets by the release handle which Barry drills out. The outer skin is now ready to be removed. For that, Machinor has a tip…
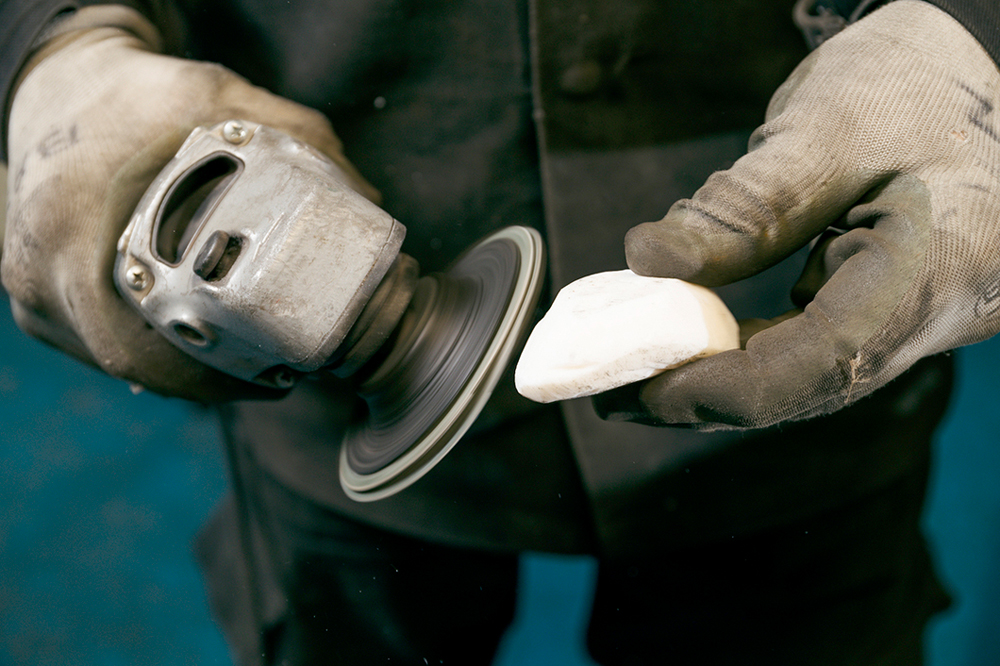
Soap up: Barry loads the grinding pad lightly with soap, which helps the disc to cut, and helps prevent it clogging. A creamy bar is best apparently.
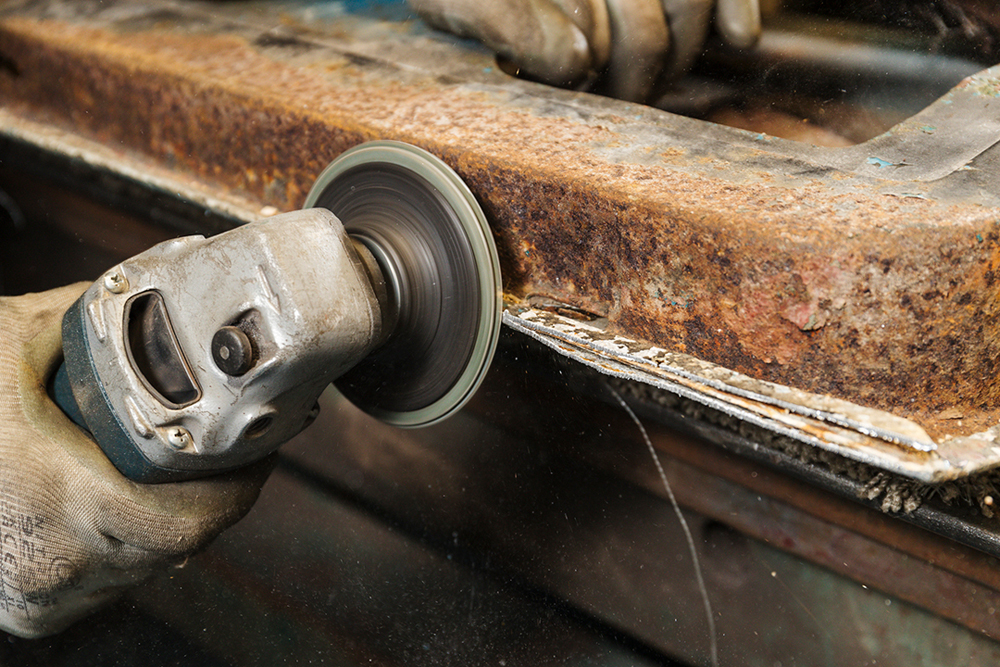
Cut it out: He then carefully grinds though the edge of the outer skin, where it folds over the inner. He only just goes through the aluminium, not the steel inner.
Repeat, done: Barry continues working through the edge with the grinder, regularly reloading the disc with soap. A few small tabs here are folded up, and the door can separate.
Sorry scene: Stuart and Barry survey the separated parts. Electrolytic corrosion has created holes around the edge of the outer skin; the steel inner needs corrosion removal and repair.
Rebuilding
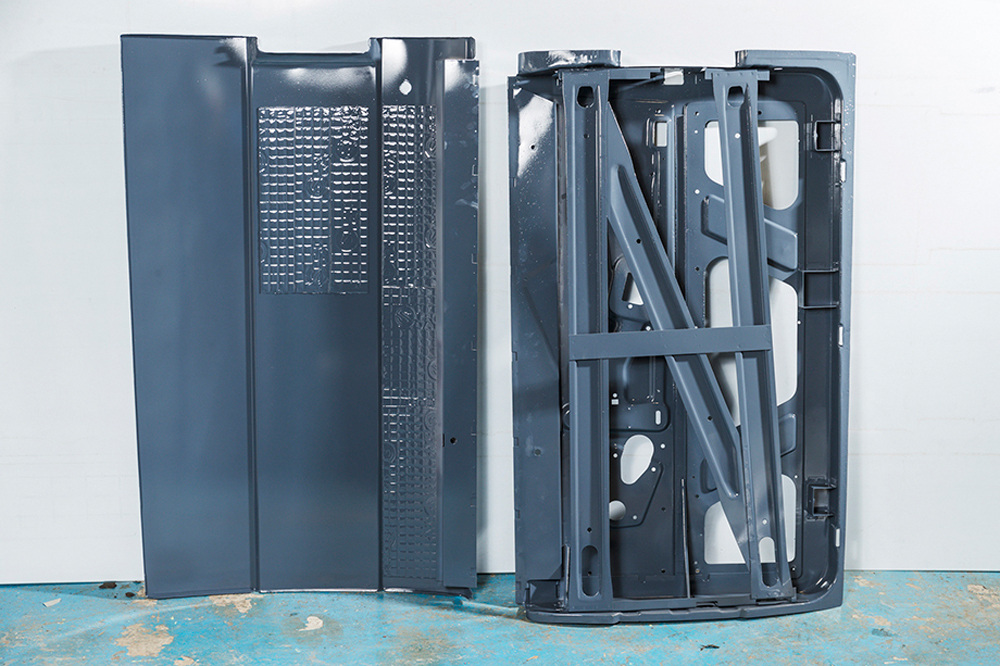
Assembling the new: Repaired and painted in primer, the inner panel is like new. The new outer skin, complete with soundproofing, looks smart with primer applied for cosmetics.
Square start: Working on a surface plate, Barry ensures the bottom edge of the inner frame is flat. If it wasn’t, the outer skin will follow those imperfections, and show.
Careful work: The new panel comes with a protective film on one side. Barry carefully trims back a little of this, so he can work directly against the metal surface.
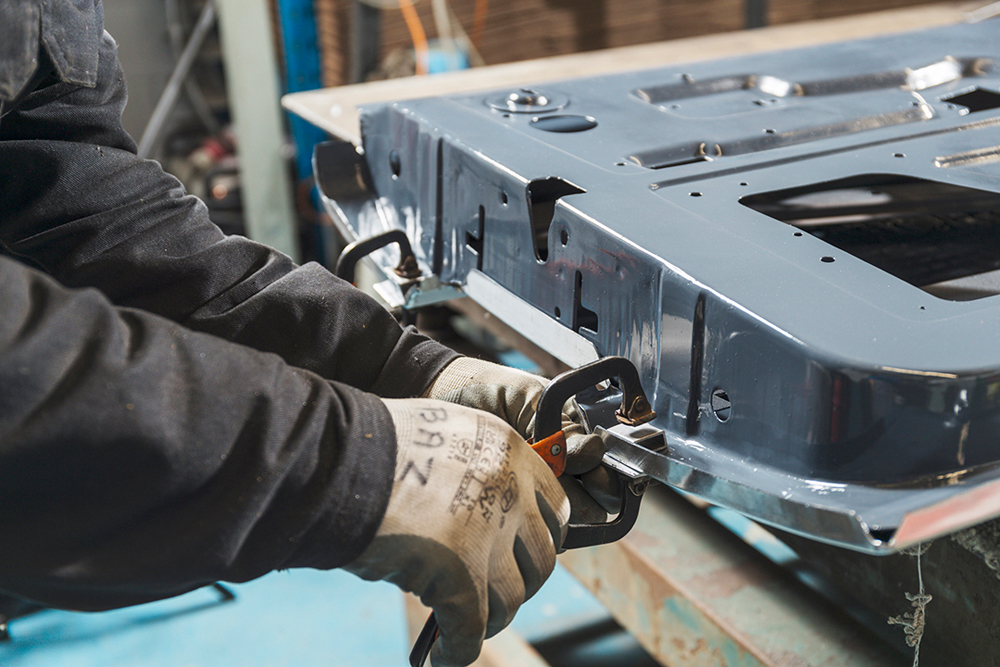
Dry fit: Protecting the face of the outer skin, he dry fits the two parts together. Then, he works with clamps and blocks to hold the inner tight to the outer skin.
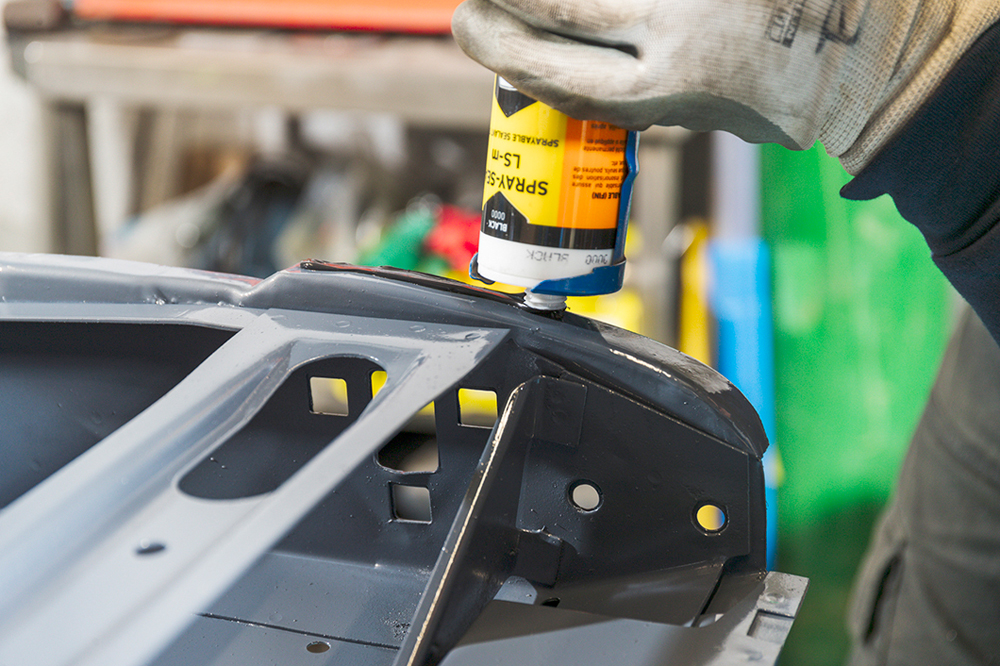
Modern methods: Barry applies body sealant around the edge of the inner door lip. Separating the aluminium and steel in this way should reduce future electrolytic corrosion.
In it goes: He then carefully drops the inner into the outer skin, and clamps the edge in place. Speed isn’t essential, as the sealant cures over 30 minutes or more.
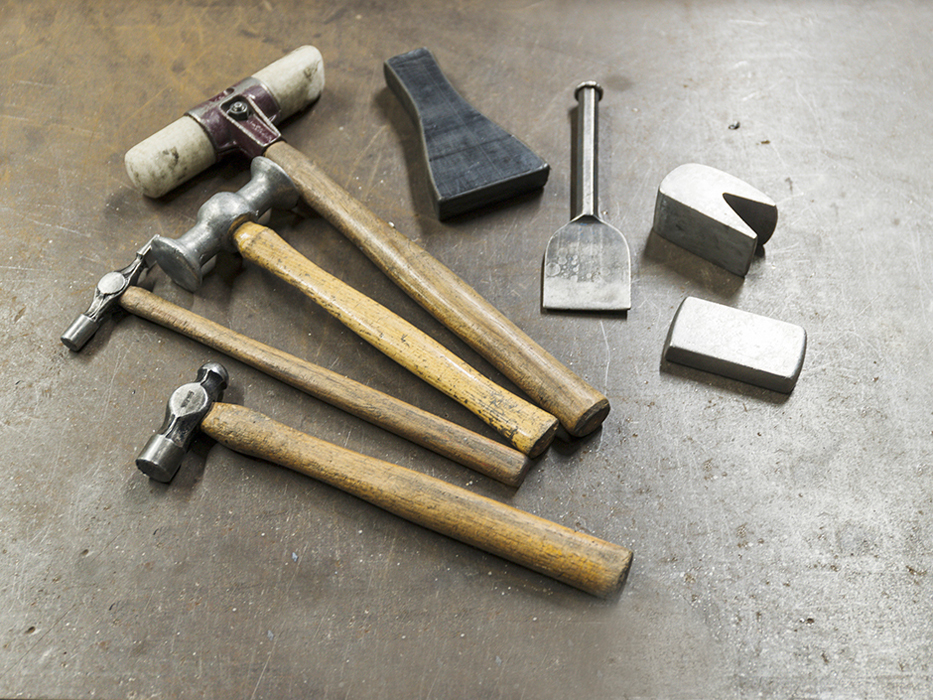
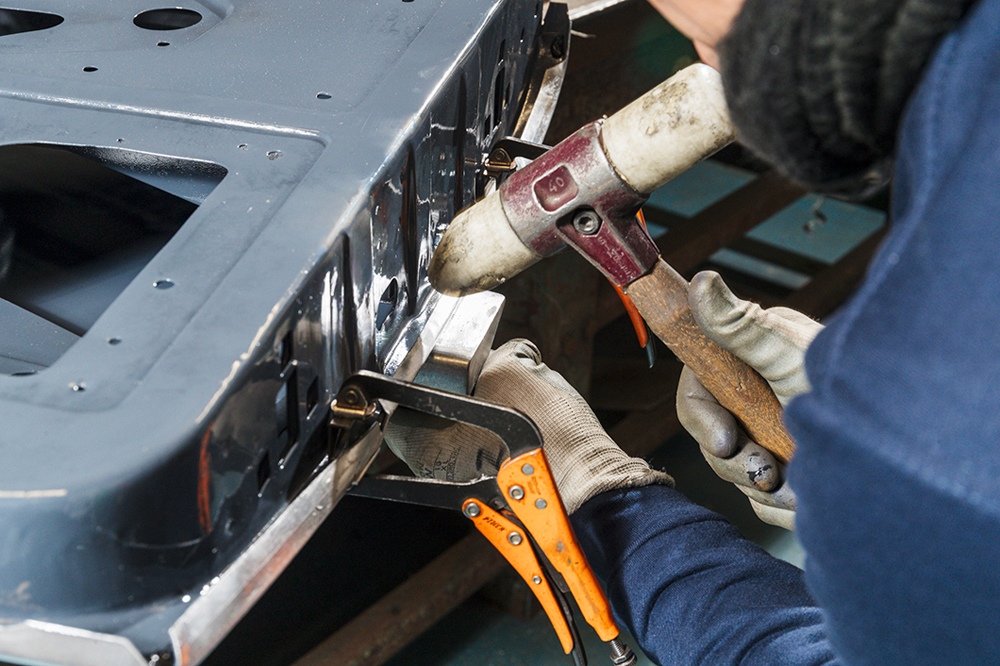
Tools of the job: Barry uses various hammers: ball peen, planishing and nylon, plus nylon chasers, a steel chisel and various steel dollies. Chasers and dollies offer a surface to work against.
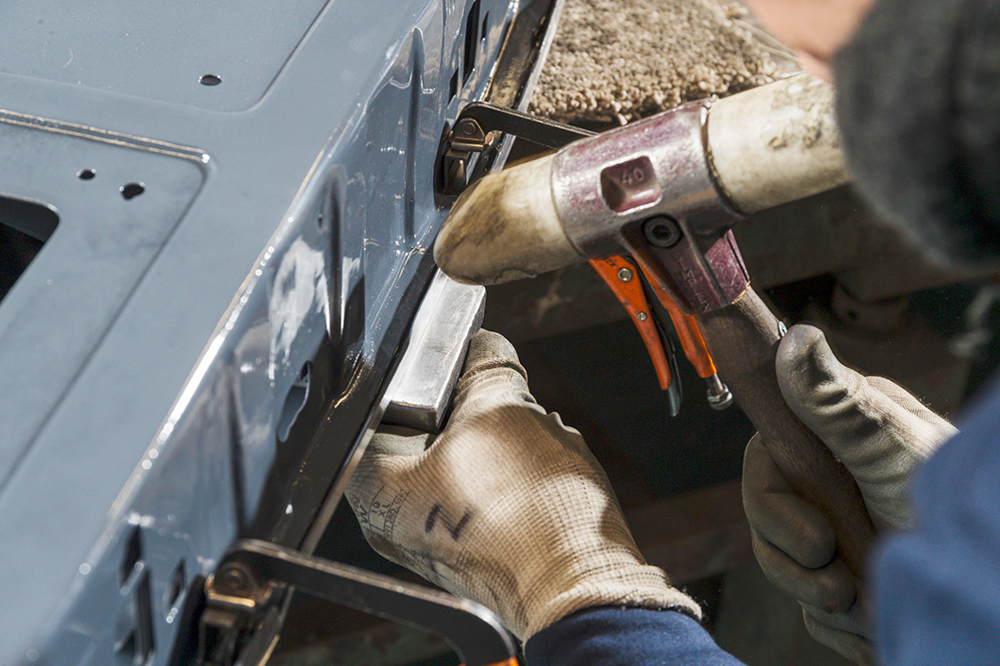
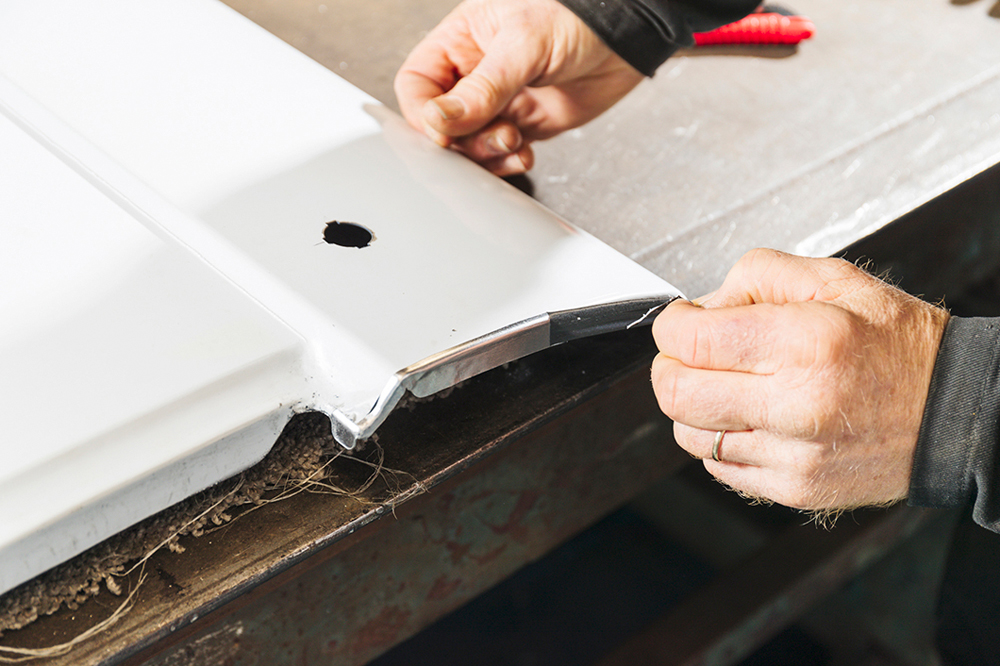
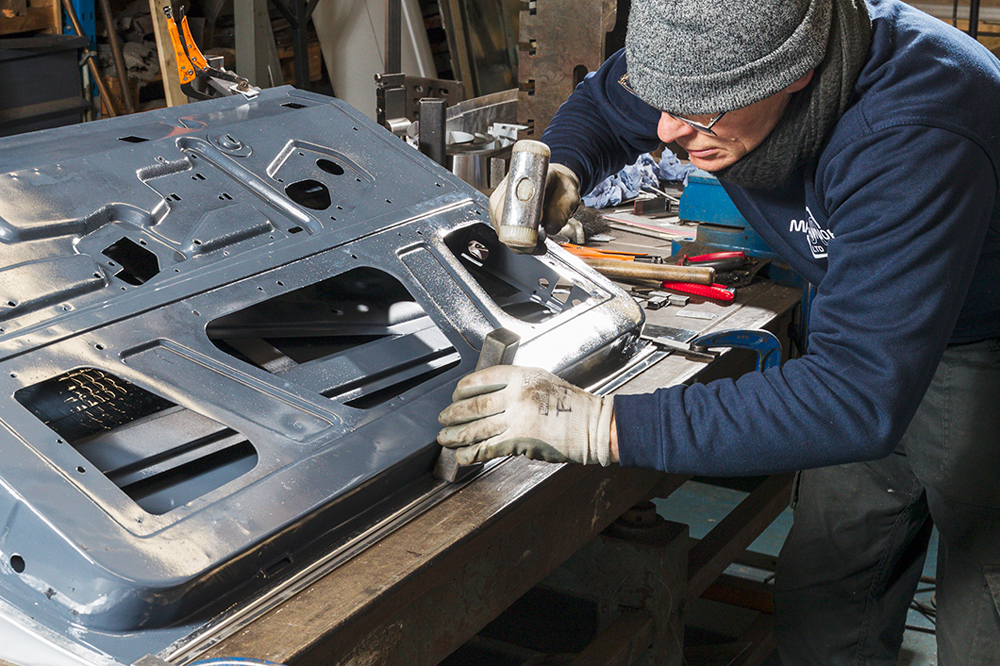
Inwards, not down: Barry’s first job is to begin folding the vertical lip of the outer skin inwards, so the outer skin folds tightly around the edge of the inner skin.
Little and often: He continues across the full width of that side, using a dolly underneath to work against. The nylon hammer is a softer material than the flange being manipulated.
Fold further: A multistep process, he continues the fold a little further, again and again. Going slowly avoids overworking the aluminium, which could tear, if careless.
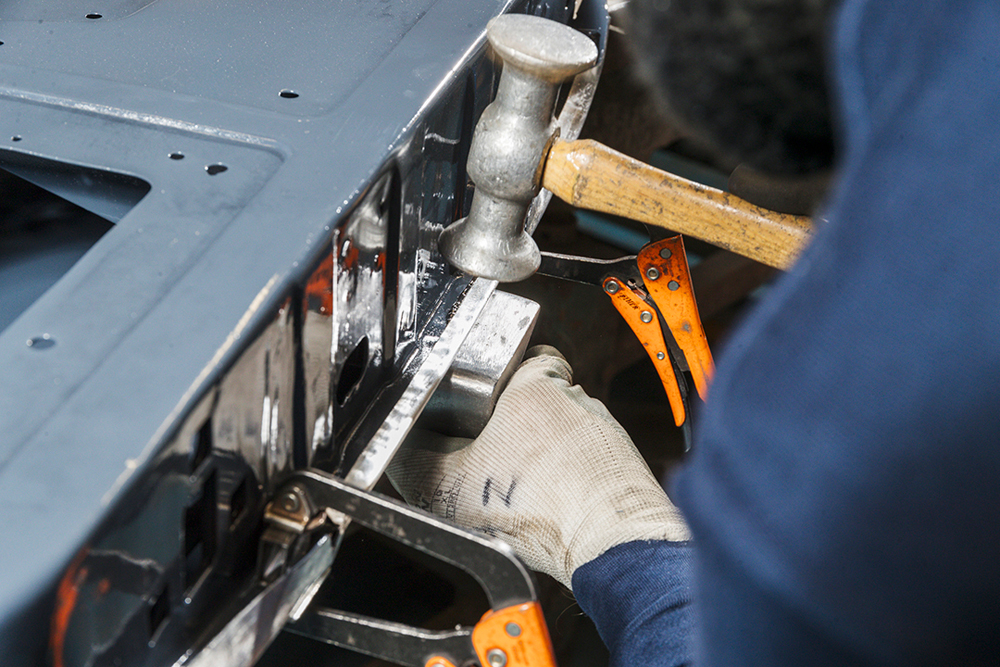
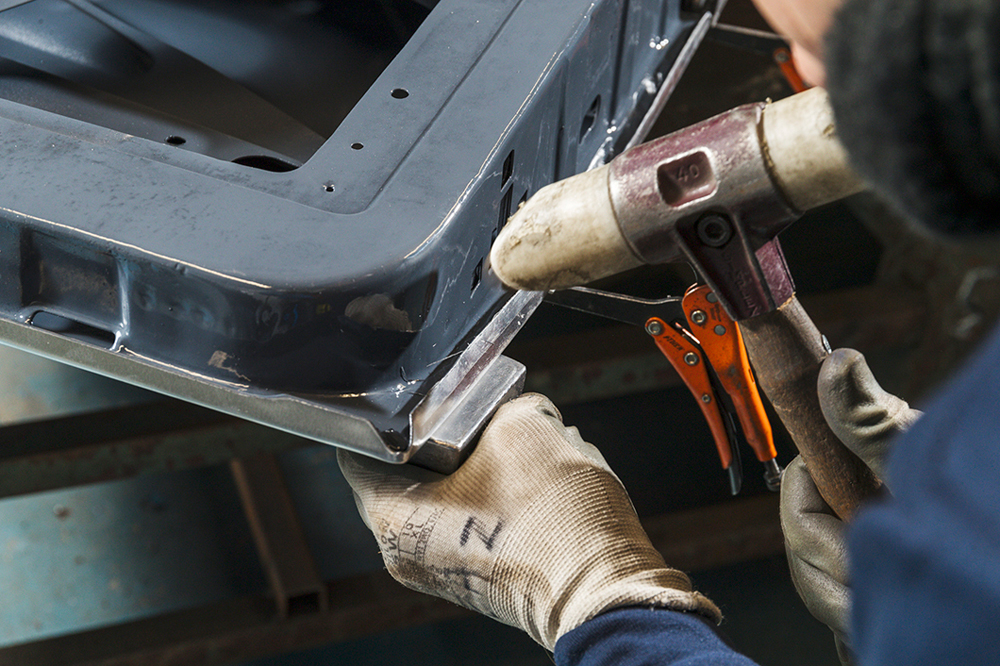
Lower and lower: As the lip begins to fold down, he changes to a planishing hammer, one designed to smooth as it hits. He works the lip down, flattening the surface.
Detail finishing: Barry swaps between a few more hammers to work accurately on the edge of the lip, skilfully forcing the very edge down to sit as neatly as possible.
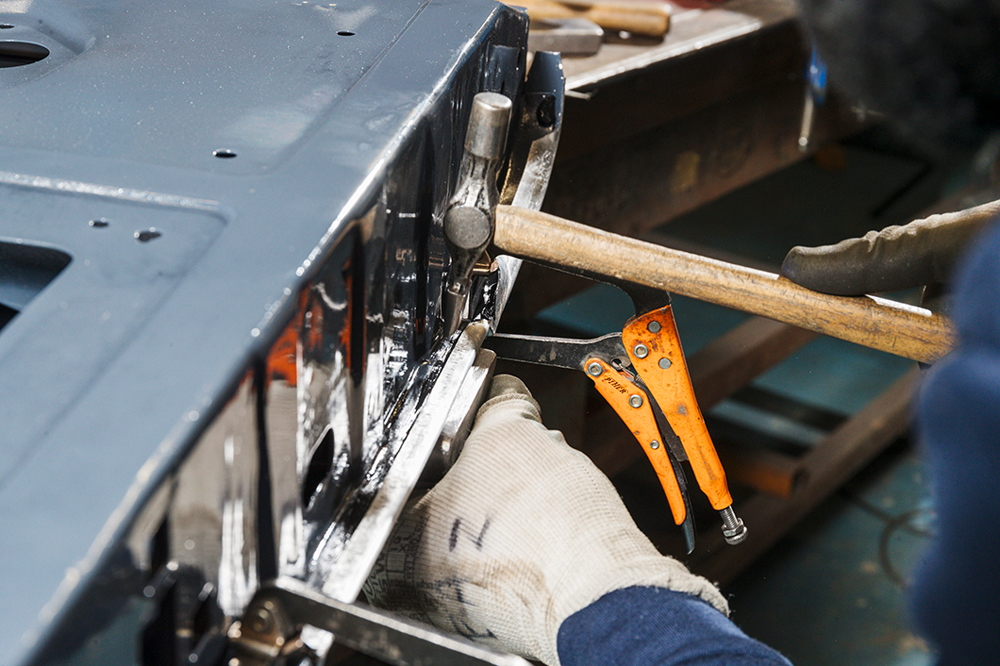
Lightly does it: Angling the dolly as needed, he then neatens each body fold, all the time avoiding splitting the aluminium. Hammer taps are surprisingly light, not heavy.

Corner work: One side done, he carries on to the next corner. Again, the aluminium is folded inwards, so the fold follows the inner door frame, avoiding splitting the material.
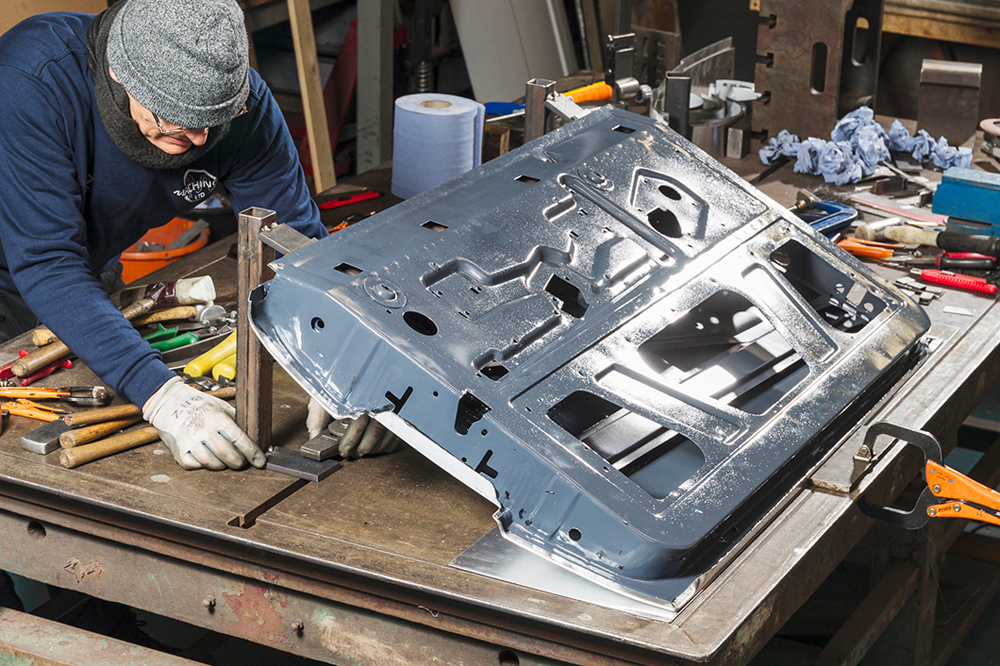
Table or dolly: Barry mounts the door on a surface-plate jig for the bottom fold, so he can ensure it is as flat as possible. A dolly would also work.

Same process: He uses the same process as before, just over a longer length. He likes the surface plate as it offers a large surface area, and is guaranteed flat.
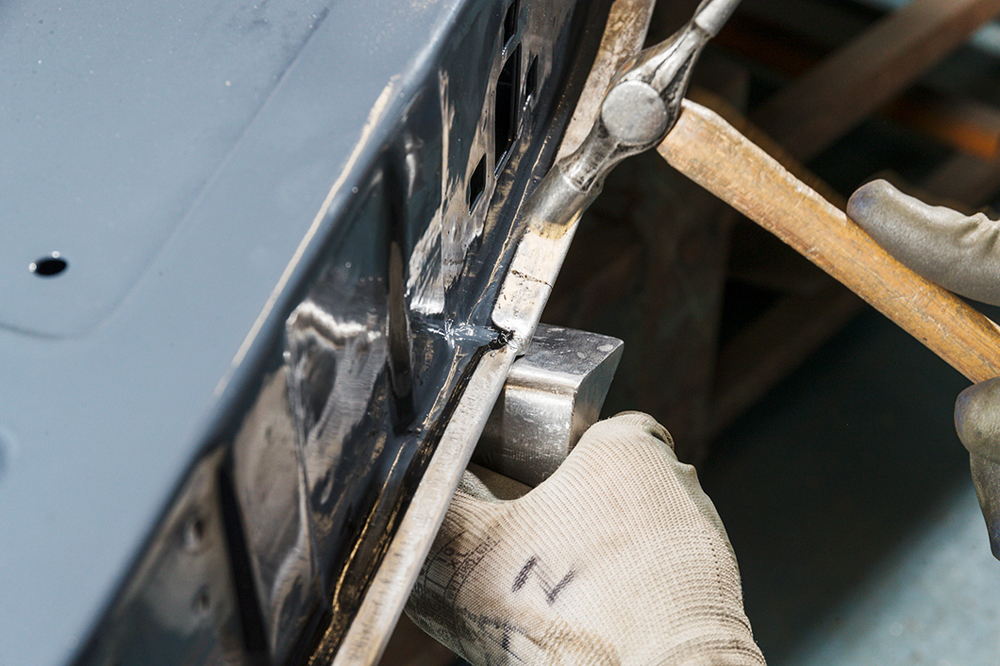
Chase it down: Once the lip is folded over and down, he uses a nylon chaser to flatten it fully. Again, it is a softer material than the aluminium of the door.
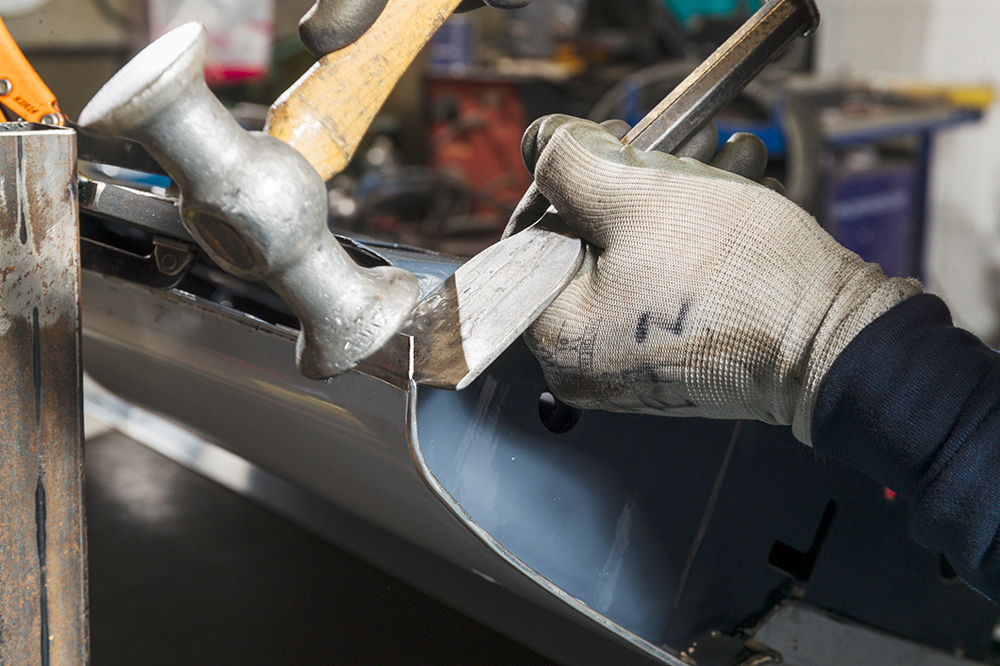
Sharp details: For the small tabs, Barry positions a chisel in the exact place he wants the fold, then taps the tab over and down. This accurately controls that fold’s position.

Neaten up: All the corners are then worked around, so all edges are neat and smooth. The end result are edges that look uniform, neat, and like the factory made.
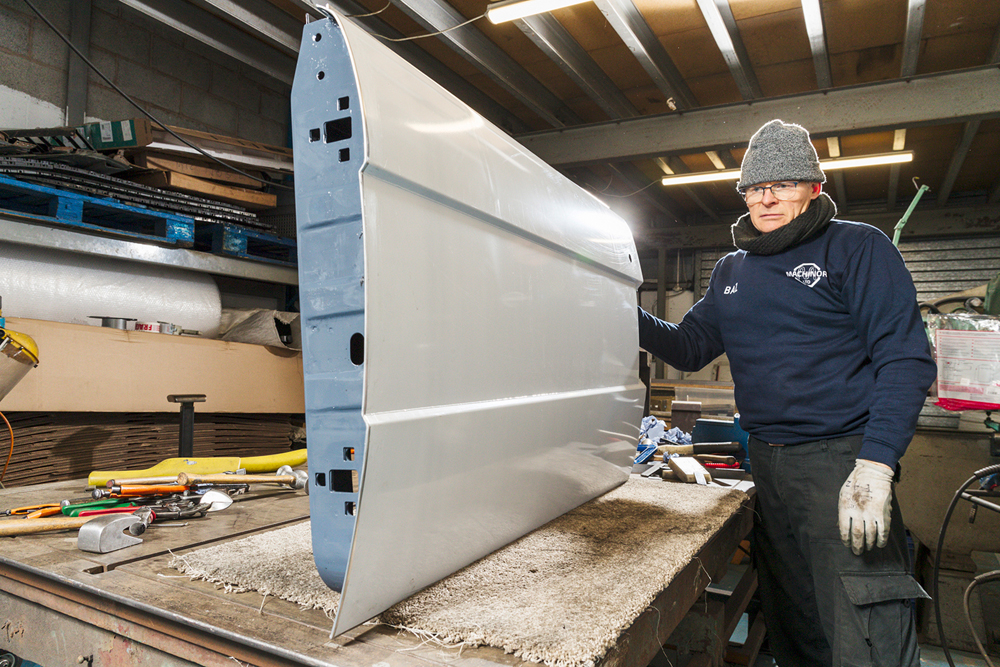
Final job: In effect, a brand new door has been made from a corroded old original. Note the skin is still flat, not bowing inwards, as some do.
Top tips from Stuart Jay of Machinor
“The art of doing it is ensuring you don’t get hammer marks,” explains Stuart. “Always use a hammer one grade softer than the material you’re working. That way, you’re not damaging the part. Fold the lips over, not straight downwards, which keeps the fold line following the edge of the inner frame for a neat, sharp, consistent edge.”
Like to have your own Land Rover library?
Try our All-Access Digital Subscription. You'll get access to over 7 years of Land Rover Monthly – that’s more than 100 issues plus the latest digital issue. All issues are fully searchable so you can easily find what you are looking for and what’s more it’s less than 10p a day to subscribe. Click the link above to find out more details and start enjoying all the benefits now.