


12 April 2023
|
 The big block is almost complete
: credit: © Alisdair Cusick
The big block is almost complete
: credit: © Alisdair Cusick
Nothing must be missed as injectors, sensors, the unique Defender-type sump and a host of detail parts are added. Alisdair Cusick follows the job
Need to know
Time: 3 hours.
Cost: See below.
Difficulty: 5 out of 5
Models: 2.4-litre Puma-engined Defenders (2.2 version is similar).
Tools needed: Spanners, sockets, fuel pipe pliers, torque wrenches, engine stand, breaker bar, timing locking set, timing cover locator, crank seal tool, paint pen, engine sump sealant, syringe.
Parts & costs: 2.4 Puma stripped engine DA1182, £4062; various fixings, seals, pipes and ancillaries as needed.
Work safely:
• Use the right tool, for the right job.
• Always be fire-safe in the workshop.
• Use the correctly rated lifting and support equipment.
• Get an expert to do the job, if in any doubt.
Thanks to: Ian Baughan and IRB Developments for their help with this feature.
irbdevelopments.com
See part 1 & 2 of this feature here.
We now have the engine timed up, having set the timing of camshafts and fuel pump with the crankshaft last month, and we’ve fitted the exhaust and turbocharger. This month, we continue by fitting the many other ancillaries, sensors, mounts and pulleys. By the end of this session, the engine will be ready to fit into the car.
The process is broadly a continuation of the approach of last month, working methodically, being organised and following the torque settings religiously. Organising the parts and fixings to be ready to hand is also time well used.
One notable part that we’re changing this month is the sump. The new engine comes with a Transit sump, so we’re swapping that for a Defender part which is identical in appearance, apart from a cut-out in one corner to allow clearance for the diff and the propshaft.
We’ll leave the starter motor off for now because the flywheel has to be fitted first. To fit that, the engine needs to be off the stand and on a crane, and that is exactly where we’ll finish today.

Mount up: Fit the engine mounts each side, and the large air-con bracket. It is worth reminding ourselves these are the originals, cleaned by vapour blasting to look new.
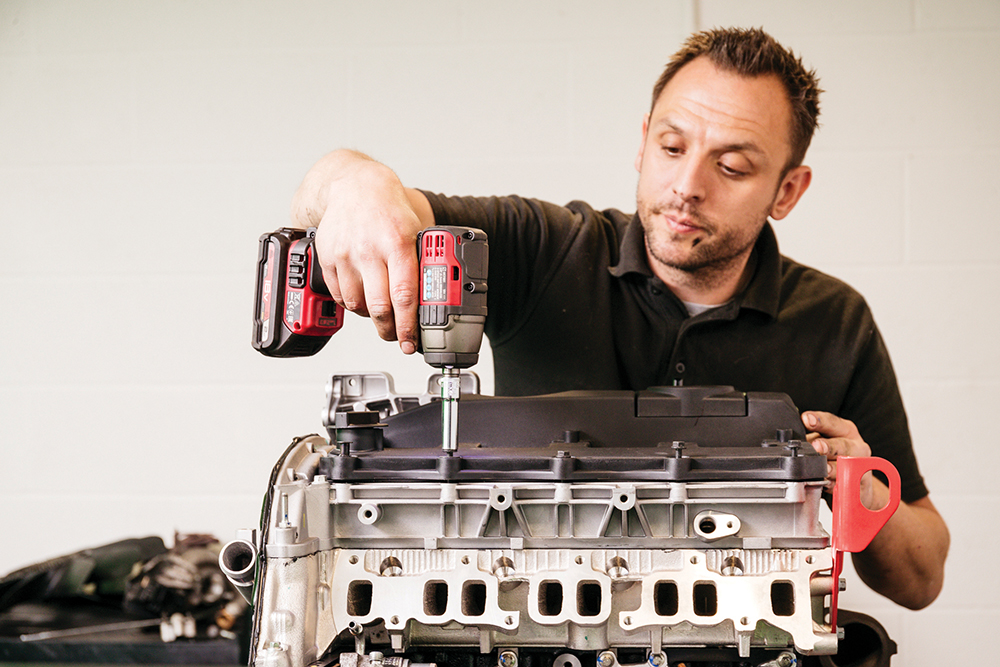
Rocker cover: On goes the rocker cover. If yours is particularly cruddy, take five minutes to clean it and wipe with detailing spray. Extra effort pays dividends in the end.
Hole in one? Fit new glow plugs (13Nm), then fit the loom. It can be worth covering the inlet ports, as they lead to the cylinders – don’t drop anything down there!

Pulley: On goes the pulley, and new bolts. These have a torque-plus-angle setting. There’s a special tool to hold two bolts, whilst you tighten the third one.

Easy job: With the right tools, anything is easy. Ian demonstrates the special tool (used with a long bar) and torque wrench. 45Nm, plus 90 degrees for these pulley bolts.

Sensor installation: The work is getting quicker now: on goes the fuel cooler thermostat (above, top), then just below and to the side of that, the oil pressure sensor is fitted (above, bottom).

Out come the acronyms: On go the front idlers, more accurately called the front end accessory drive (FEAD). This is hard to change when in the car, so fit a new one now.

Best practice: Fit the alternator. You could reuse an old one if pushed but, frankly, unless you know its age and usage history, just fit a new one for reliability.

Fuel system: Fit the fuel rail. Pressure and relief valve sensors should be replaced. We’re reusing ours as both were recently replaced during previous engine issues.
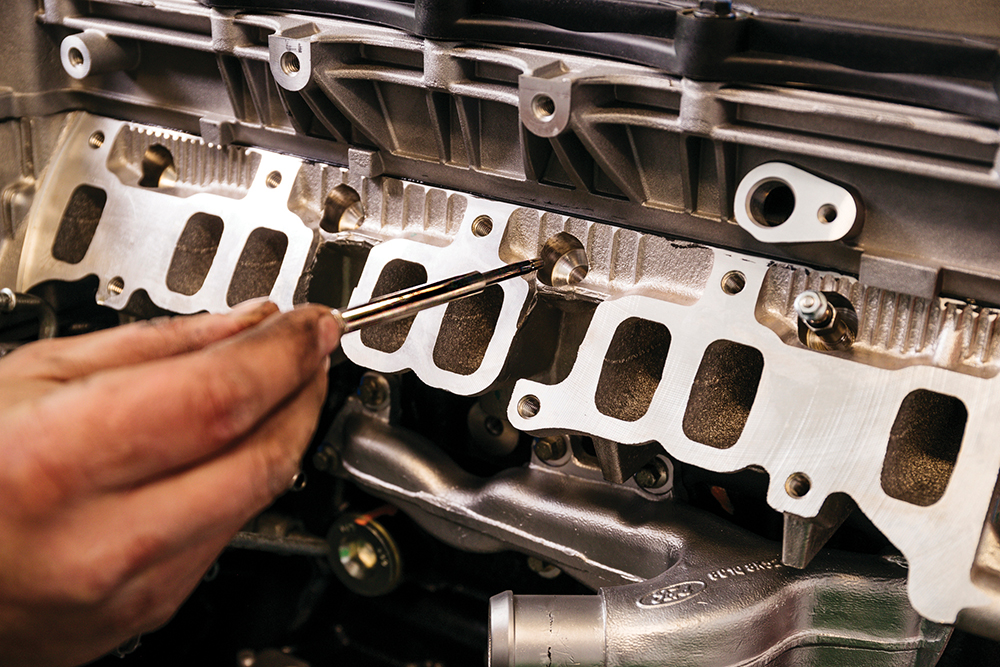
Air in: Next, fit the inlet manifold. Replace the eight inlet to block seals, and the big blue inlet to EGR ring seal – only available from Britpart, part no LR004404S.
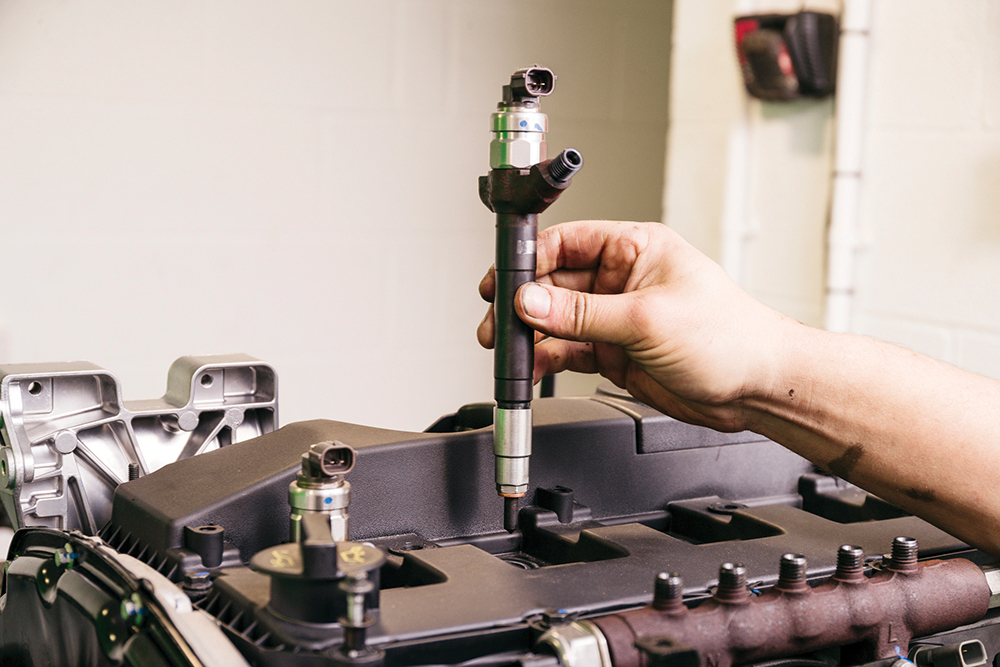
Crucial element: The injectors go in next, fitting a new copper sealing washer to each one. They’re costly, but new injectors maximise reliability for longer, over worn older units.

Lock them down: Fit the injector clamps using new bolts LR019168. They’re stretch bolts, so remain under predetermined tension when set. Torque to 8Nm, plus 180 degrees.

Fuel out: Fit the spill return pipe to the injectors and pump. Replace the green plastic spill return clips carefully, because forcing them the wrong way easily breaks them.

Fuel in: Fit the common rail feed pipe, (pump to fuel rail) then the individual injector feed pipes (rail to injector). Officially, they should be replaced. In practice, they’re fine.

Bracketry: Fit the glow plug feed bracket, and the glow plug loom connector. It contains
an earth, so is sometimes found to be melted on older Puma Defenders. Check yours.

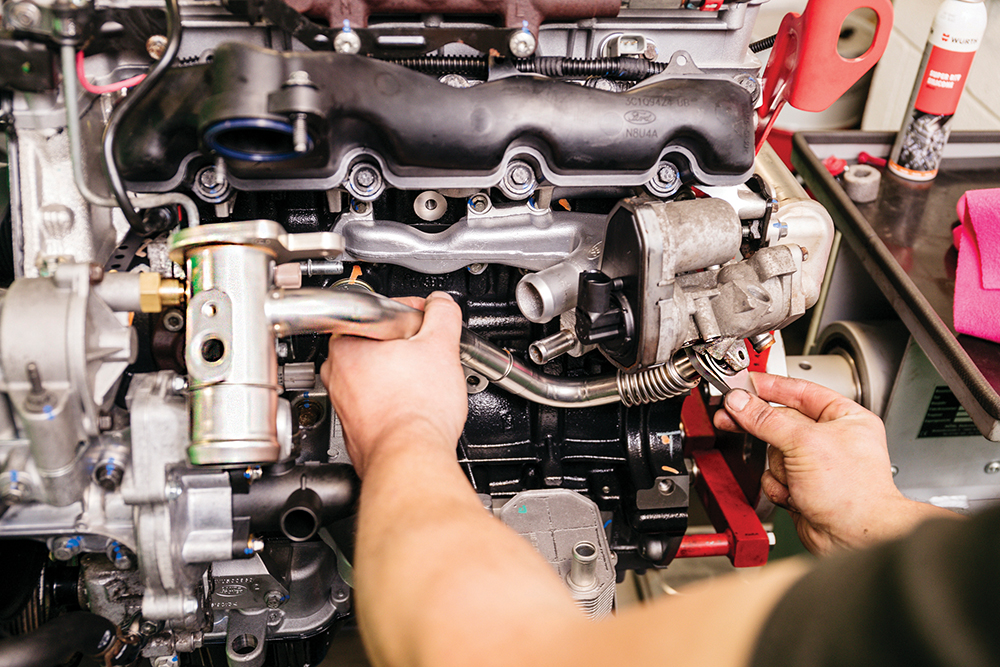
Union job: Torque the fuel unions to 35Nm. Ian uses a crow-foot spanner on his torque wrench for the fuel pump. Another spanner holds the bottom fixing in place.

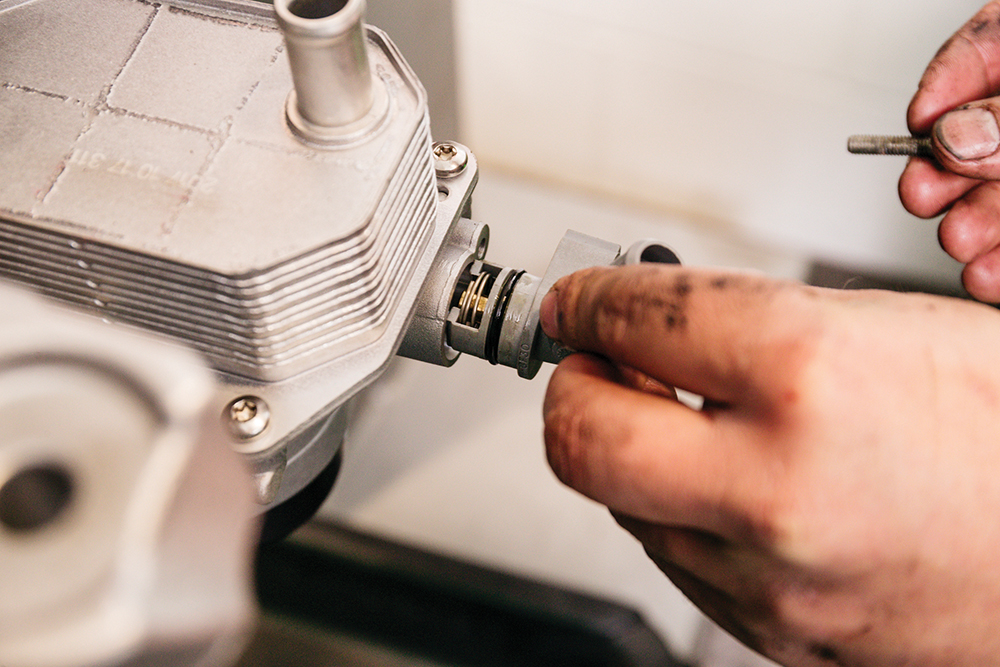
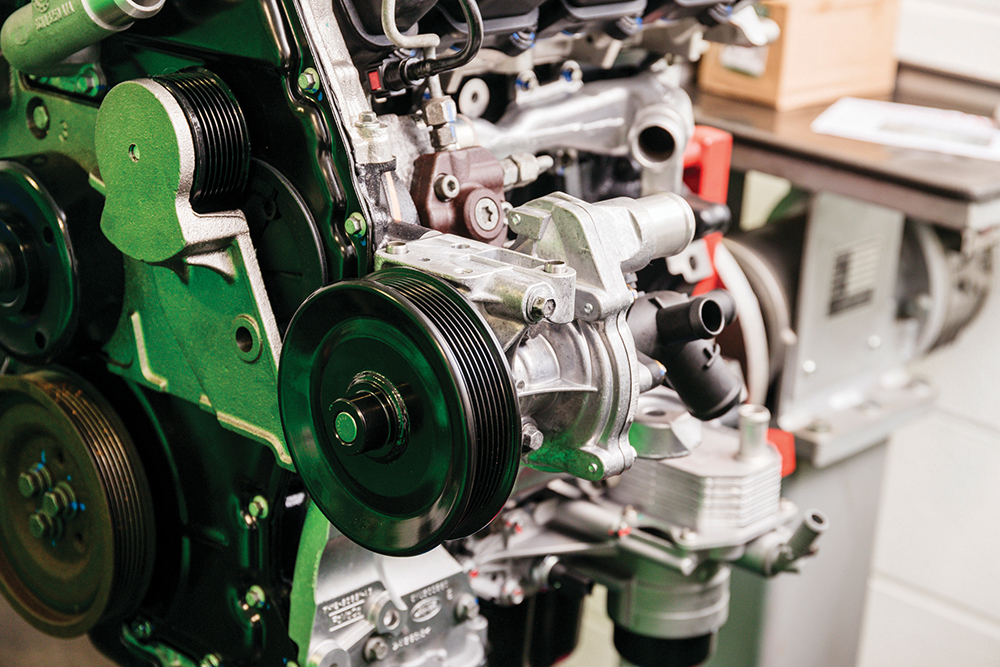
Sub-assembly: We’re on the water pump now, a new part. The plastic water outlet on the rear is fitted to the pump, along with a new O-seal, part number LR004614.

Blanking plate: The outlet pipe needs a blanking cover fitting, re-used from the old pump. It blanks a possible feed for an oil cooler which is not needed on a Defender.
Mount up: Fit the pump to the block using a new gasket. Fit the gasket to the pump, where dowels hold the gasket in place, then assemble to the block.

Power steering pump: On goes the power-assisted steering pump (PAS). Locate the new gasket on the water pump dowels, then fit the PAS pump. We reused the old PAS pump.

Cool head: Work pace quickens now as jobs get simpler. Fit the cylinder head temperature sensor, using a new one for best practice. Clip connector to rocker cover.
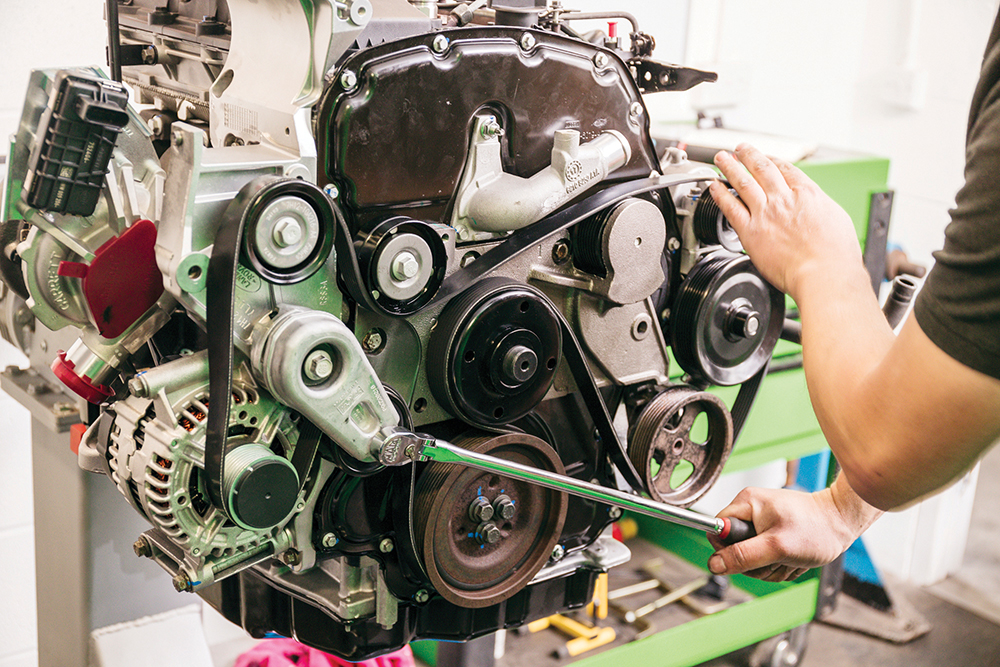
Belt up: On goes the auxiliary belt idler, then a new belt can be fitted. Release tension using a long bar on the tensioner, and route the belt carefully.

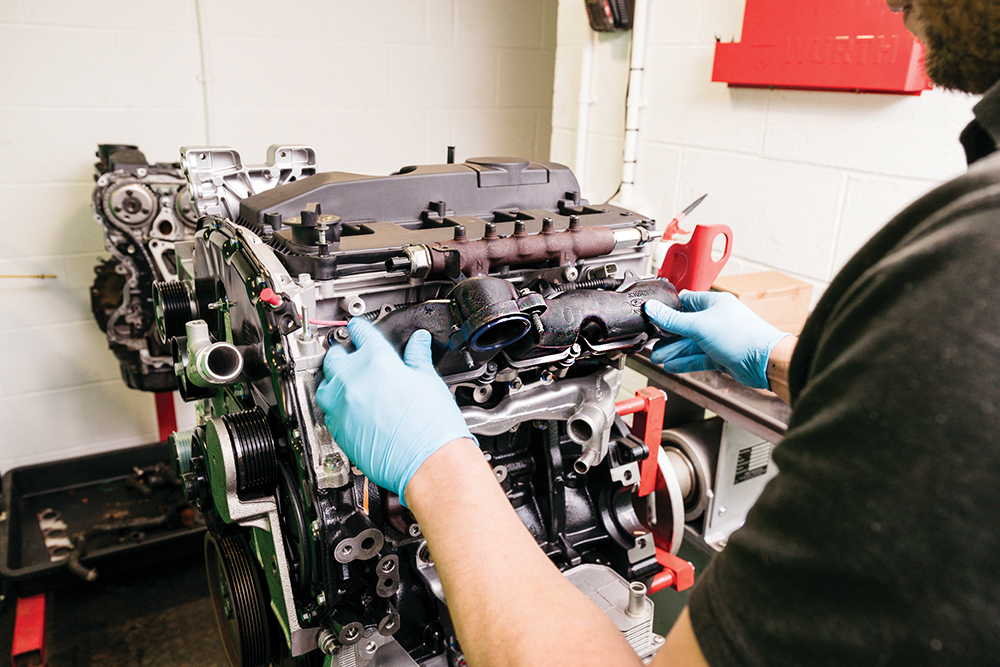
EGR: On goes the Exhaust Gas Recirculation (EGR) cooler and EGR valve. It fits to the exhaust manifold. We’ve reused our original system, as it was judged to be serviceable.
Restored, refreshed: The EGR to inlet pipe goes on, with a new gasket. This is a pig of a job when the engine is in the car. Not so now.
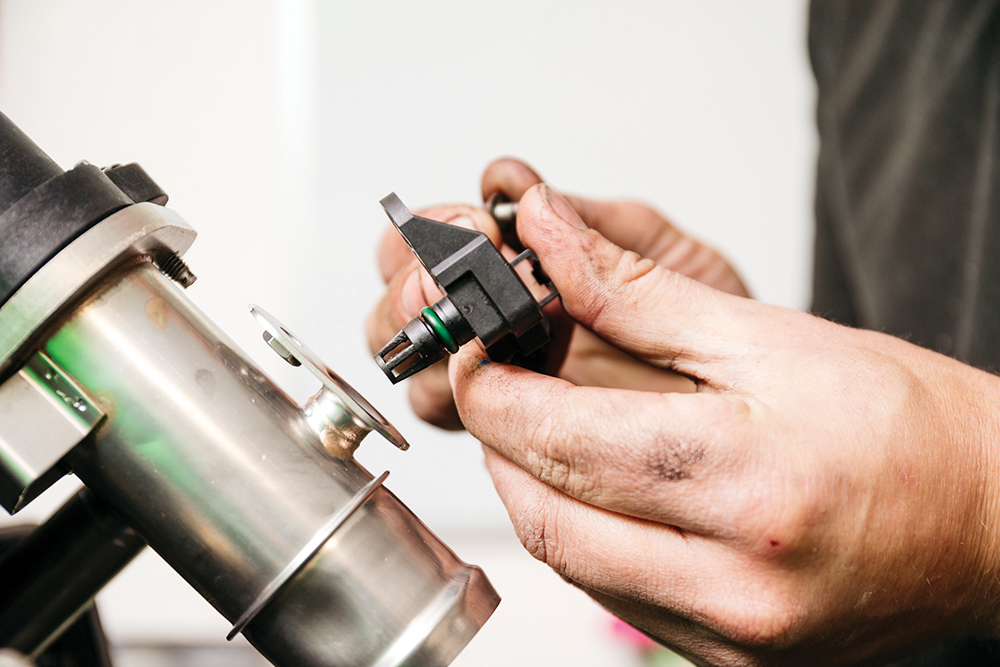
Revitalised: On goes the Manifold Absolute Pressure (MAP) sensor. This original sensor was cleaned of EGR crud. If left caked up, it might give incorrect readings, affecting fuel efficiency.

Sump swap: The engine comes with a Transit sump, but we need to fit a Defender one. Note the cutaway corner section, which provides clearance for the Defender’s propshaft.
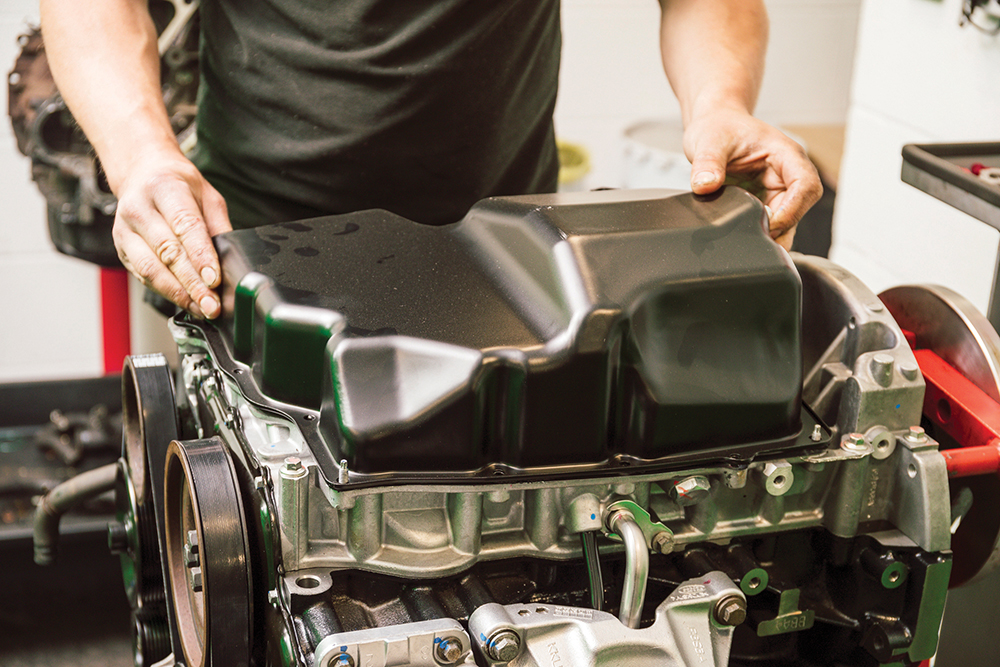
Seal the deal: Lay a 3mm bead of RTV sealant around the sump’s mating face. Make sure to also loop around each mounting hole to ensure oil tightness when fitted.

Nervous system: The viscous fan is fitted, then the vital engine wiring loom which he cleans in a non-solvent parts washer. The engine now looks brand-new and fabulous.
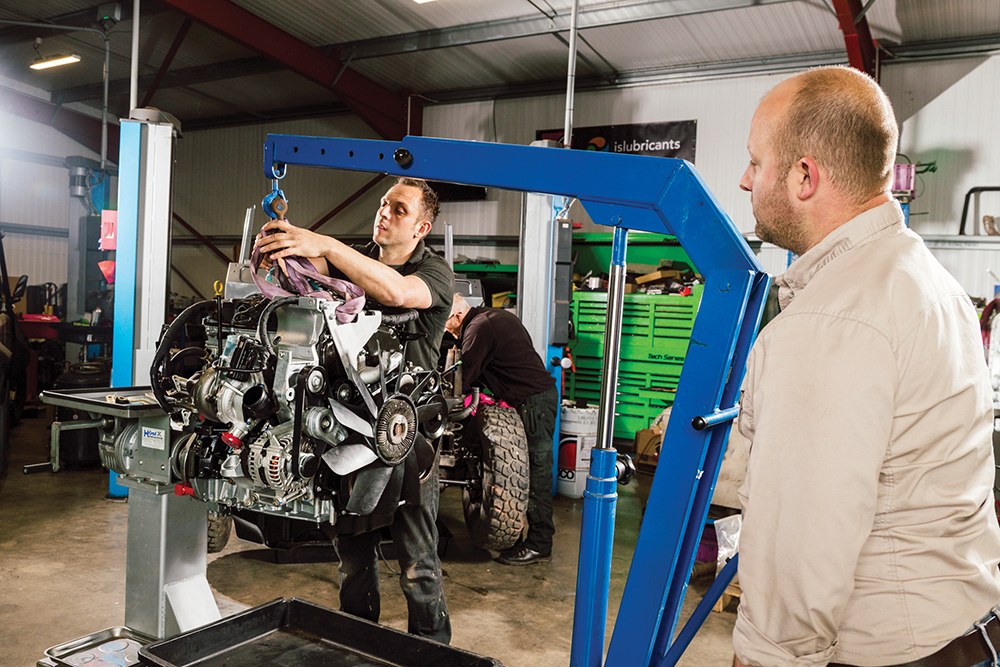
On the move: With that, the engine moves out of the build room and into the workshop, where the Defender sits waiting. The engine is transferred to a suitably-rated crane.

Tough torque: On goes the flywheel, with vital new bolts. They’re torqued in sequence to 25Nm, then 40Nm, then plus 48 degrees. Bolts paint-marked to confirm tightened.
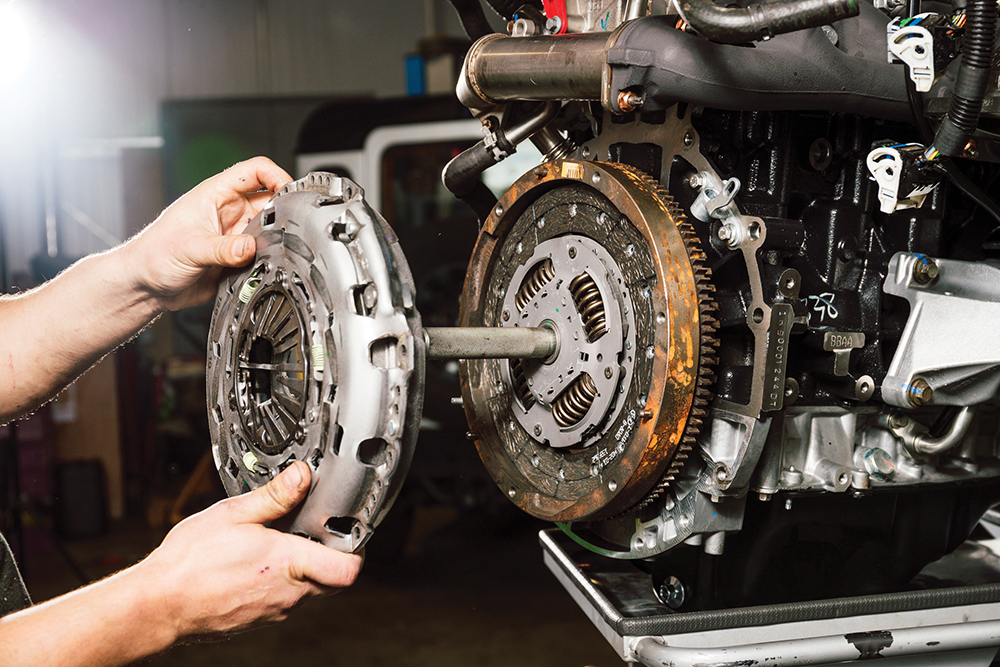
Clutching at it: The new clutch plate goes on using a clutch alignment tool. New bolts torqued to 29Nm hold the cover in place. Tool should insert and remove easily.
In the final part, Ian will install the motor into the waiting Defender, then fill it with the vital fluids to bring it to life.
LIKE TO READ MORE? Try our Budget Digital Subscription. You'll get access to over 7 years of Land Rover Monthly – that’s more than 100 issues plus the latest digital issue. The issues are fully searchable so you can easily find what you are looking for and what’s more it’s less than 10p a day to subscribe. Click here to find out more details and start enjoying all the benefits now.