


01 March 2018
|
 Keep your TDCi reliable with regular services because you wouldn't want to break down here!
: credit: © Alisdair Cusick
Keep your TDCi reliable with regular services because you wouldn't want to break down here!
: credit: © Alisdair Cusick
There is no mystery, nor special tools involved in a major service on a late-model Defender. All you need is a methodical approach, as Trevor Cuthbert explains
Model: Defender TDCi
Time: 4 Hours
Cost: £112
Difficulty: 3/5 stars
Tools needed: General workshop tools, oil drain container, transmission oil filler unit or oil syringe.
Parts: Oil filter £5 • Air filter £12 • Fuel filter £20.50 • Sump bung £4.50 • 5W30 engine oil £45 • 80W90 gear oil (litre) £25
Contact: BLRC Ltd; blrcvehiclespecialist.co.uk; Tel: 02897 511763
Work safely: • It’s advisable that you always wear protective gloves or barrier cream to protect the skin from oils and sharp edges of components and eye protection as required.
• Work should be carried out in accordance with the Land Rover official manual
It is probably no surprise that a large proportion of the work involved in a major service (B service) of a Land Rover Defender takes place beneath the vehicle. All of the procedures carried out here could be completed with the Land Rover on the ground using a jack and axle stands, although it is clearly a lot easier with the Land Rover raised on a vehicle ramp (lift).
This Defender was taken for a good test drive prior to the service, to get a feel for how the truck was performing, to detect any problems or issues, and to get all of the oils and fluids up to operating temperature. To start the work, I like to drain all of the oils that are to be changed, in order to give them a chance to drip off completely while other parts of the service are under way. Note that the main six-speed gearbox oil was not changed at this service, as the Land Rover has covered less than 90,000 miles and the gearbox oil is not due to be changed until 120,000 miles, as per the service schedule.
This feature provides a guide to servicing, to be used in conjunction with the manufacturer’s stipulated requirements and specifications. Servicing should be carried out according to Land Rover’s recommended practices and service check lists, and adhering to the procedures in the service schedule. Reference should be made to the more frequent schedules which apply to vehicles working in more demanding climates and environmental conditions, and those that are heavily worked.
The underside
In this section we deal with the fuel filter, and there are differences between the fuel systems on the 2.4-litre and the later 2.2-litre models. When the 2.4 fuel filter is changed, air (mostly introduced via the new empty filter) can enter the fuel system and (according to the book) has to be bled out using a hand squeeze pump connected into the fuel line in the engine bay. However, this can be avoided by slowly filling the new filter right to the top with fresh fuel. The filter is then fitted carefully to avoid spilling any fuel, which would allow air in. A little air will probably enter the lines, though not enough to prevent the engine re-starting. On start-up, the engine may sound slightly rough for a few seconds as residual air passes through, before settling to normal running. The prescribed bleed technique for the later 2.2-litre models is simpler, using a bleed valve which is situated along the fuel line in the engine bay.

Step 1: The engine oil is brought to operating temperature before it is drained from the sump. The oil drain plug is removed using a 13 mm socket wrench.

Step 2: With the drain plug removed, the warm engine oil flows out quickly, so take care not to get it on your skin for various reasons.
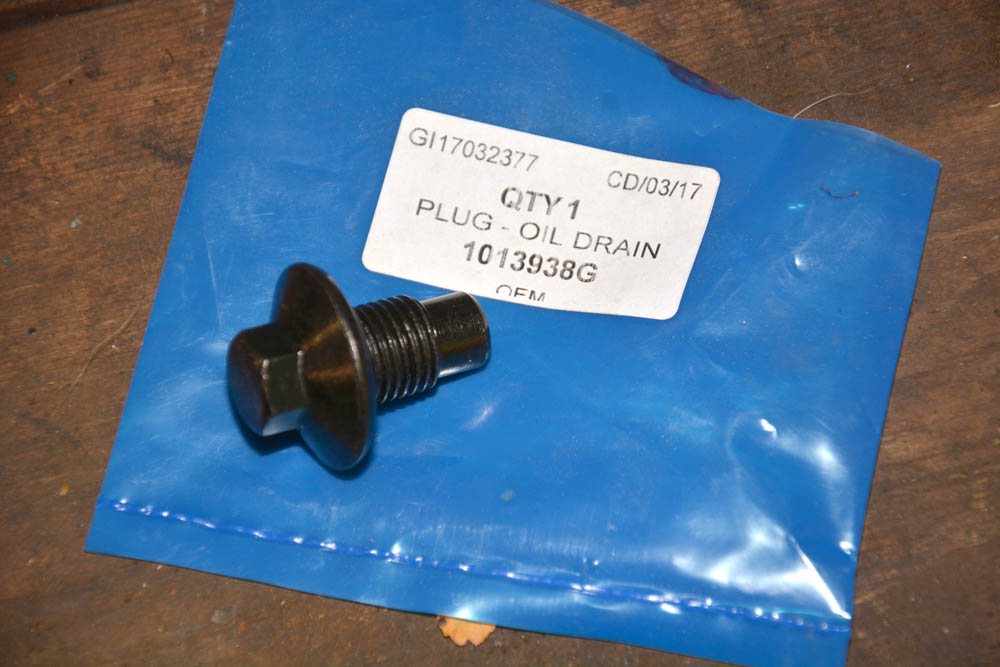
Step 3: The oil drain plug should be replaced with a new one incorporating a built-in rubber seal, and tightened to 30 Nm. Oil spills should be wiped clean.
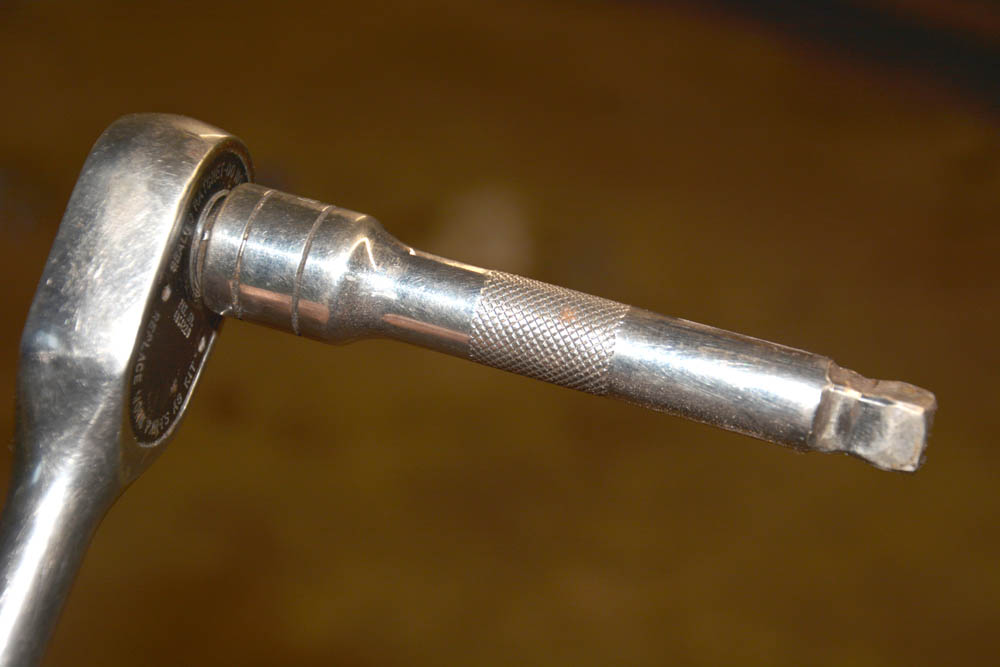
Step 4: The transfer gearbox filler plug is quite restricted, but this wobble-type half-inch socket extension is able to make the angle required to remove it.

Step 5: The restriction of the transmission brake drum, exhaust and handbrake cable is overcome by the extension bar being able to operate at an angle.

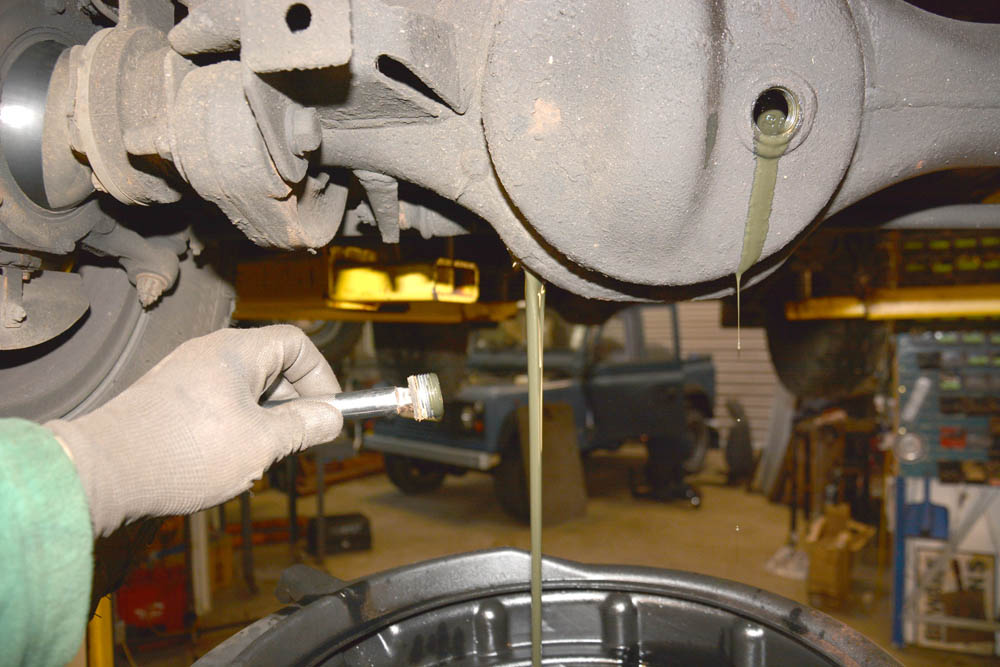
Step 6: When draining axles, the filler plugs are also removed by the half-inch drive. Overflow from this filler suggests overfill, or water has got in.
Step 7: The restriction of the transmission brake drum, exhaust and handbrake cable is overcome by the extension bar being able to operate at an angle.
Step 8: The drain plugs are then removed from the axles to drain the old oil into a container, for subsequent environmentally-friendly disposal.
Step 9: The drain plugs are then removed from the axles to drain the old oil into a container, for subsequent environmentally-friendly disposal.

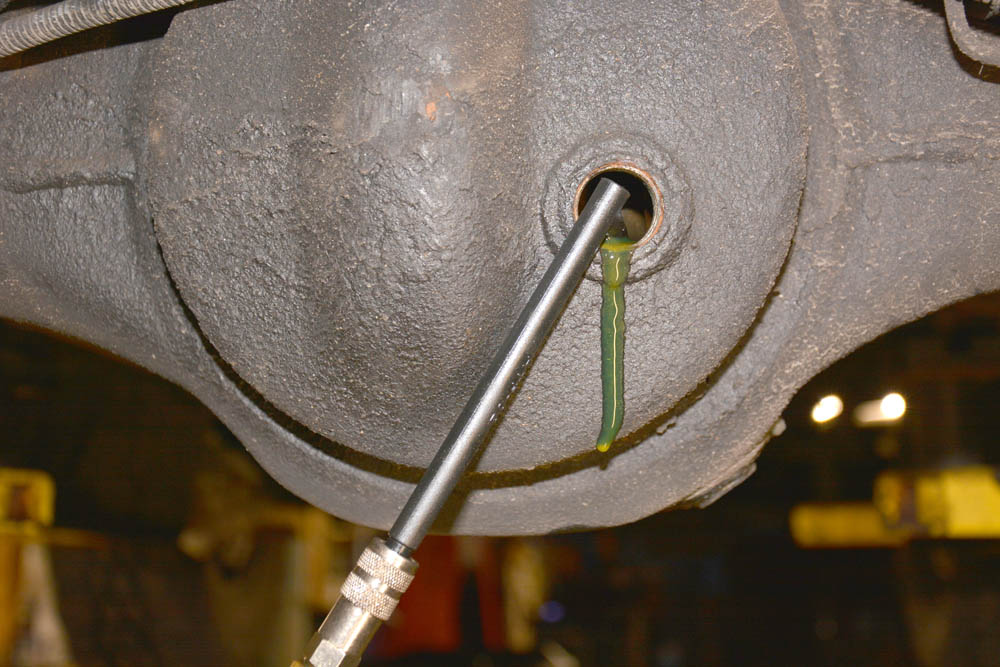
Step 10: The oil from the rear axle was an unexpected colour and there was hardly enough of it to cover the bottom of the drain pan.

Step 11: The oil drain plug in the transfer gearbox is also removed with a half inch drive wrench, if a purpose-made drain tool is not available.

Step 12: Fresh EP90 gear oil is pumped into the axles and transfer box using this transmission oil filler. It’s slow, so meanwhile other tasks are carried out underneath.
Step 13: The axles and transfer box are filled with oil until the fluid just begins to overflow out of the filler hole. Then the plug is replaced and tightened to 30 Nm.

Step 14: The oil filter housing (arrowed) is very conveniently located beside the sump. The cover is loosened with a 27 mm hexagonal socket wrench.

Step 15: The paper oil filter element is discarded, while the lower plastic cover is cleaned and reused. It’s more environmentally friendly than the old spin-on type of filter.

Step 16: The new paper oil filter is supplied with a replacement rubber O ring for the housing, to create a perfect new oil-tight seal.
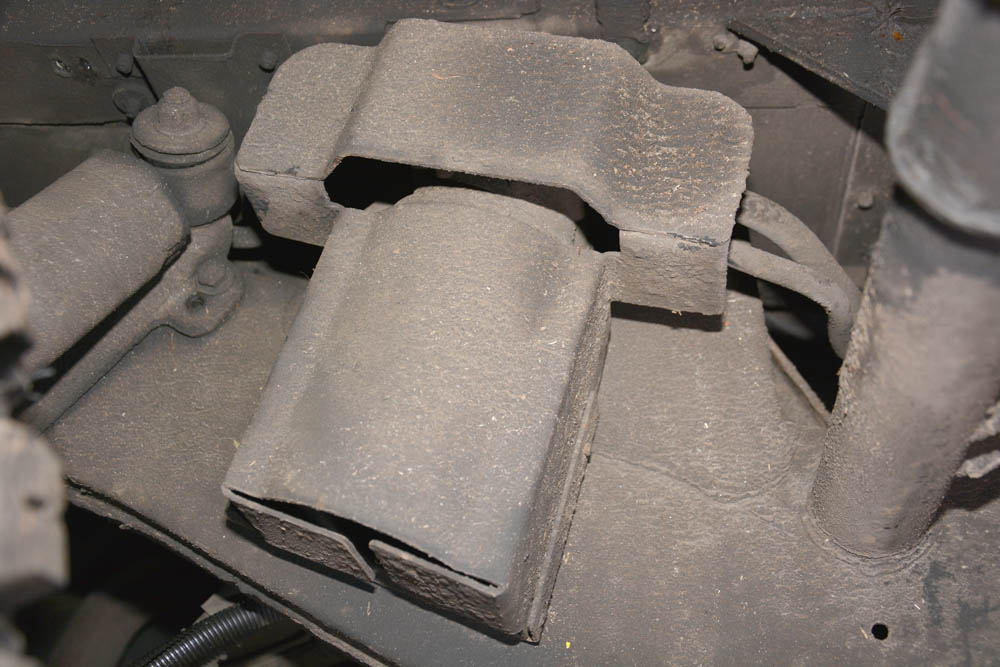
Step 17: The fuel filter is just forward of the rear right wheel on the chassis and protected by this steel cover, which is
easily removed to expose the filter.

Step 18: The front and rear propeller shafts need to be greased at each U/J (universal joints), and at the sliding joint
to keep them in good condition.
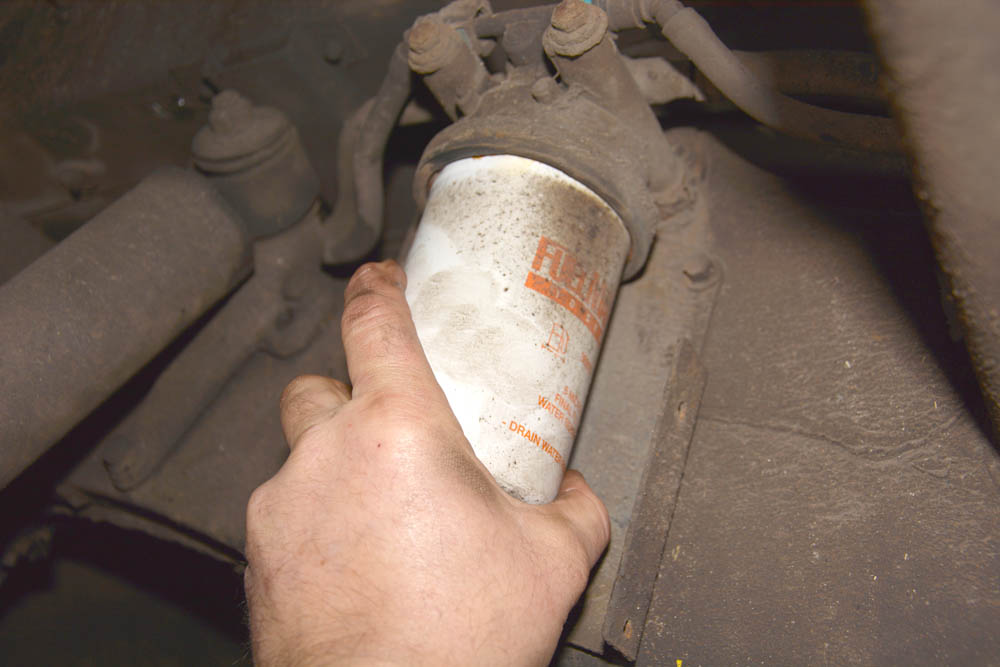
Step 19: Unlike the screw-on type of fuel filter, the TDCi is connected by a bayonet-type fitting, and one quarter of a turn anti-clockwise will release it.
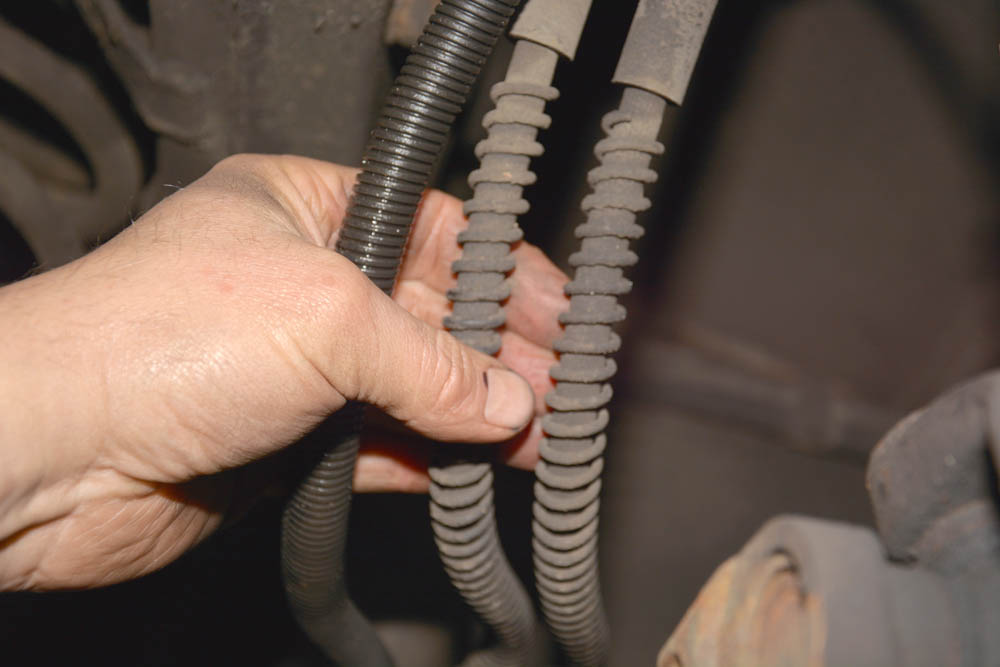
Step 20: All brake flexi hoses, including these two running to the rear axle, are carefully checked for signs of deterioration, as is the electrical connection.
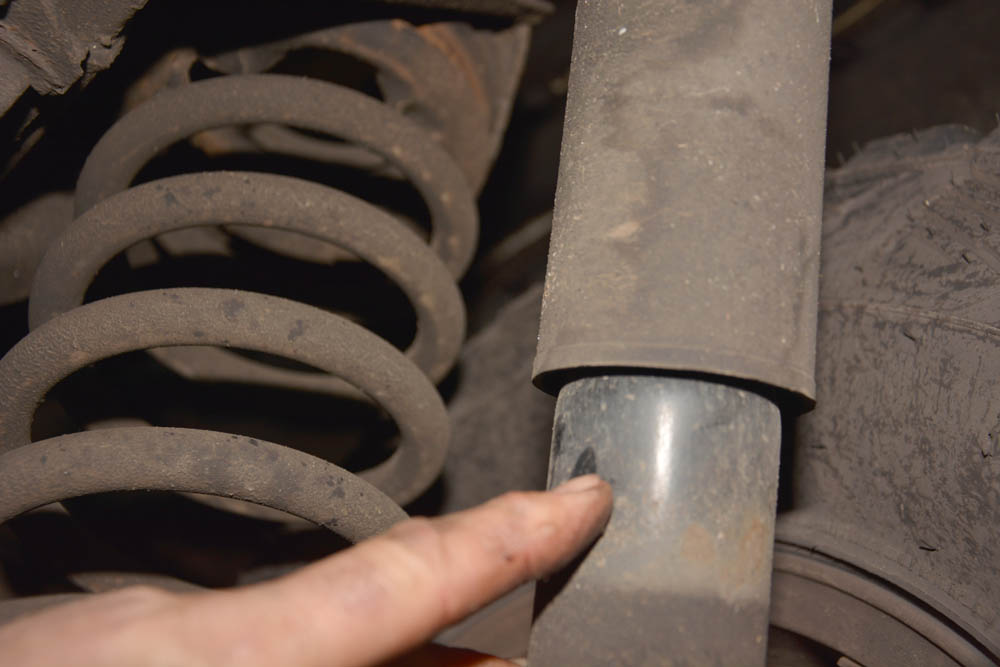
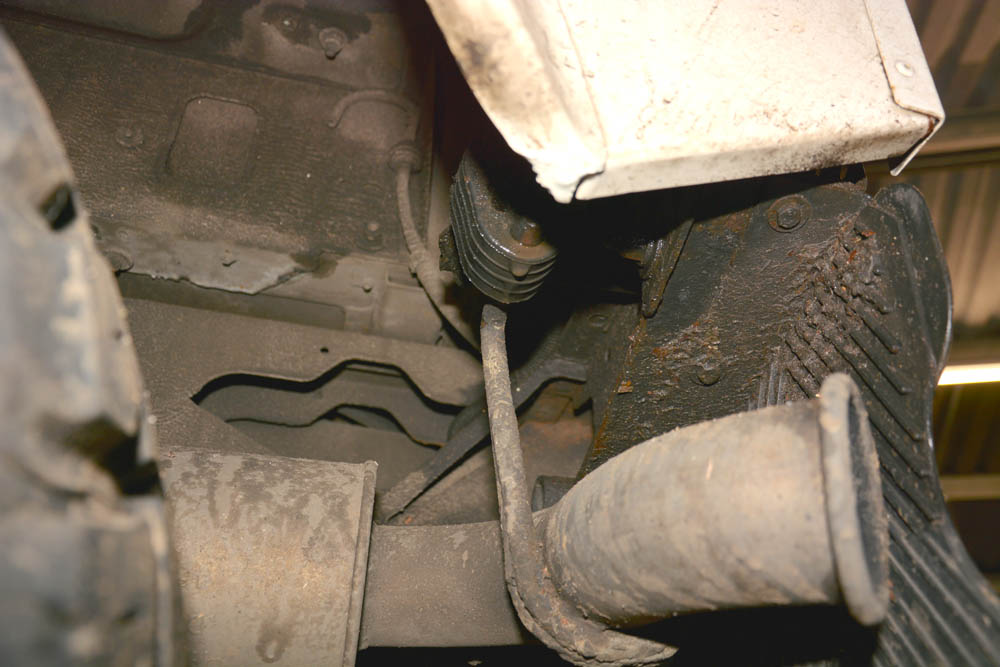
Step 21: The top and bottom bushes on the dampers (shock absorbers) are checked for wear, front and rear. These are showing signs of cracking and looseness.
Step 22: The dampers themselves are also checked for signs of advanced corrosion and leaks. Their condition can also be assessed during the test drive.
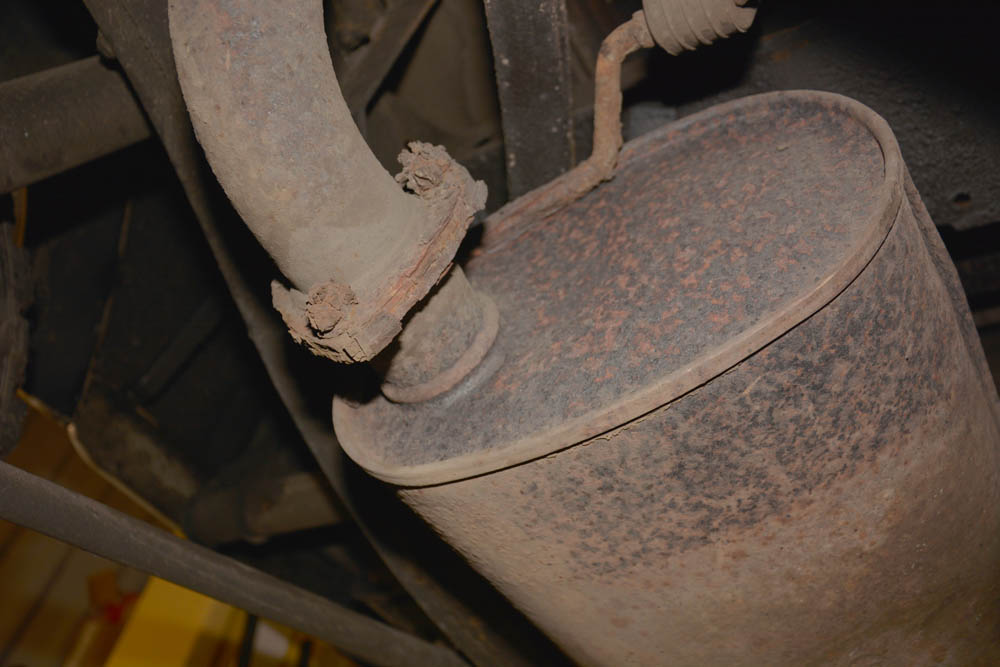
Step 23: This middle silencer box is showing its age. It is not leaking yet but will be replaced at the next service. The flange nuts are almost rusted away.
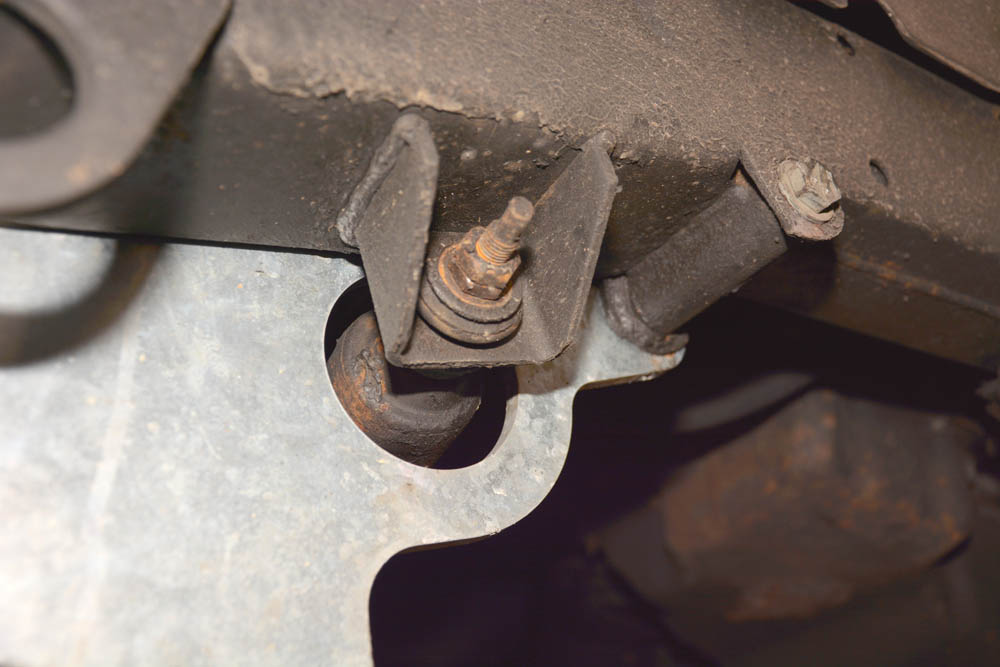
Step 24: Failure of the steering drop arm ball joint most often arises due to a damaged rubber protective boot, which needs checking. This one is good.
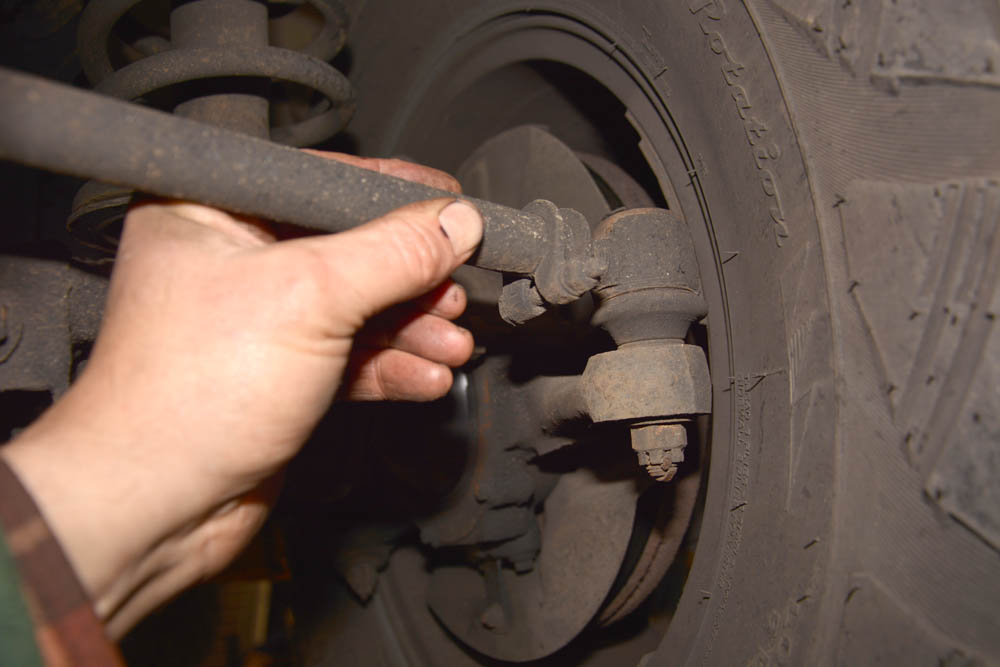
Step 25: Likewise the track rod ends are checked for condition and looseness. This rubber boot is in good condition and no free play was detected.
Step 26: The chassis is checked along its complete length for damage and corrosion, paying particular attention to the rear, where corrosion often starts.
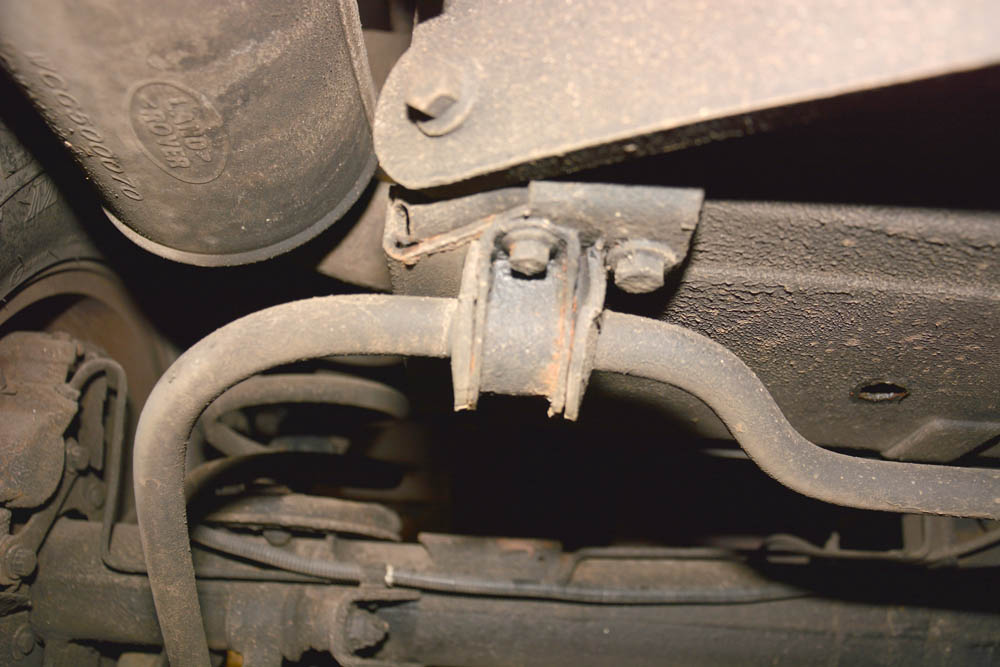
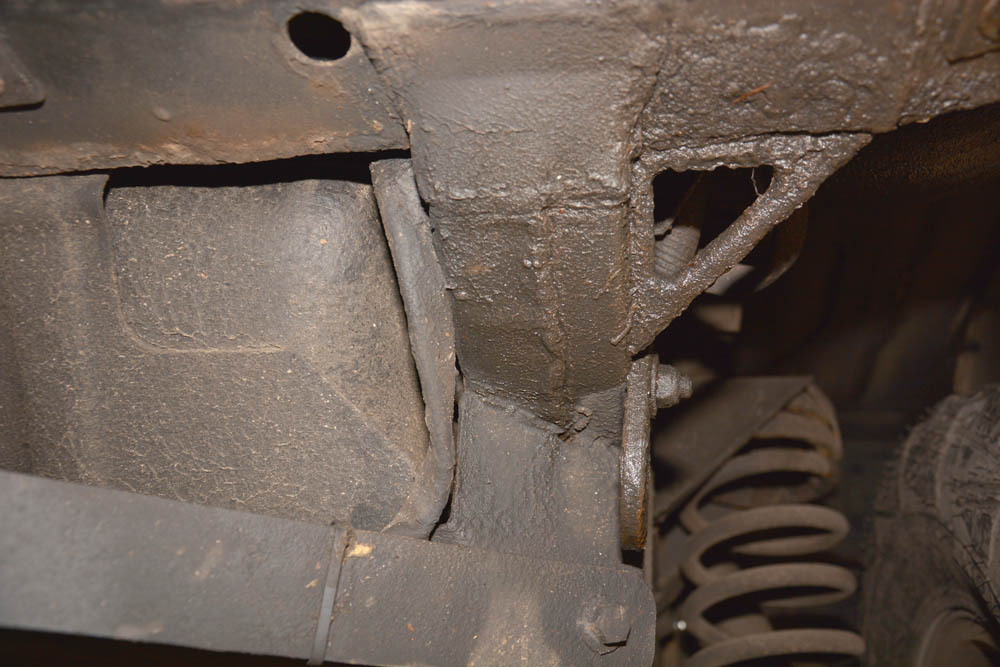
Step 27: Where fitted, the anti-roll bar linkages and bushes, front and rear, need to be checked for condition and looseness. These are all within spec.
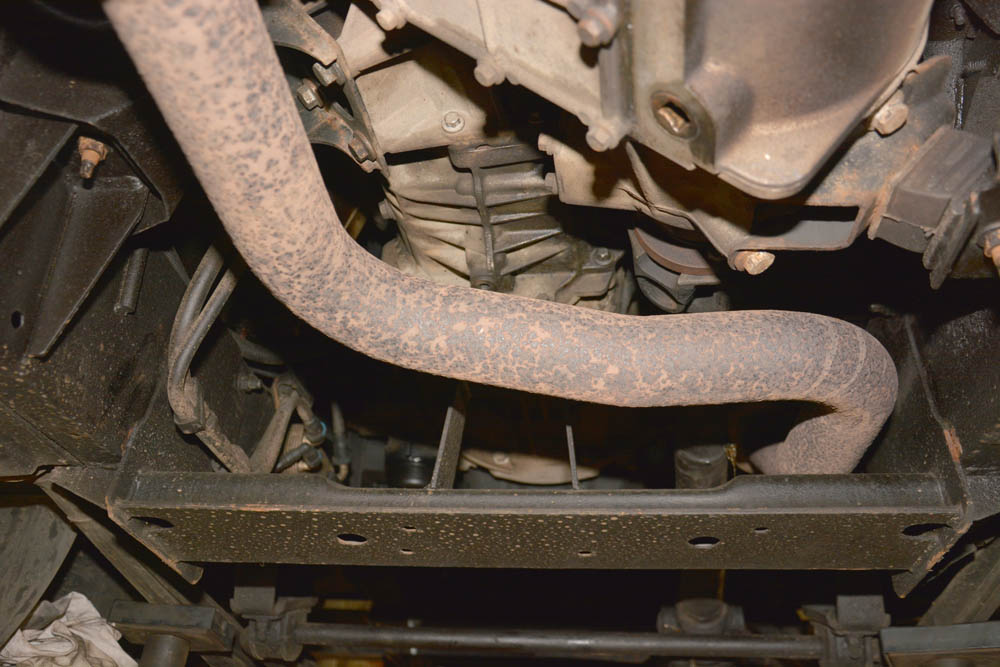
Step 28: The exhaust tailpipe, exhaust hangers, mudflaps and rear cross member are all checked for condition – and found to be in good order here.
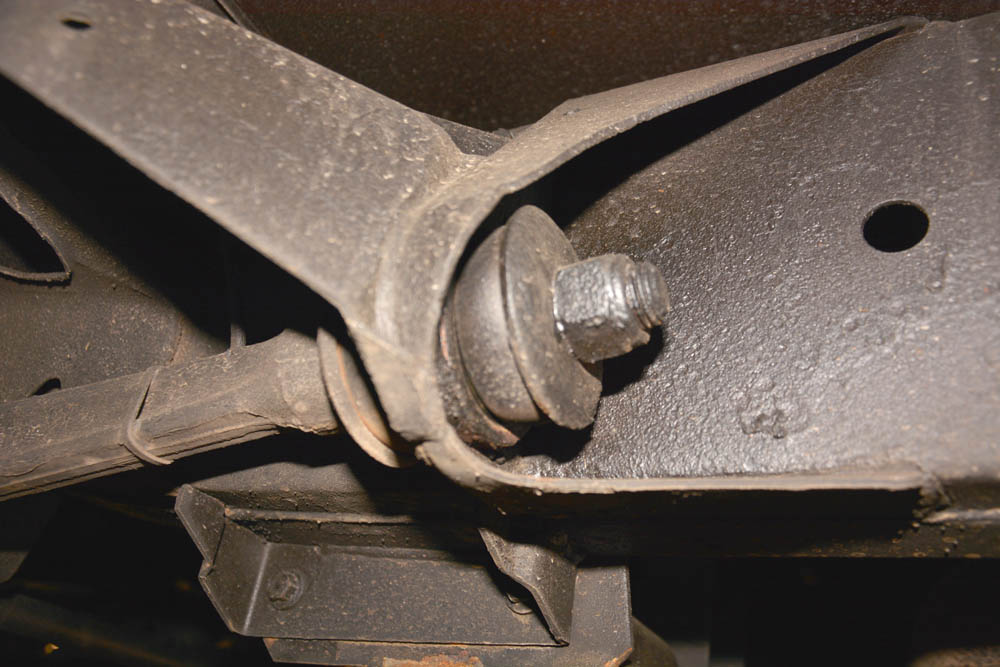
Step 29: Radius and trailing arms are checked for damage and the bushes assessed. Front axle end is stressed with a pry bar to check for excess play.
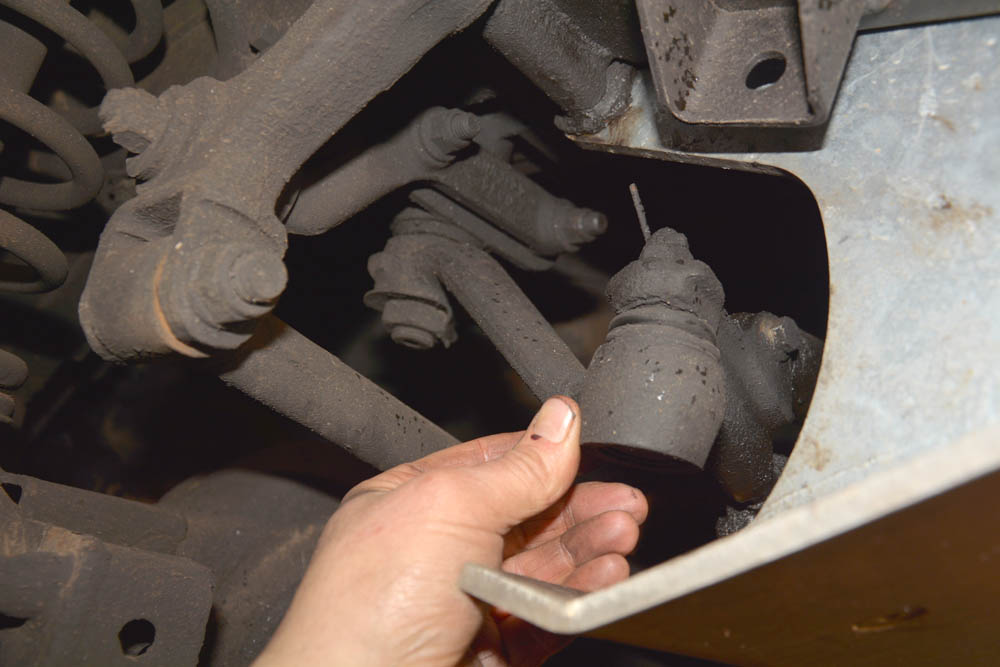
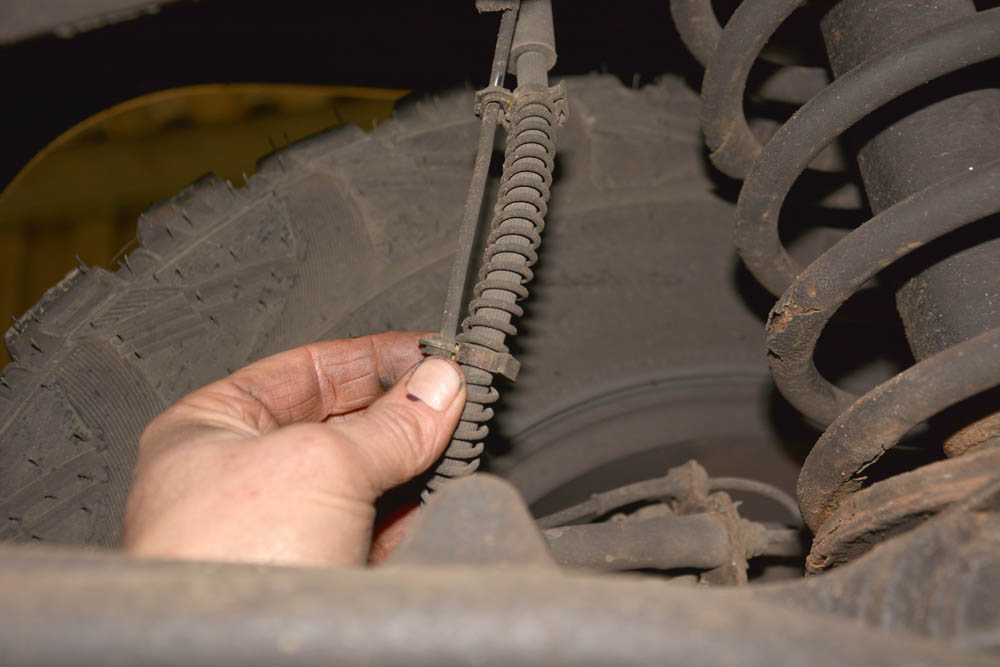
Step 30: The steering damper is checked for leaks or corrosion, and the condition of the bushes examined at the drag link fixing and here at the chassis bracket.
Step 31: Damage to ABS sensor cables would be obvious by fault lights on the dash. But it’s good practice to check them for developing issues such as abrasion.
In the engine compartment
Now that all of the oils have been drained (and the drain plugs replaced and tightened), checks have been carried out and signed off, and the propeller shafts lubricated – the next stage of this major service takes place under the bonnet.
The main job is to pour fresh new oil into the engine, of the correct quality and grade. The engine is filled to the maximum mark on the dipstick, then the engine is started. After shut down, the engine oil level will have dropped below maximum because oil will have filled the new filter. So the engine oil is topped up again to maximum on the dipstick.
As soon as the engine oil is taken care of, the other tasks and checks – as per the service schedule – are carried out.
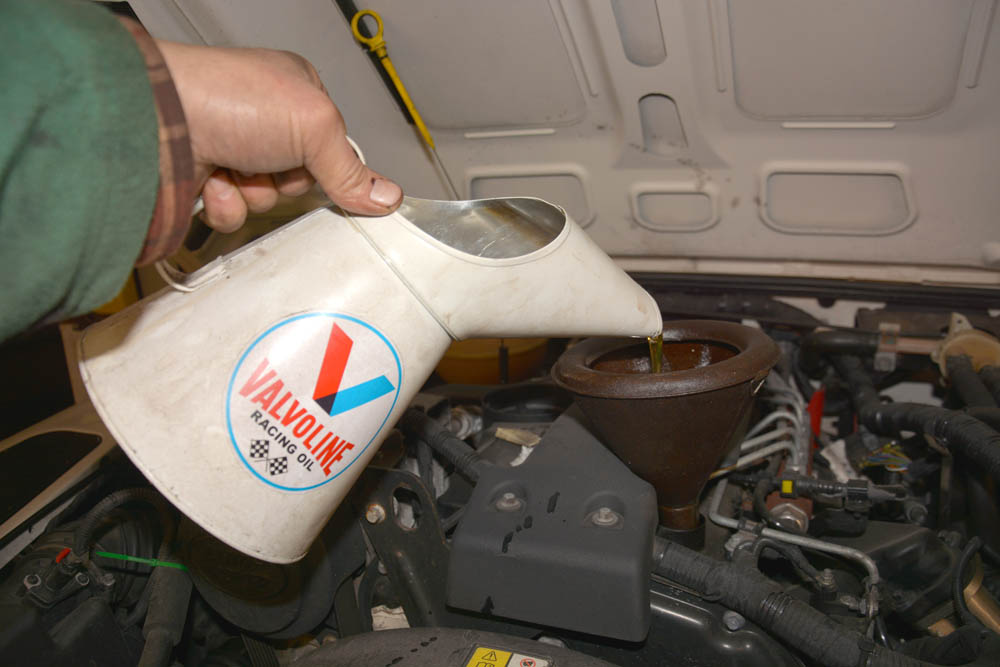
The crucial job under the bonnet is to refill the engine with the correct amount of engine oil, of the correct grade as specified for your model.
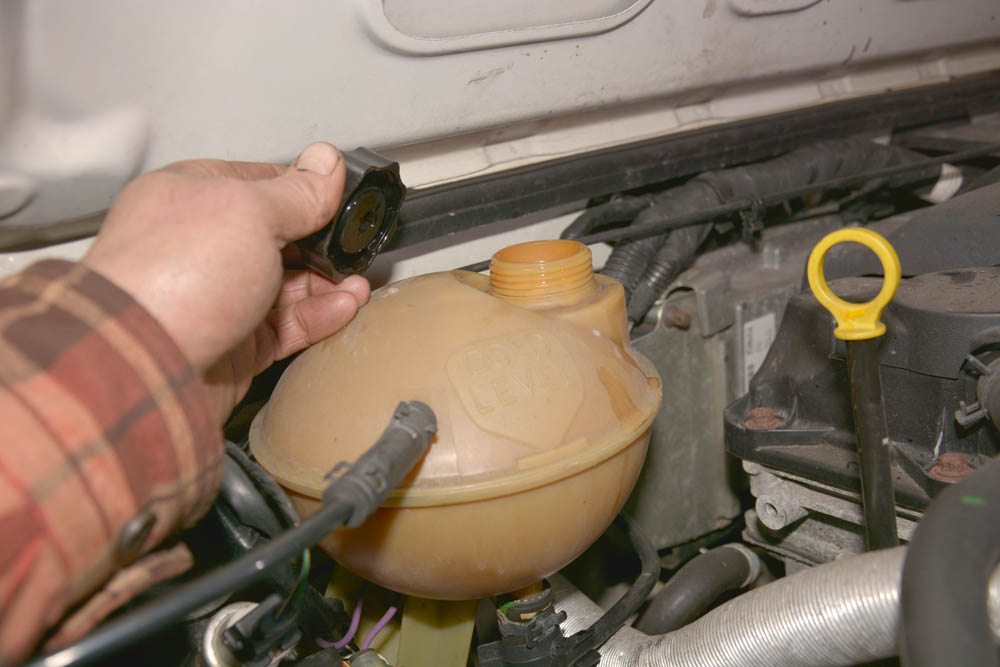
The coolant level is checked and topped up if necessary. The level marker is for when the engine is cold, which it should be before topping up.

The brake fluid level and the clutch fluid level both need to be checked and, if either level is low, the cause needs to be thoroughly investigated.
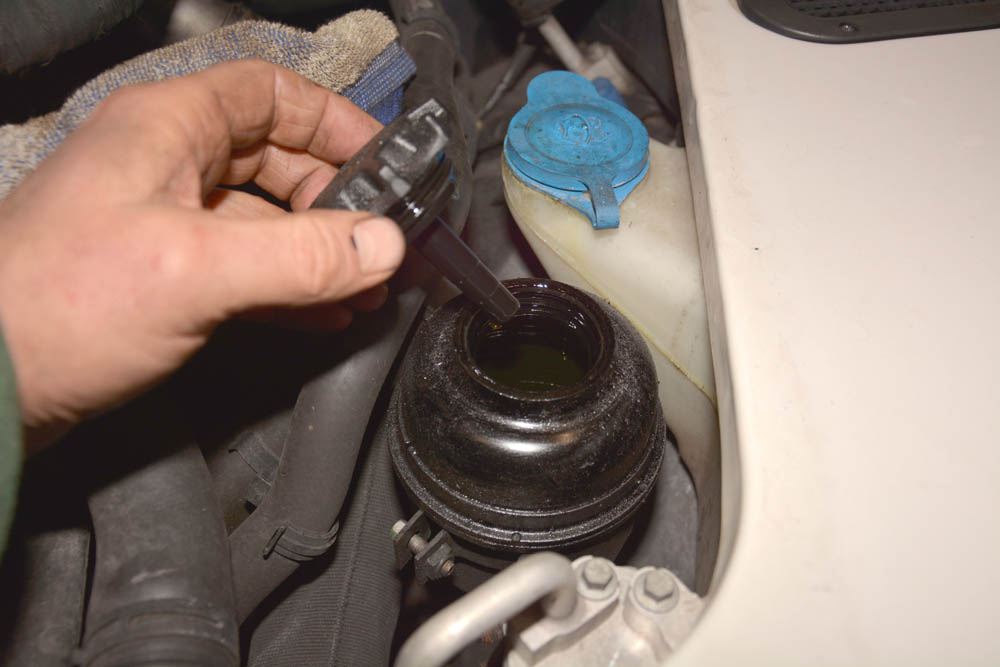
The power steering fluid level is checked and topped up if necessary. The system was checked for leaks while underneath the Land Rover.
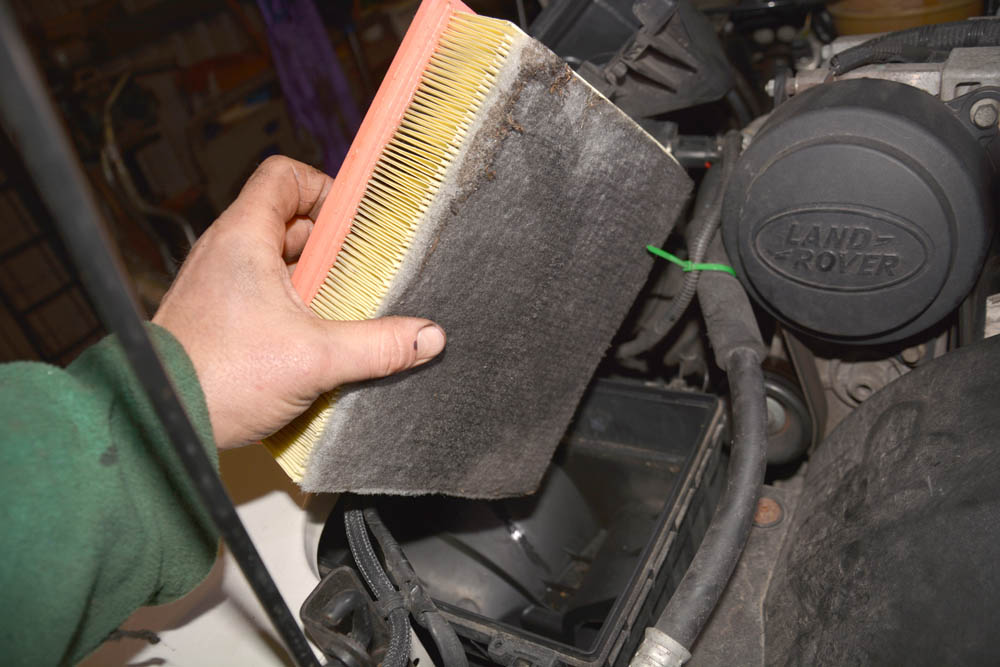
The air filter has been doing its job well, and looks overdue for replacement. The filter housing should be cleaned out. Correctly seat the new filter.
Servicing the exterior
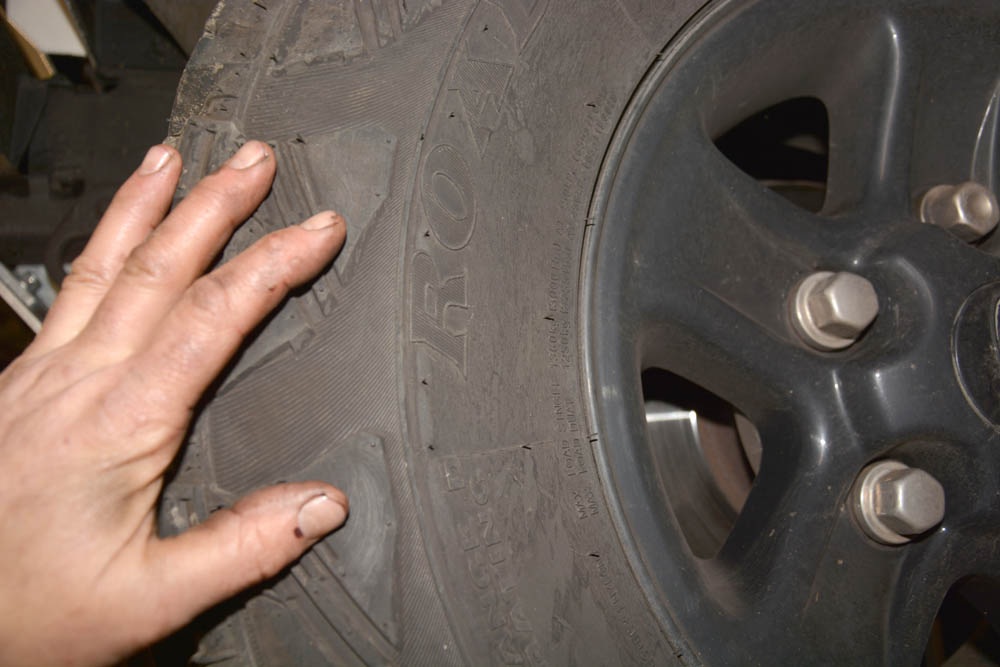
All of the tyres, including the spare, need to be checked both for legal tread depth and any signs of sidewall damage or deterioration.
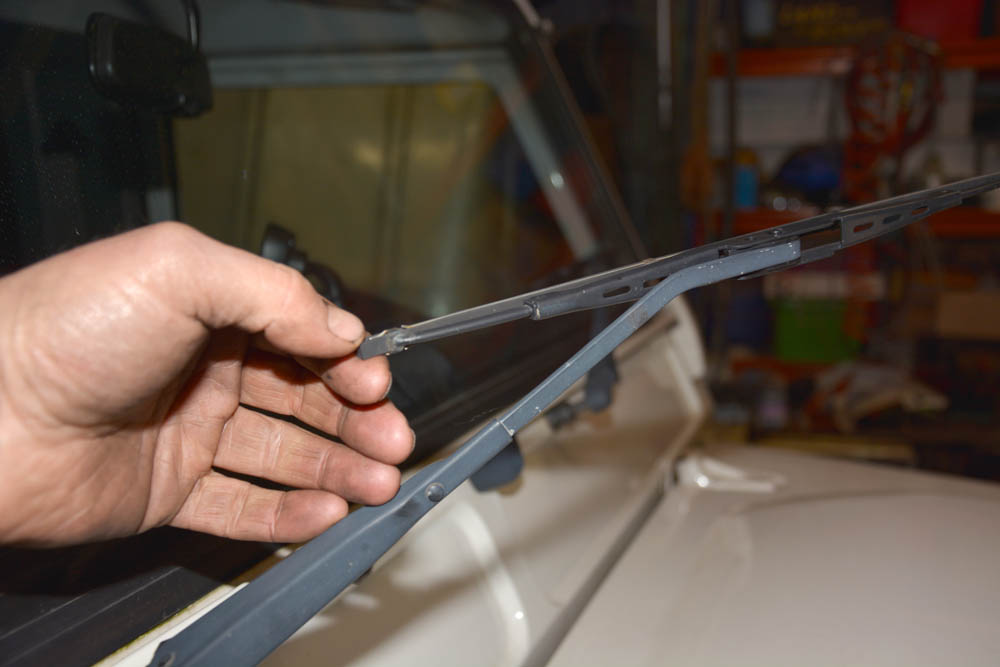
The window wipers, front and rear, are checked for damage, correct operation and efficient wiping, as well the washer jets.
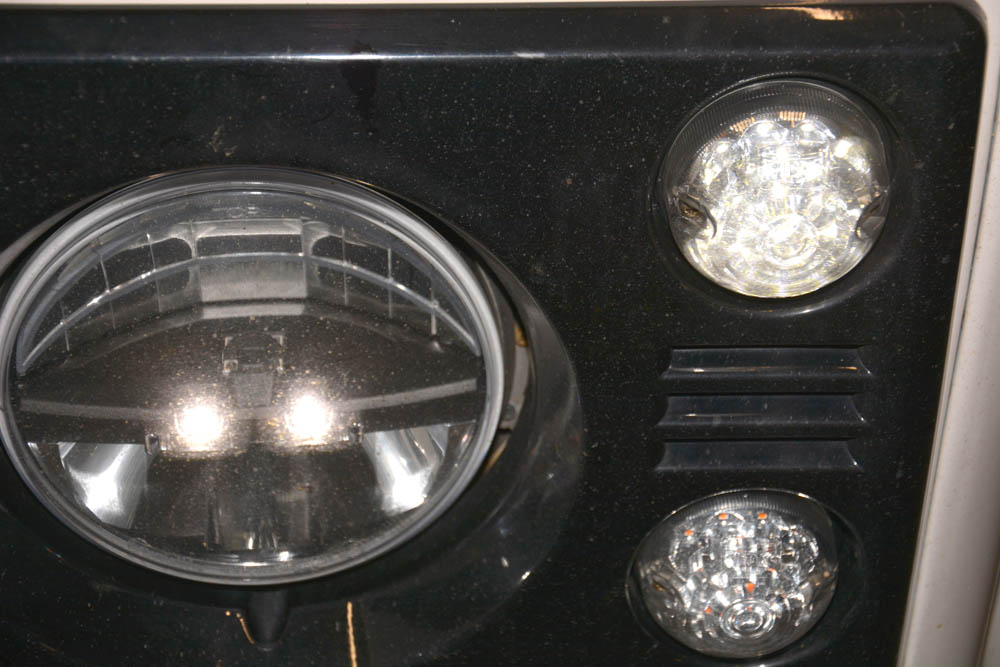
The front side lights, indicators, repeaters and headlight are tested – including dip and high beam. Any faulty light units need to be replaced.

Brake lights and indicators checked to ensure operation doesn’t interfere with tail lights, suggesting earth problems. Reversing lights / lenses are checked.
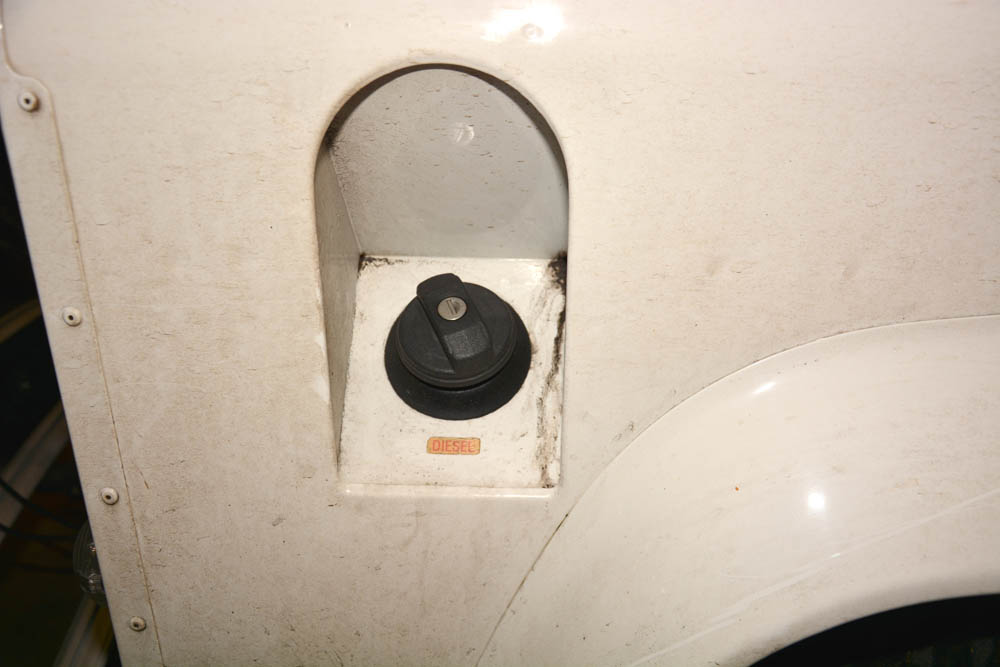
The fuel filler cap, including the operation of the lock, is checked to ensure it is sealing properly with no leaks. The filler hose behind was also examined.
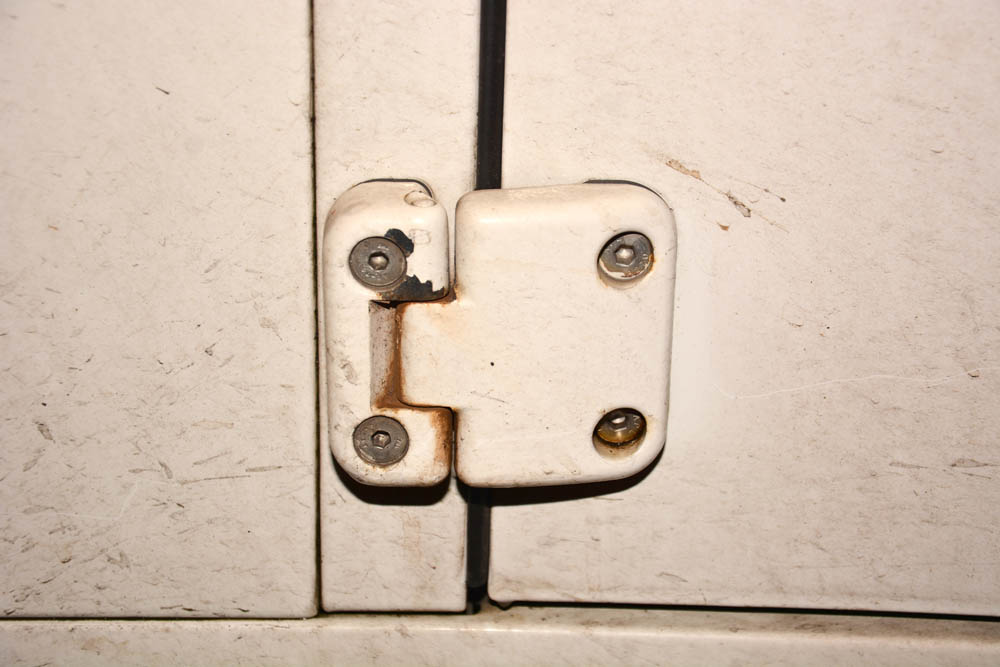
The front and rear door hinges are examined and lubricated. Wear can be detected by checking for door drop on opening, by lifting the rear edge.

The towing bracket and any external equipment is examined for security, and the towing electrical socket is checked for proper operation.
Working inside the car
Again, work on the vehicle interior is mainly about carrying out inspections and checks. However, the easy nature of this work does not make it any less important. It is vital that all switches, instruments and equipment are functioning correctly. Clearly the condition of all seat belts is paramount to safety, and any issues found need to be dealt with – most likely by replacement. In Defenders, the driver’s seat belt has long had a habit of getting caught in the door jamb, with resulting damage and chaffing, so this is an obvious candidate for close inspection.
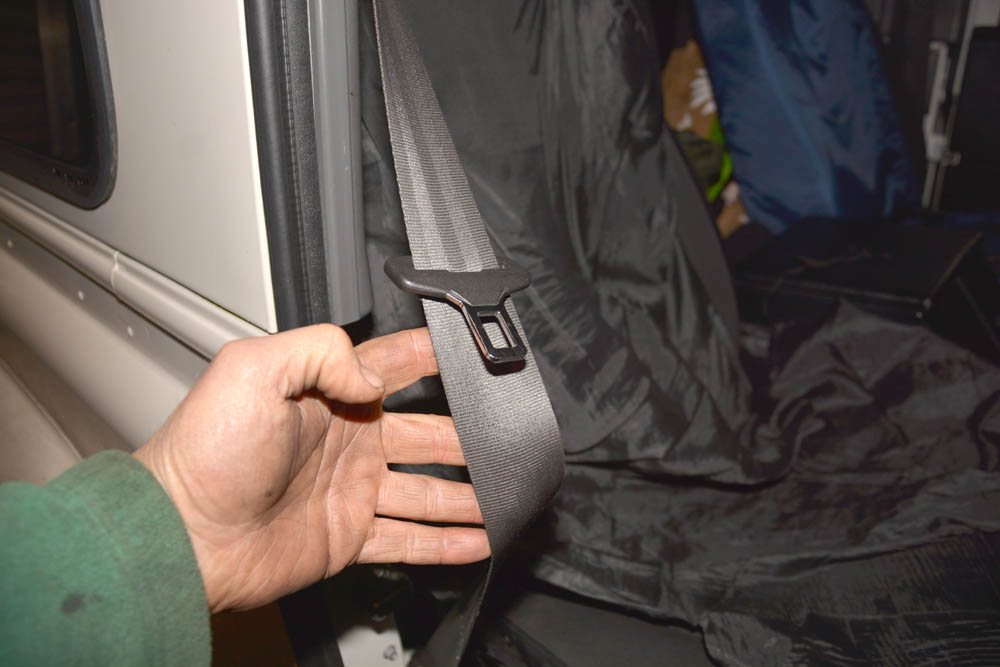
All seat belts – front and rear – need to be examined for wear and damage and the operation of the inertia reel and catches checked.
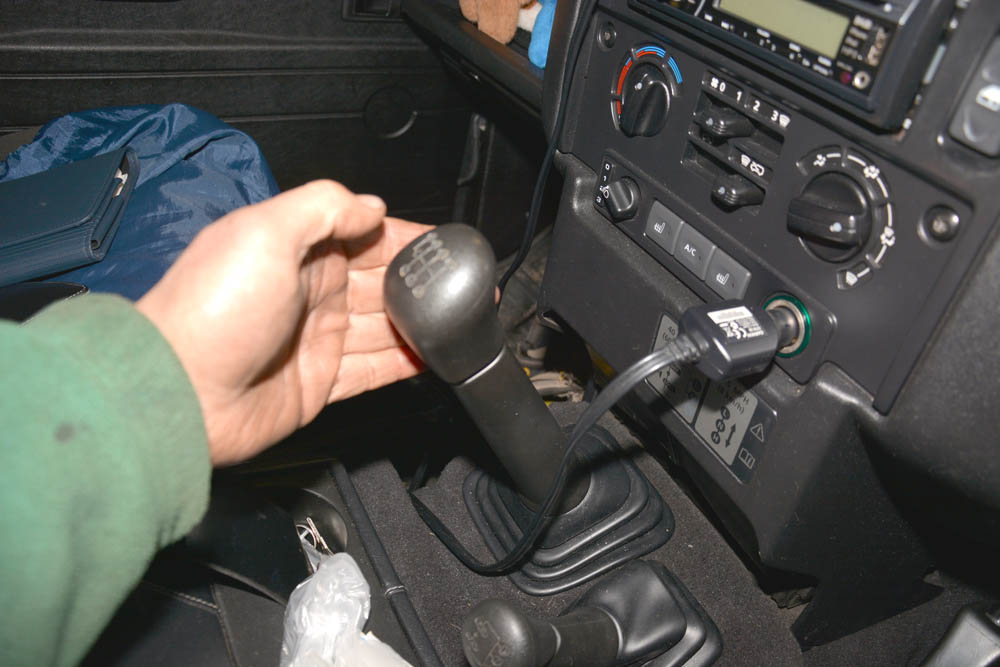
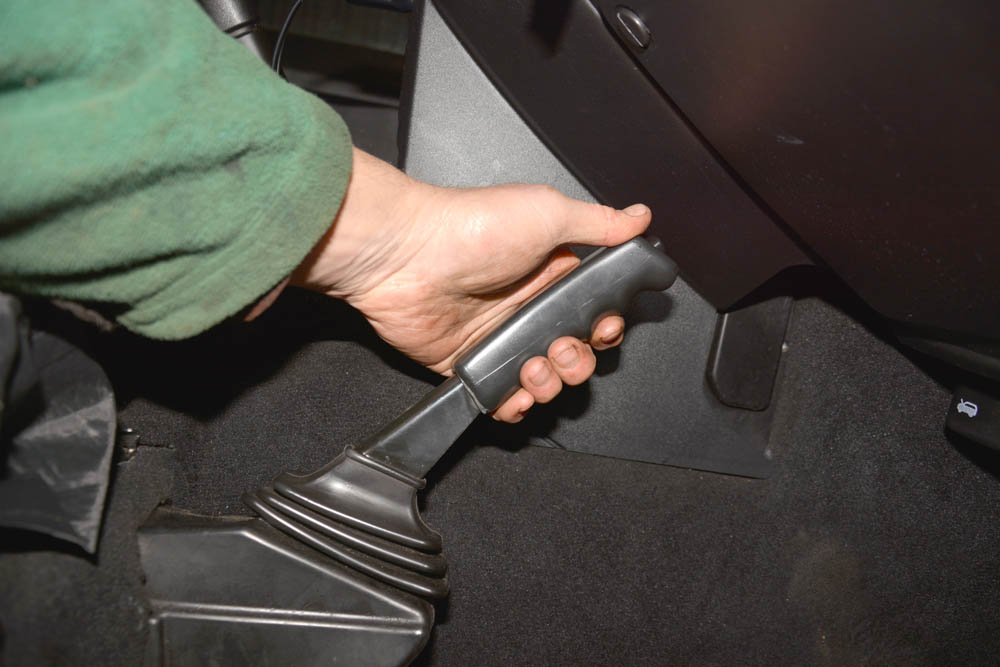
All interior fittings and equipment, for example the gear shifters, are checked over for correct operation and for any signs of wear or damage.

The check straps on all doors, as well as the electrical connections, are inspected. Likewise, the functioning of the electric windows is checked.
The hand brake is tested for correct locking and release. The adjustment is checked from underneath on the transmission brake backplate.

All interior switches are operated on and off again to ensure that they are functioning correctly and operating each of the functions they are fitted for.

The service schedule checklist is completed to ensure that every element of the complete B service, that is due, has been carried out.
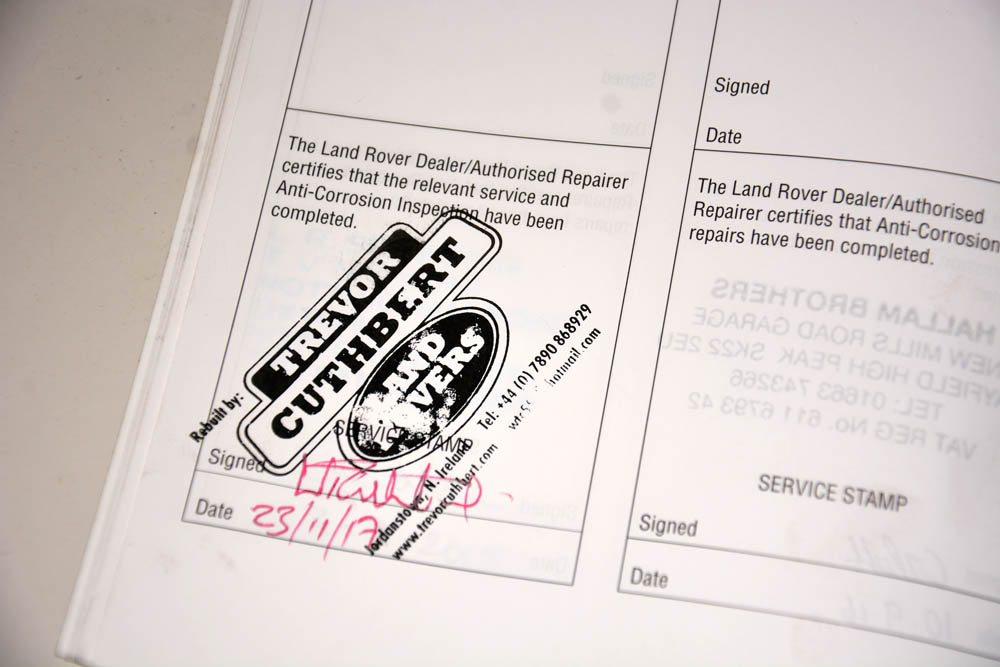
Finally, the Land Rover service record is stamped and signed of,f so that the valuable service history remains complete and intact.
Did you know that you can now get access to the entire archive of Land Rover magazine content with our brand new digital archive? You can enjoy all the issues since the launch of the magazine – use the search bar below to find features, reviews and other great content: