


24 November 2020
|
 A relatively easy task on this Defender V8
: credit: © Ed Evans
A relatively easy task on this Defender V8
: credit: © Ed Evans
Fitting a new coolant pump is a common and fairly simple task, and it gives the opportunity for some extra maintenance. Ed Evans explains
Time: 15 hours
Cost: £28 – £70
Difficulty: 2 out of 5 stars
Models: Rover V8 powered Range Rover Classic 1986 to 1993, Discovery 1 3.5 and 3.9
Parts: Britpart pump STC483 for this engine, but order with engine/vehicle number.
Work safely: Allow the engine and coolant to fully cool prior to working on the cooling system or releasing the pressure cap. When first opening the system by releasing the pressure cap be careful of any residual pressure.
• Wear protective gloves or barrier cream.
• It’s safer to check for coolant leaks with the engine switched off. If viewing the system while the engine is running, ensure hands, clothing and rags are keep clear of drive belts and fans, remembering that electric fans may start without warning.
Contacts: Steve Grant and Britpart

A metallic growling noise in the engine bay is not what you expect to hear from a newly rebuilt V8. So it was a relief to see a steady drip of liquid coming from the coolant pump gland on the front of the engine, which suggested the pump was the source of the noise. The coolant pump’s bearings and seals sit next to each other on the pump shaft so, when the bearings wear with age, they allow the shaft to move slightly which, in turn, distorts the seals allowing coolant to drip out. An engine rebuild doesn’t include the front cover and coolant pump so, before fitting these, we’d carefully checked the pump for bearing condition, and it seemed fine at the time. Given the low cost, we should have fitted a new coolant pump as a matter of course, and I’m not sure why we didn’t – probably so excited at the new engine and with so many other aspects of the car’s rebuild occupying our minds that it got overlooked. Not cool. The upshot is that it’s not a particularly onerous task to fit a new one.
Some care is needed when removing and refitting the securing bolts to avoid shearing them and/or damaging threads, and it’s worth cleaning the threads and shanks of the bolts before refitting.
The first job, as always, was to drain the coolant after first confirming the engine and coolant were fully cooled, and carefully releasing the header tank cap to confirm there was no residual pressure. In this case we drained the coolant by releasing the radiator bottom hose and collecting it into a clean plastic container placed beneath, controlling the flow by refitting and releasing the header tank cap to allow air in.
The viscous fan (if fitted) will need to be removed from the front of the coolant pump, though not on this engine which is cooled by separately mounted electric fans.
Removing the old pump

Good access: The coolant pump is ideally presented at the top front of the engine bay and, on this Ninety installation, there are no plastic cowls to be removed.
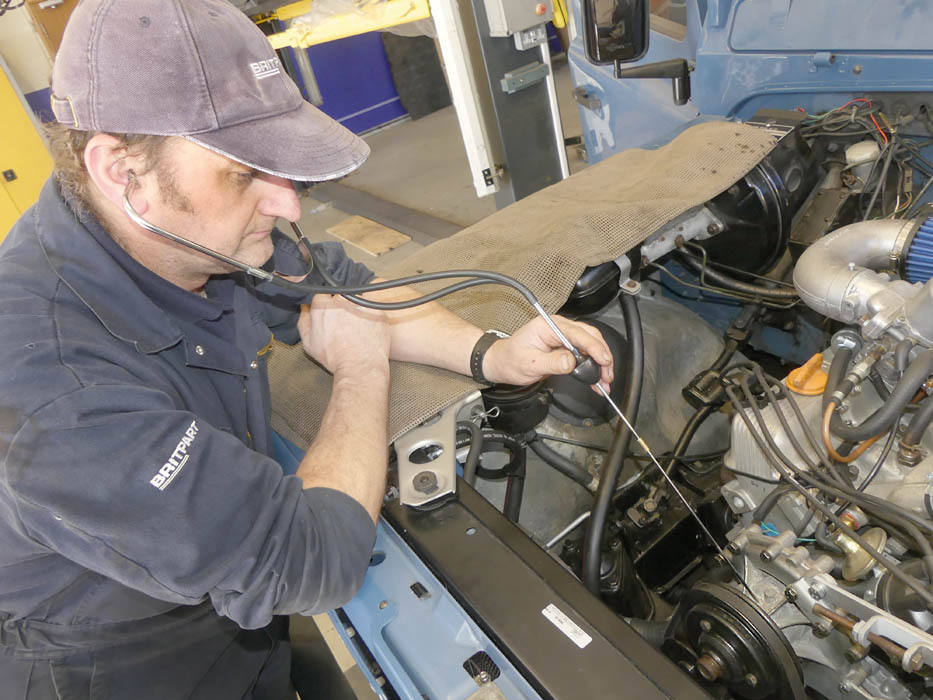
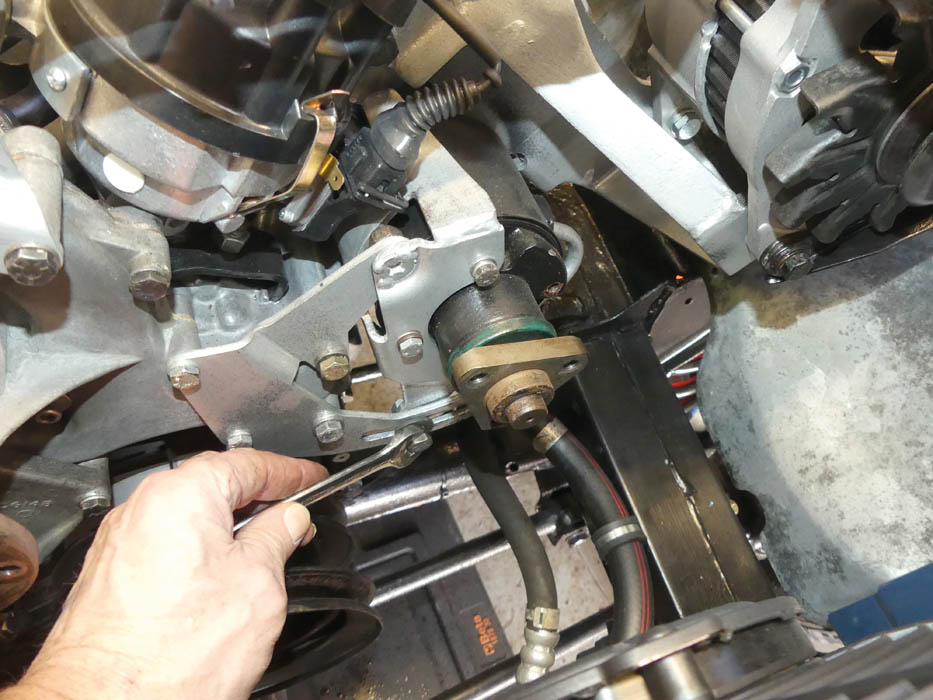
Diagnosis: Doctor Steve confirmed the noise was from the coolant pump by holding a stethoscope probe to the pump body, taking care to avoid the moving parts.
Alternator belt: This alternator belt tensioner is eased, then the alternator bolts are slackened off to allow the alternator to swing inboard to take the belt off.
Detached: The alternator belt tensioner bracket is unbolted and lifted clear from its support bracket which, in turn, is held under two coolant pump bolts to be released later.

Tensioned: This tensioner pulley (adjusted and held by a pinch bolt) is keeping the coolant pump drive belt tight for the moment to help with the next stage.
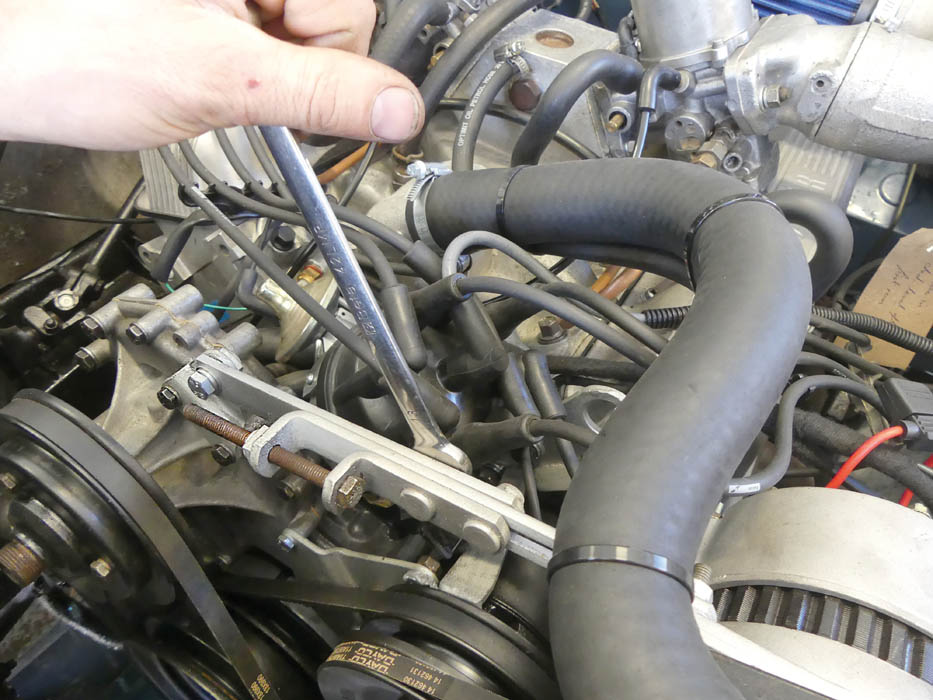
Releasing pulley: The three bolts holding the pulley to the coolant pump flange are released now while the drive belt is still on and helping to hold the pulley firm.
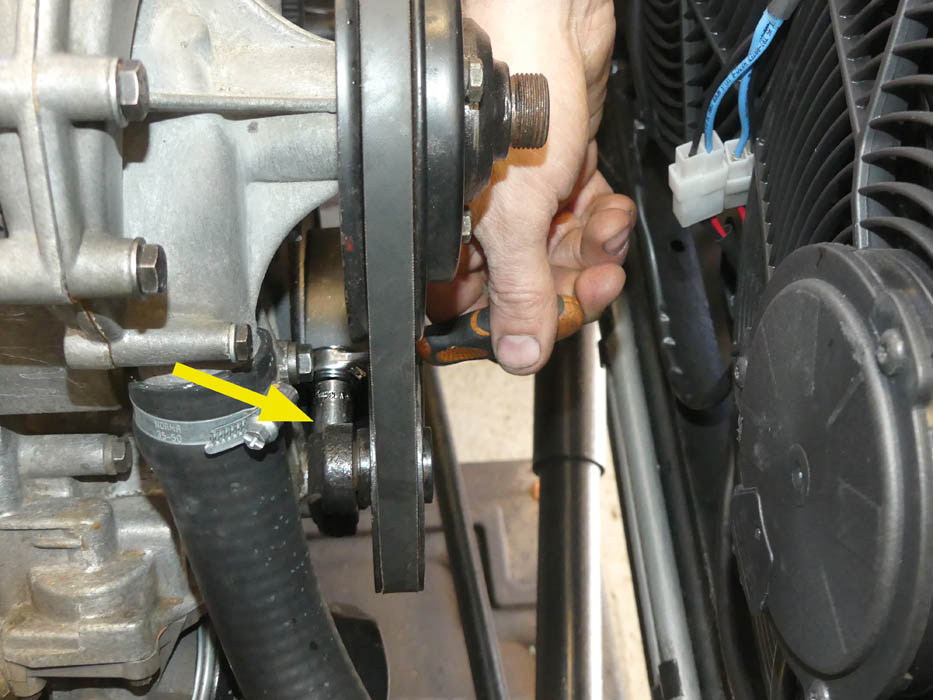
Tension off: The coolant pump belt tension can now be released by slackening the pinch bolt holding the tensioner pulley, and moving the tensioner inward away from the belt.
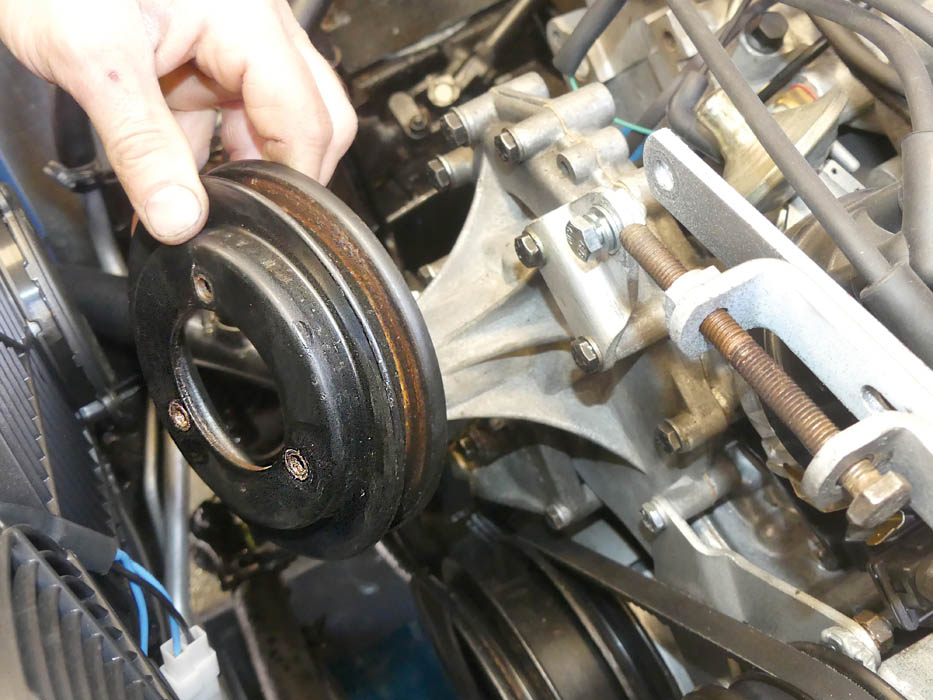
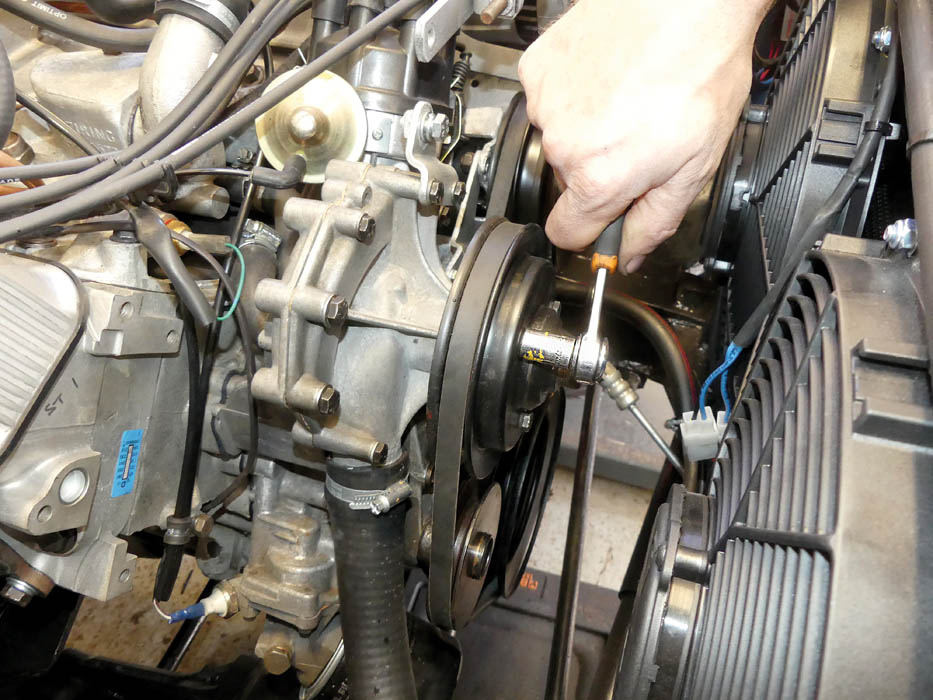
Check point: Now the pulley bolts and the pump pulley are removed. V-groove is inspected for accumulated dirt or corrosion which could damage the belt or prevent it riding correctly.
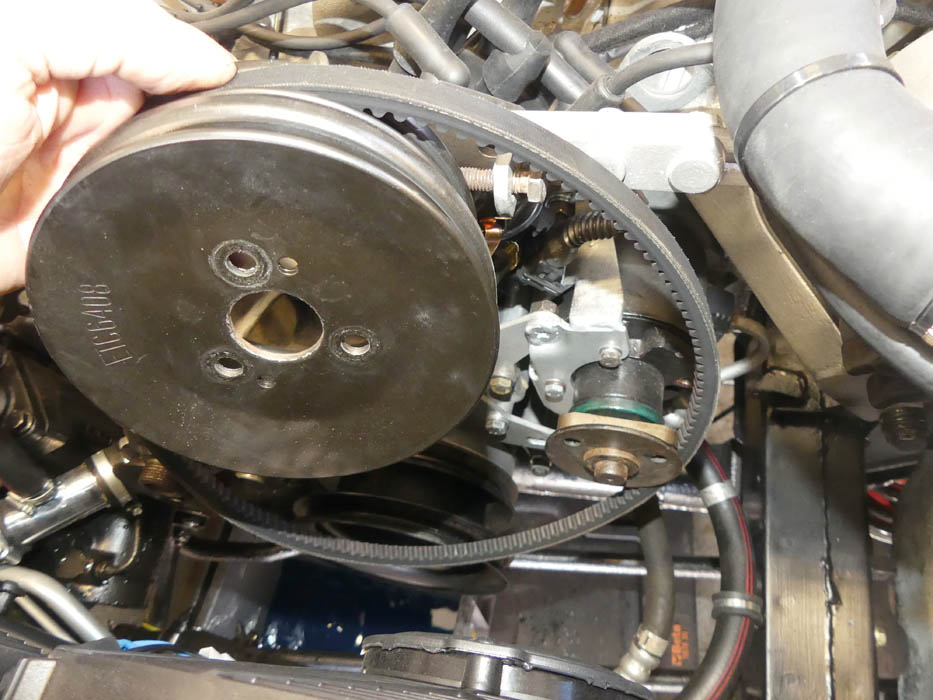
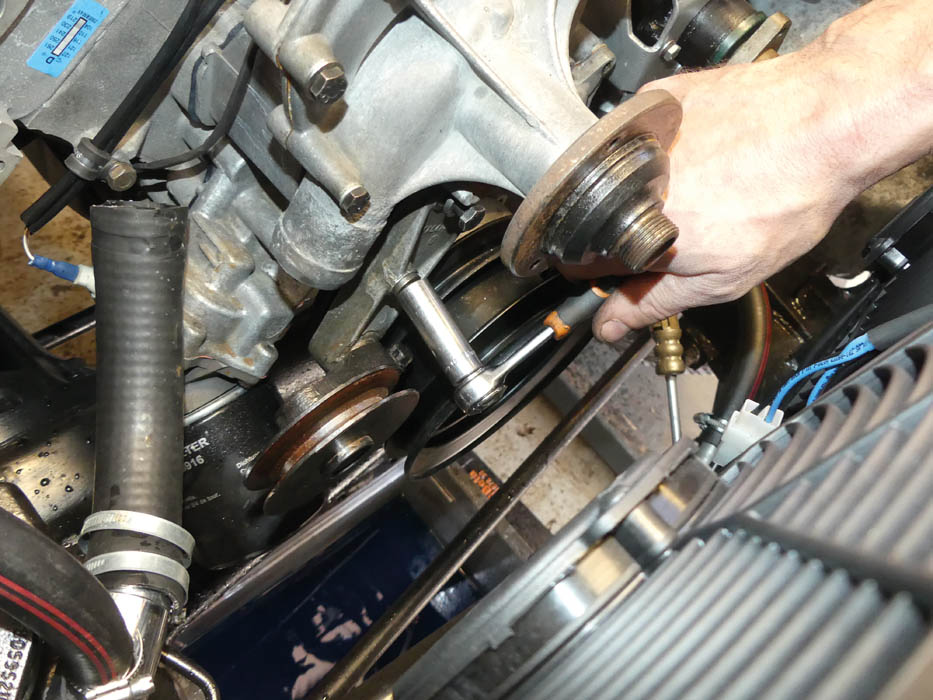
Power steering pulley: Next, the PAS pulley and pump bracket. Pulley bolts are eased with the belt tensioned, then the tension is eased (see pic 11) to remove the pulley and belt.
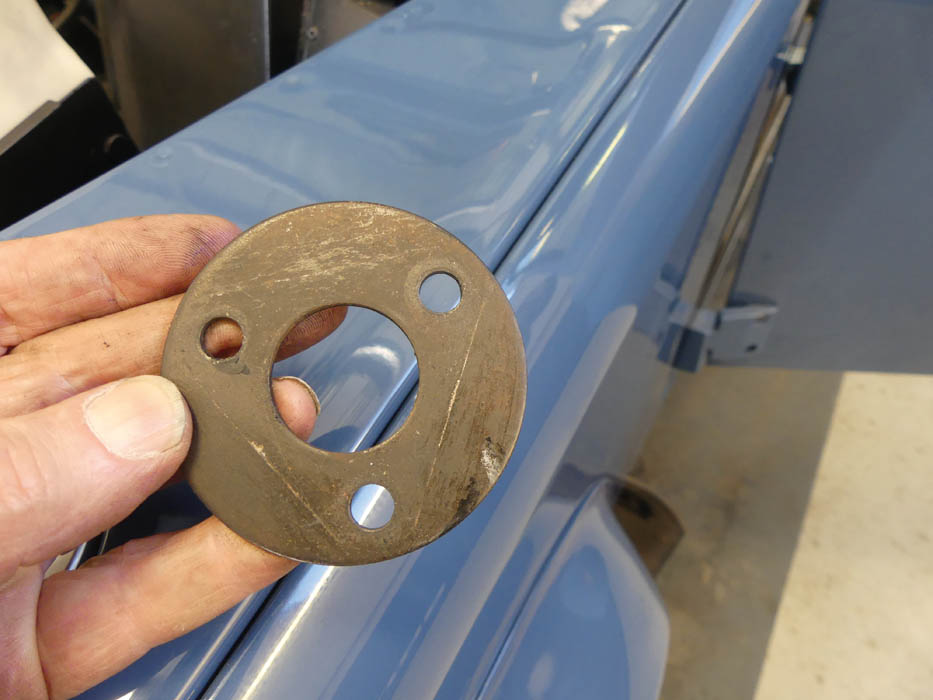
Spacer: As the steering pump pulley is removed, any spacer which will be sat behind the pulley on the pump’s shaft hub, should be collected for refitting on rebuild.
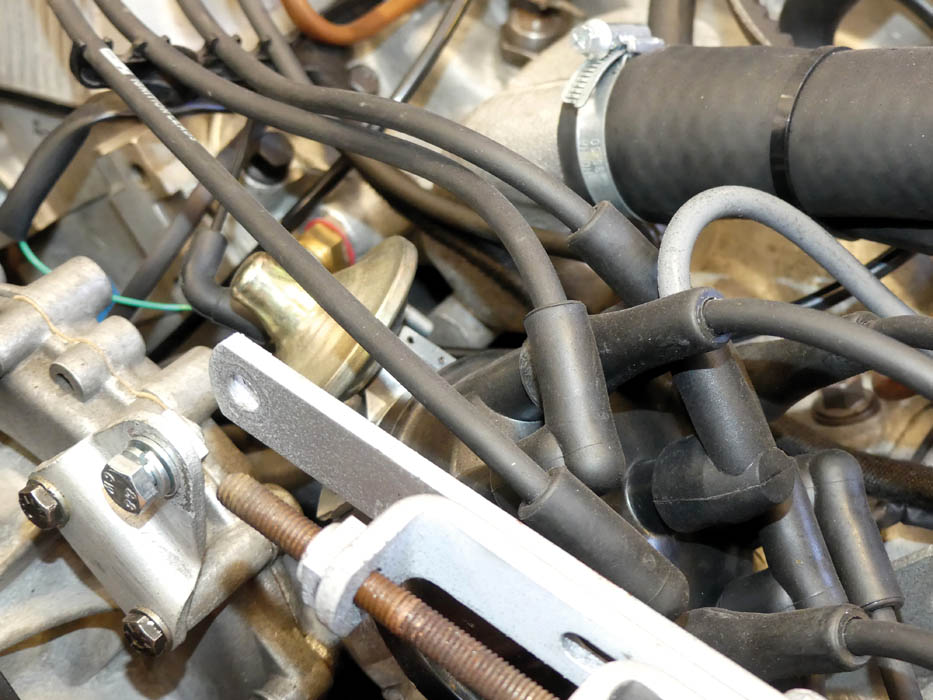
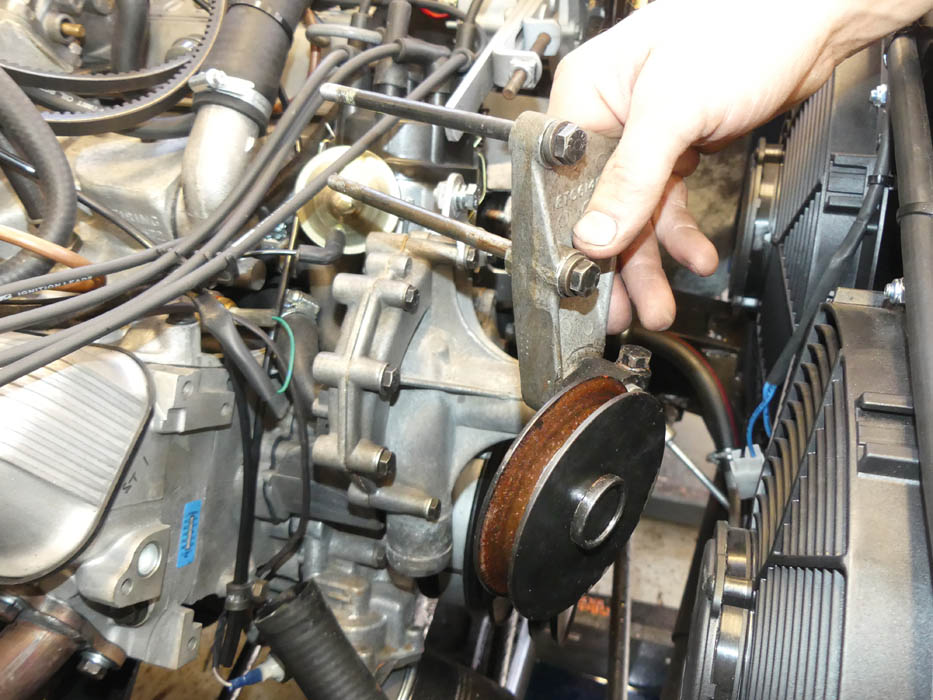
Tensioner exposed: With the power steering pump’s pulley now out of the way, this pic shows how the PAS pump belt’s tensioning bracket was eased in step 9.

Tensioner bracket: The steering pump’s tensioner bracket is now unbolted. Bolts pass through front casing, coolant pump and block, so keep them in order. Also one nut on stud (arrowed).
All clear: With the steering pump belt tensioner bracket now lifted off (it’s more trouble than it looks), we now have clear access to remove the remaining coolant pump bolts.
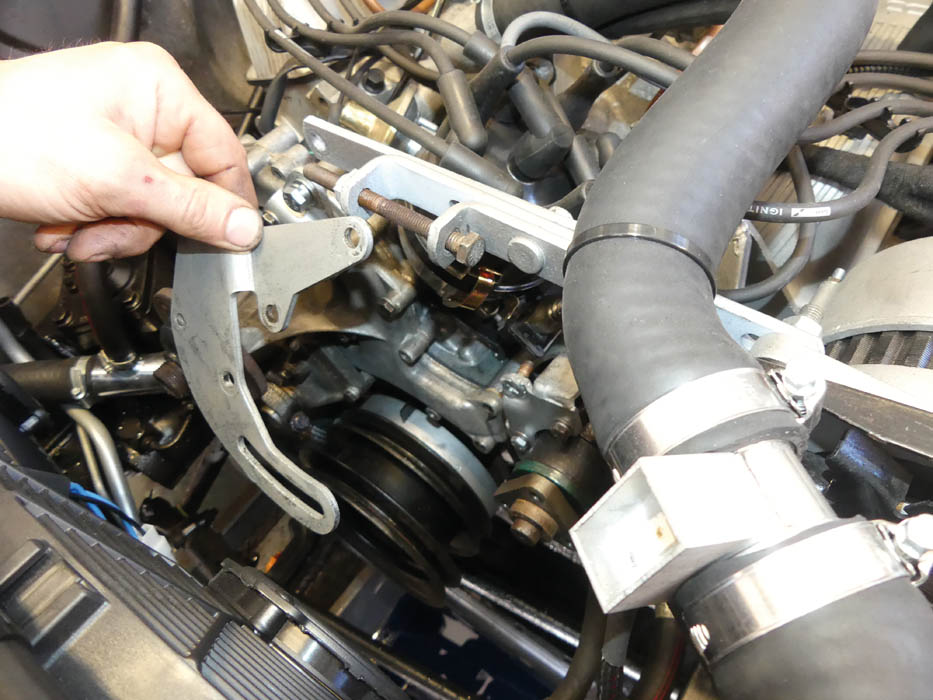
Belt tensioner: The coolant pump’s belt tensioner bracket is held by three bolts through the pump and front cover. It’s removed as a complete assembly with its pulley.
Check and oil: The pinch bolt for setting belt tension is seen at the bottom right of the bracket. Spin the pulley to confirm it's smooth, then clean the groove; oil the plain bearing.
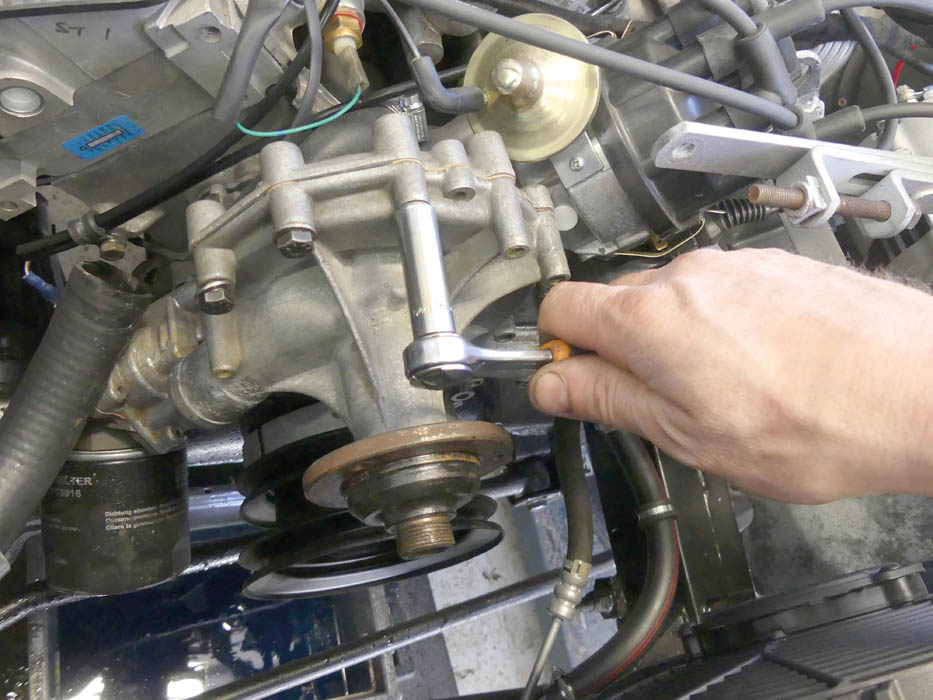
Pump bolts: The bolts are now removed from the pump. All bolts from this job are best kept in order to ensure they’re fitted back into their correct holes.
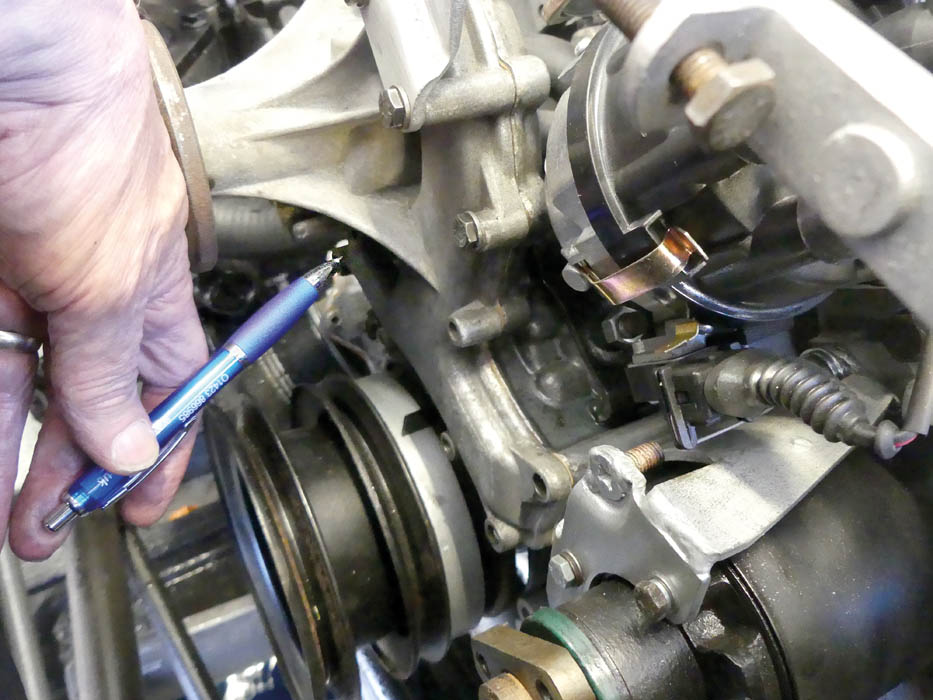
Easily forgotten: One bolt is hidden under this casting web (an Allen bolt in this case, though normally hexagon). Two of the upper bolts also hold the alternator tensioner bracket.

One for the scrap bin: The pump comes away complete with the gasket, which would normally need to be scraped off the front cover taking care not to mark the aluminium face.

Clean up: Even so, the face on the front cover still needs cleaning perfectly flat to enable the new gasket to seal. Note the locating dowels at 12 and 6 o’ clock.
Reassembly
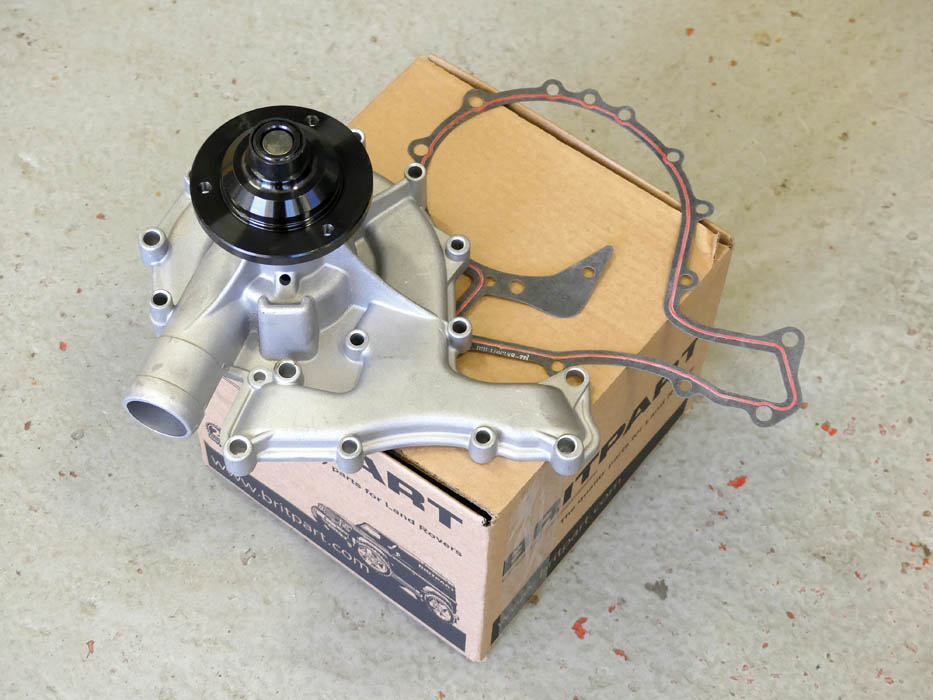
New part: The new aftermarket coolant pump with its essential new gasket (Britpart number STC483) costs around £28. An Airtex (original manufacturer) pump retails around £70.

Sealing caution: Some prefer to use a sealant with the gasket, but only the finest smear should be used so excess cannot get into the coolant system to cause blockages.

Pre-sealed: The gasket supplied with this pump is impregnated with sealant (red stripe). It’s held in position here by the locating, dowels ready for the pump to be fitted.

Rebuild: Pump is positioned on the dowels, alternator tensioner and steering pump brackets and coolant belt tensioner located, and bolts tightened gradually and evenly.

Belt settings: The coolant pump and alternator drive belts are fitted, the alternator tensioner located to its bracket, and the belt tensions set (using pinch bolt for the coolant belt).
Finishing off
That’s the mechanical side of the job almost complete but, before boxing off, it’s worth checking that all the pulleys and belts are exactly in line by viewing from the side of the engine. Theoretically, they should be correct assuming they were good before dismantling them, and that the spacer behind the power steering pump pulley has been refitted.
With the bottom hose reconnected, the system is filled with the correct solution of antifreeze, bleeding any entrapped air from the highest points of the cooling system by releasing upper hoses until coolant free of air bubbles emerges. We let the engine warm up on idle until the temperature gauge needle began to move. Then we switched off to check for leaks before running the engine to full temperature. After another leak check, we let the engine fully cool before checking the coolant level. For the next hundred miles or so, it’s worth regularly checking the coolant level when the engine is cold and, of course, keeping an eye on the temperature gauge.
Did you know that you can now get access to the entire archive of Land Rover magazine content with our brand new digital archive? You can enjoy all the issues since the launch of the magazine – use the search bar below to find features, reviews and other great content: