


01 January 2018
|
 : credit: © Dave Barker
Erratic tailgate lock, or does it just refuse to open? Dave Barker has the DIY answer
Model: Freelander 2
Time: 1 Hour
Cost: £21-£31
Difficulty: 1/5 stars
Tools needed: General workshop tools
Contact: Maddison 4x4, Water House Farm, Station Road, Topcliffe near Thirsk, YO7 3SG; Tel: 01845 587407; maddison4x4.com
Work safely: • It’s advisable that you always wear protective gloves or barrier cream to protect the skin from oils and sharp edges of components and eye protection as required.
• Work should be carried out in accordance with the Land Rover official manual

Moisture and dirt finds its way into the tailgate release handle, which causes the switch connections to corrode and/or the connections to short out
The tailgate lock on this 2011 10-plate Freelander 2 was not working correctly and was described as “having a mind of its own” by the vehicle’s owner. The tailgate was sometimes unlocking and opening on its own, or whenever any of the four doors were opened.
Also, if the tailgate was shut, it could at times open and unlock when the doors were locked using the central locking. And, if closed, it would not unlock when you pressed the release handle to open the tailgate.
This is not an uncommon fault on the Freelander 2 and is caused by a problem with the switch in the tailgate release handle. Also, the location of the tailgate handle and the aerodynamics of the back of the Freelander 2 means road dirt and water can be sucked up into the area of the tailgate. Water can then find its way into the release handle and thus into the switch itself. The resulting moisture can cause the connections to corrode or simply short out, meaning the tailgate release switch will not work correctly and so it needs to be replaced.
A replacement switch on its own is not available, as the switch is an integral part of the release handle so, when it fails, it means the complete release handle assembly needs replacing.
The release handle and switch also comes complete with the wiring, and also new style bulb holders and replacement bulbs for the number plate lamps, which have waterproof connections and make bulb replacement easier.
The cost of the genuine Land Rover replacement part is reasonable, and fitting is a simple job. The hardest part of the job is the removal of the inner tailgate trim panel.
Removing the defective switch

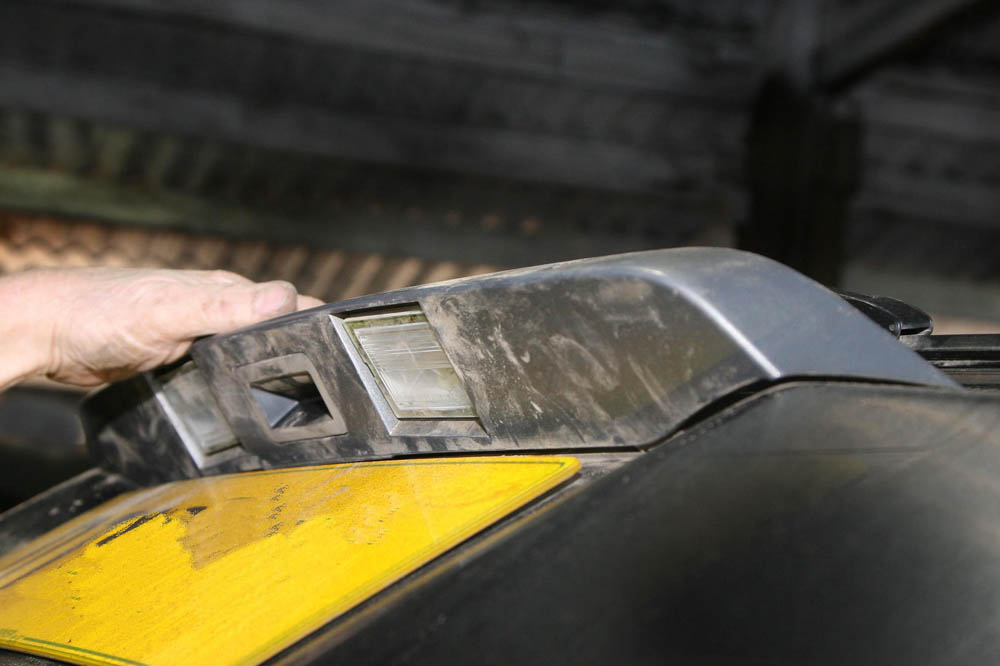
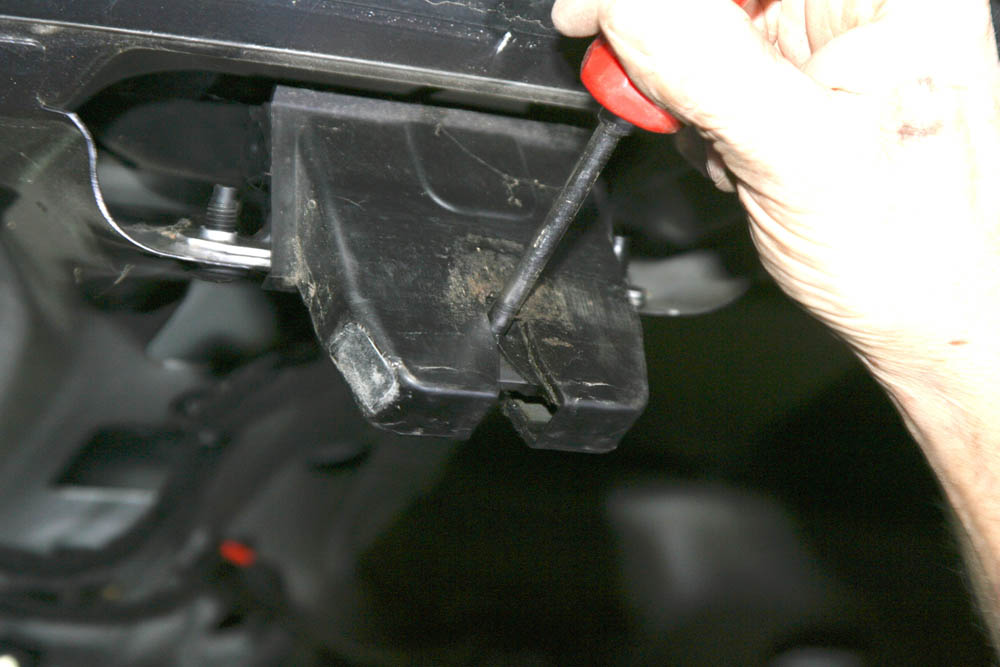
Step 1: To access the switch assembly, the tailgate inner trim panel needs removing, by first releasing these screws to remove the inner pull handle recesses.

Step 2: The tailgate inner trim panel is secured by clips. Carefully ease it away from the tailgate, then lift the inner panel’s top edge upwards to release it.

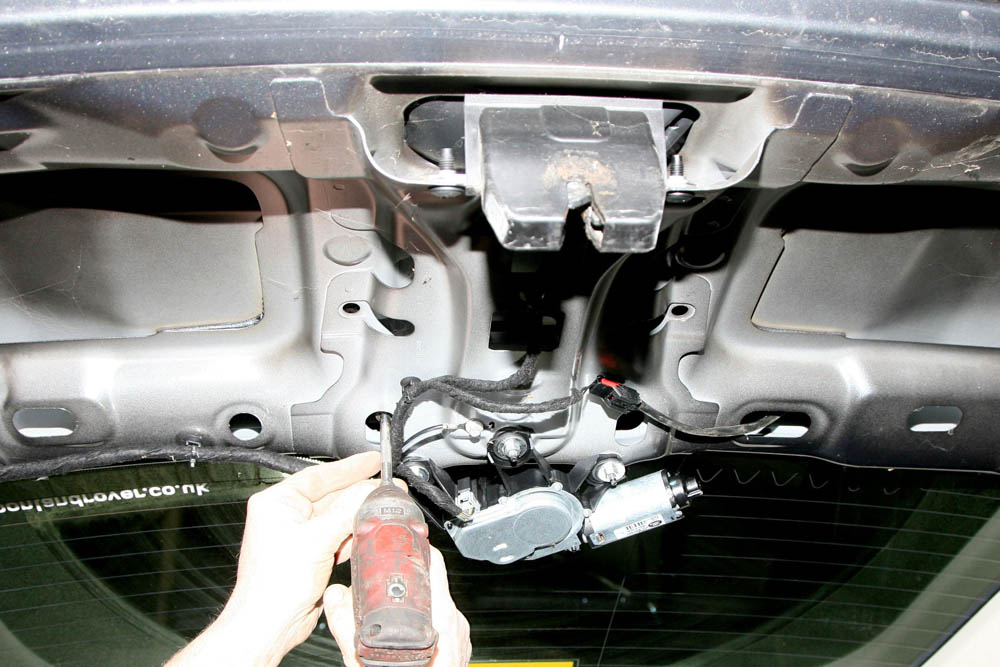
Step 3: With the trim panel removed, you can now see the location of the six retaining nuts that hold the complete tailgate handle assembly onto the tailgate.
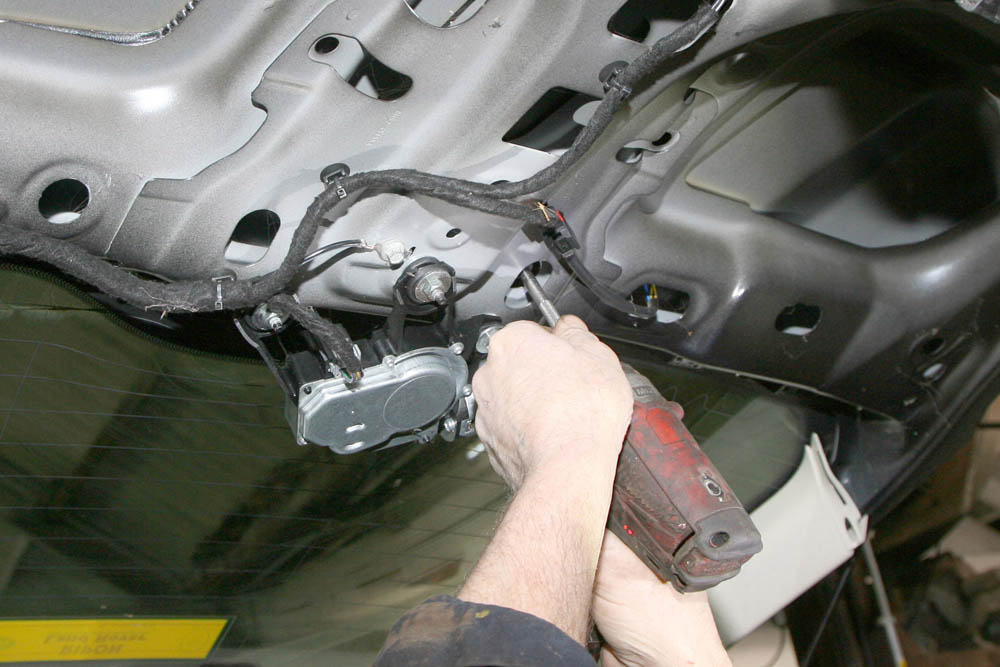
Step 4: Undo the six retaining nuts, which are accessible through the slots on the inside of the tailgate and hold the exterior handle assembly in position.

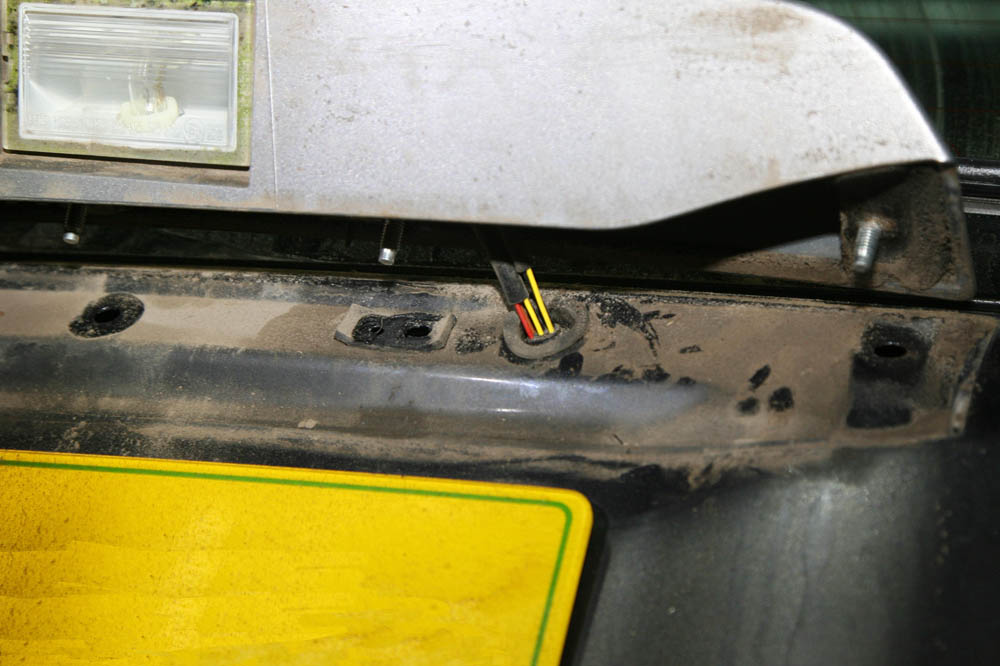
Step 5: Disconnect the cable multi-plug that supplies to the tailgate handle release switch, and feed the wiring lead through the slot in the tailgate.

Step 6: With the six nuts now removed you should be able to lift the complete rear tailgate handle assembly of the tailgate itself.

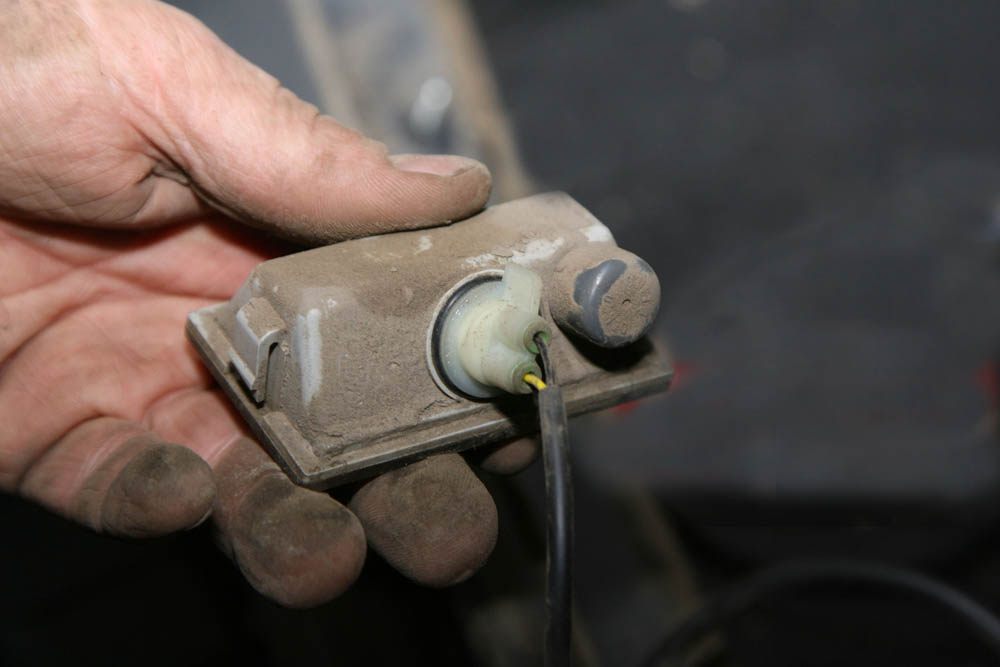
Step 7: Once the complete assembly is removed, on the underside you will now see the tailgate handle release switch and the number plate lamps’ wiring.
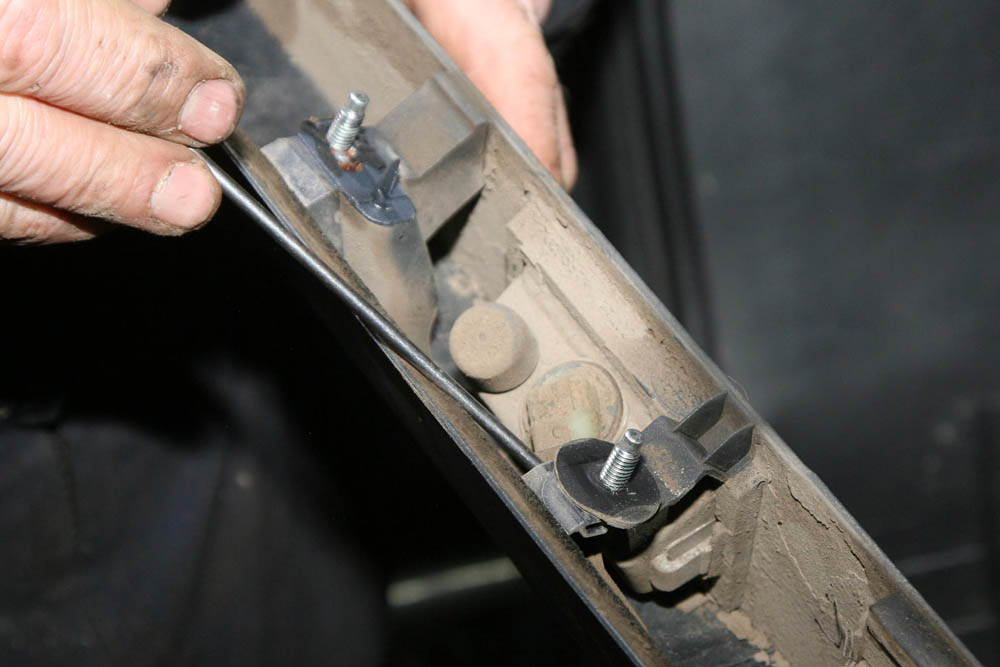
Step 8: Using a thin screwdriver or flat blade carefully pry out the clips that hold the number plate lamps in position (both lamps are the same).

Step 9: With the clips released on the number plate lamps, and with the bulb holders still in place, both lamps can be pushed out of the tailgate handle.
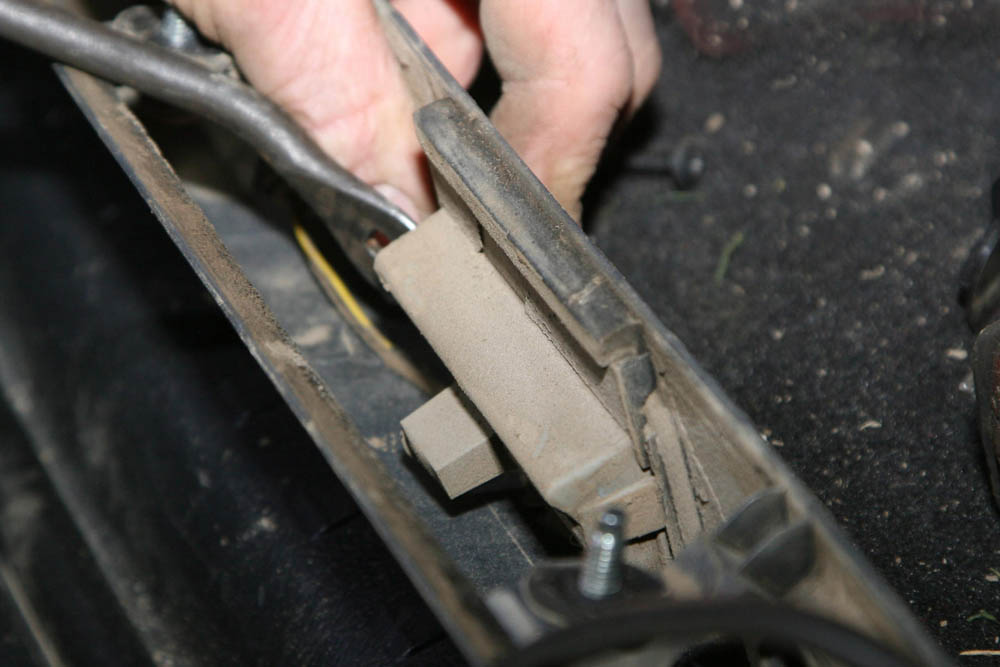
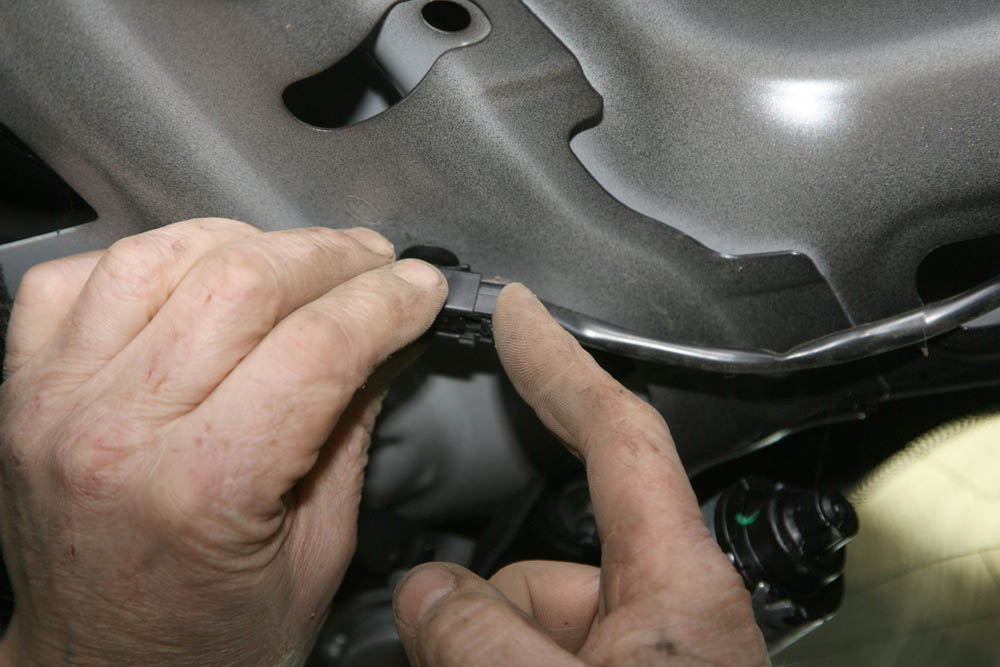
Step 10: Using a thin screwdriver or a flat trim tool, release the two clips that hold the release handle and the switch into the tailgate handle assembly.

Step 11: When the clips on both sides have been released, the tailgate release handle switch can now be pushed out from the handle assembly.
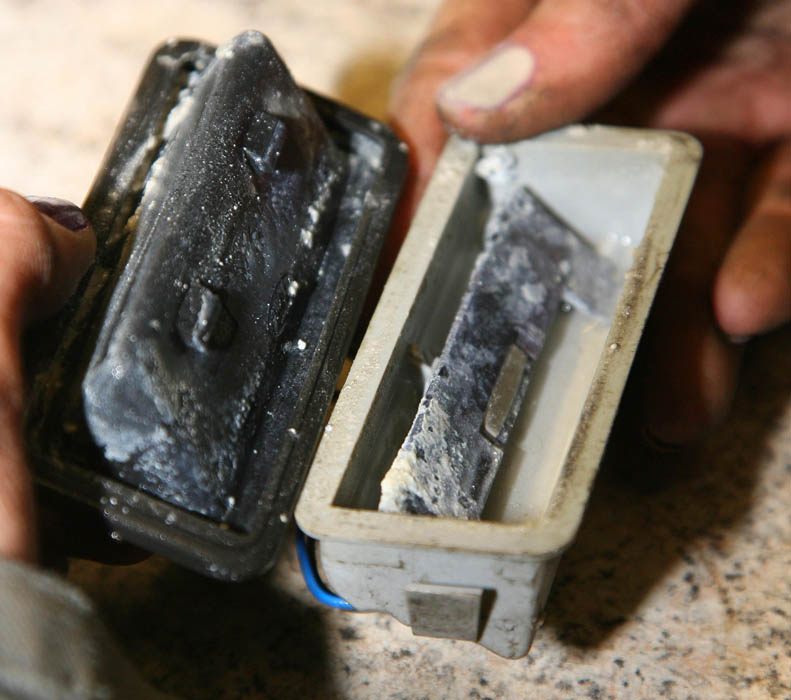
After removing the old tailgate release switch, we opened it to take a look inside. The full extent of the corrosion to switch contacts can be seen.
Installing the new switch

Step 1: The new tailgate handle switch is Land Rover part number LR079909. Prices can vary, but expect to pay between £21 and £31.

Step 2: Feed the wiring loom from the new tailgate release handle switch and number plate lamps into the handle assembly through the switch recesses.

Step 3: Position the wiring from the switch, number plate lamps and multiplug under the moulding, then push in handle release switch, ensuring clips have locked.
Step 4: Replace number plate lamps bulbs and holders with new items, then push fit and clip the number plate lamps back into the tailgate handle assembly.
Step 5: Feed the new wiring lead through the rubber grommet and into the tailgate, ensuring grommet stays secure, then align the handle assembly onto the tailgate.
Step 6: Carefully align the six securing bolts on the handle assembly with the retaining holes in the tailgate and push the handle assembly into position.
Step 7: With the handle re-installed, feed the wiring cable from the handle release switch out through the slot in the tailgate and then reconnect the multiplug.
Step 8: Refit the six securing nuts onto the handle assembly bolts and then tighten, securing the handle assembly firmly onto the tailgate.
Step 9: Before going any further, it’s prudent to check that the tailgate lock is working correctly. Then the tailgate inner trim panel can be secured into position.

Step 10: With the trim panel refitted, position the two inner handle recesses and secure them into position with the screws. And that’s the job done.
Did you know that you can now get access to the entire archive of Land Rover magazine content with our brand new digital archive? You can enjoy all the issues since the launch of the magazine – use the search bar below to find features, reviews and other great content: