


29 March 2022
|
 : credit: © Alisdair Cusick
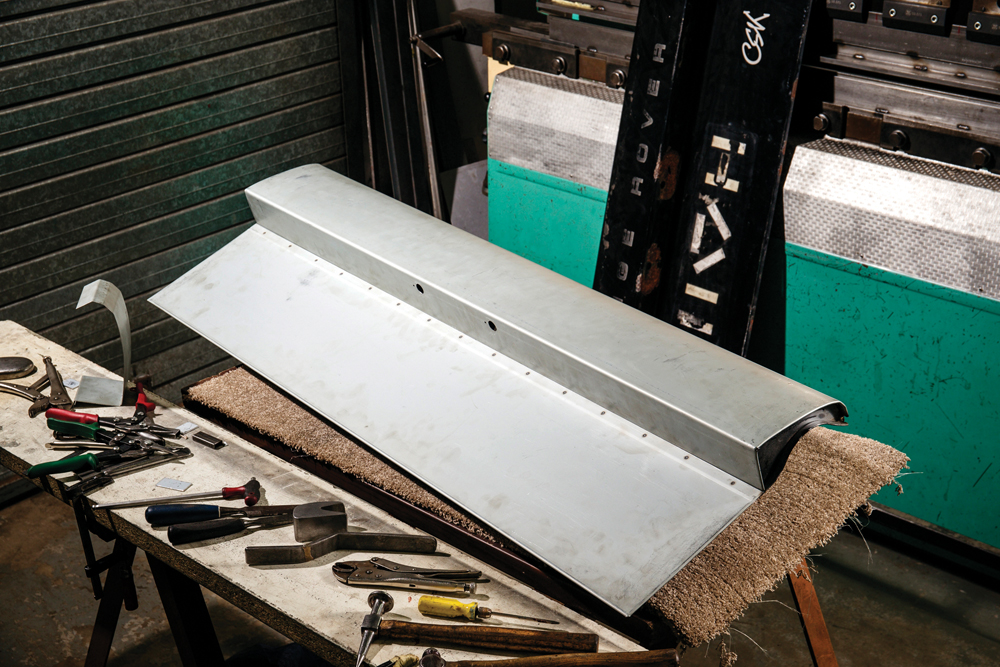
A corroded lower tailgate is the bane of every original Range Rover Classic. Alisdair Cusick looks at one company that can rebuild them using traditional metal finishing techniques
Need to know
Time: 2 days plus
Difficulty: 5 out of 5 stars
Models: Range Rover Classic.
Tools needed: Metal finishing tools, hammers, dollies, files, TIG welder, clamps, chisel, planisher.
Parts used: Lower tailgate skin, MRR42 £150; Curved tailgate skin, MRR41 £270; Machinor offer a re-skinning service starting at £720, including the replacement panels; repairs to the inner structure extra, as needed.
Work safely: • Always wear gloves when handling or manipulating metal.
• Use the right tool, for the right job.
• Use eye protection when cutting, grinding or welding.
• Be fire safe in the workshop.
Thanks to: Machinor Ltd for demonstrating their work for this feature, 07891 518586 /machinorltd.com.
The original Range Rover is well known for corrosion issues. Aside from the inner body, the other parts guaranteed to succumb to rust are the upper and lower tailgates. Aluminium aftermarket upper tailgates have been around for decades and solve that problem well. But there hasn’t always been a straightforward option to replace the steel lower section. Only in recent years has a supply appeared for remanufactured lower tailgates, but for a select VIN range.
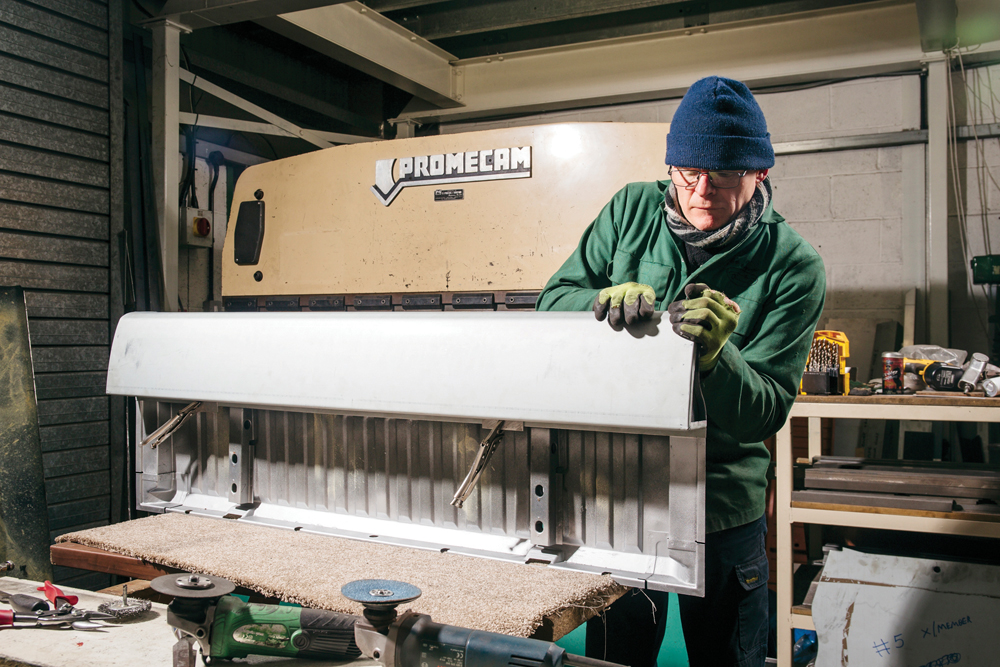
The rising popularity Range Rover restoration has brought many new small companies and new skill sets to the enthusiast market. Midlands-based Machinor specialises in remanufacturing obsolete parts with originality in mind, using traditional metal finishing techniques usually seen on vintage restorations or prototype car projects. Mass produced parts that once needed press tooling costing over £50,000 and high production volumes to justify the investment, can now be produced at lower volumes using traditional skills, and with smaller-scale production processes.
One such service offered by Machinor is re-skinning Range Rover lower tailgates. The outer skins are cut away, the inner structure cleaned and checked, and Machinor’s remanufactured tailgate skins are then fitted. The end result is a restored tailgate, assembled using production processes, that leave the rebuilt section looking exactly as original. There’s no worries about ending up with the wrong tailgate for your car, because it is your existing tailgate that is restored.
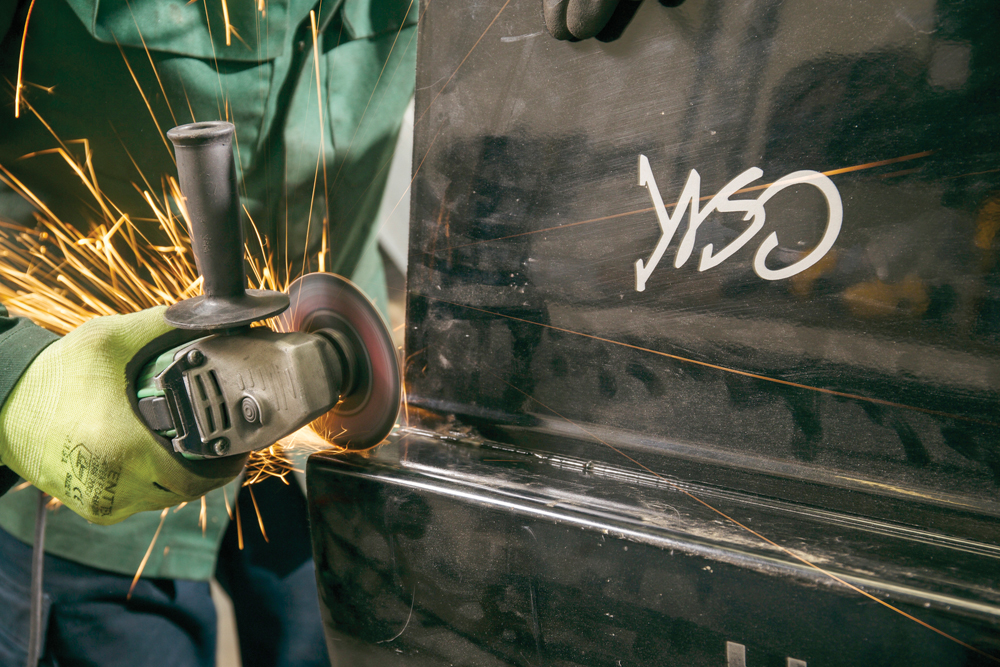
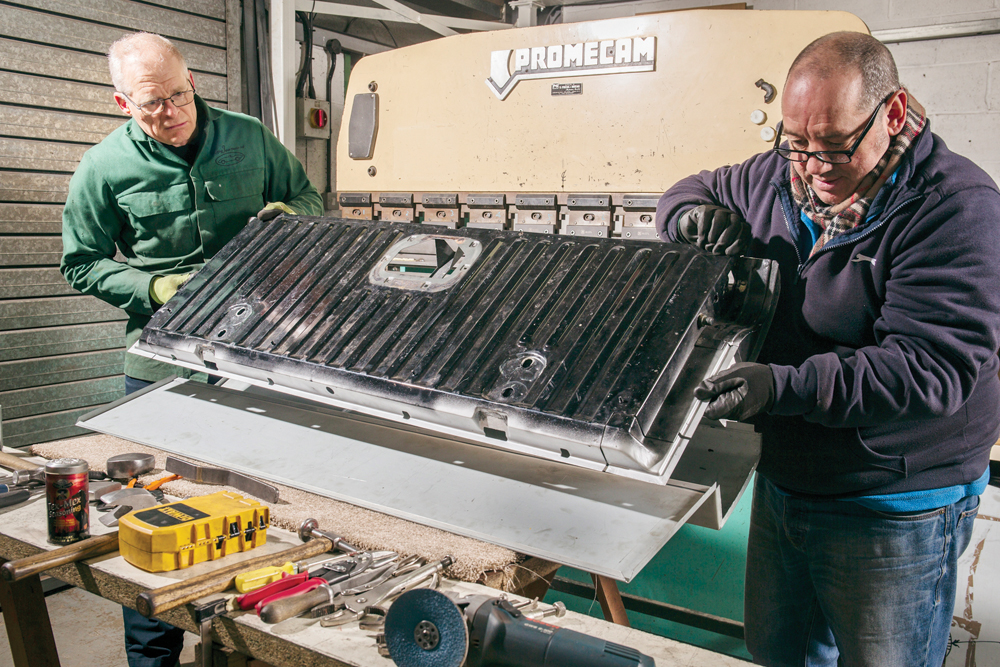
Machinor’s Stuart Jay and Barry Stanley show us the process on a lower tailgate from a CSK model. I’ve marked this job as a 5 for difficulty because, although the process is relatively straightforward, the end result will be very visible on the car, requiring a high standard of workmanship. Bash, crease, or make a cosmetic error in fitting, and you’ll notice it forever once the panel is painted. Barry and Stuart work to less than 1 mm tolerance, which takes decades of experience.

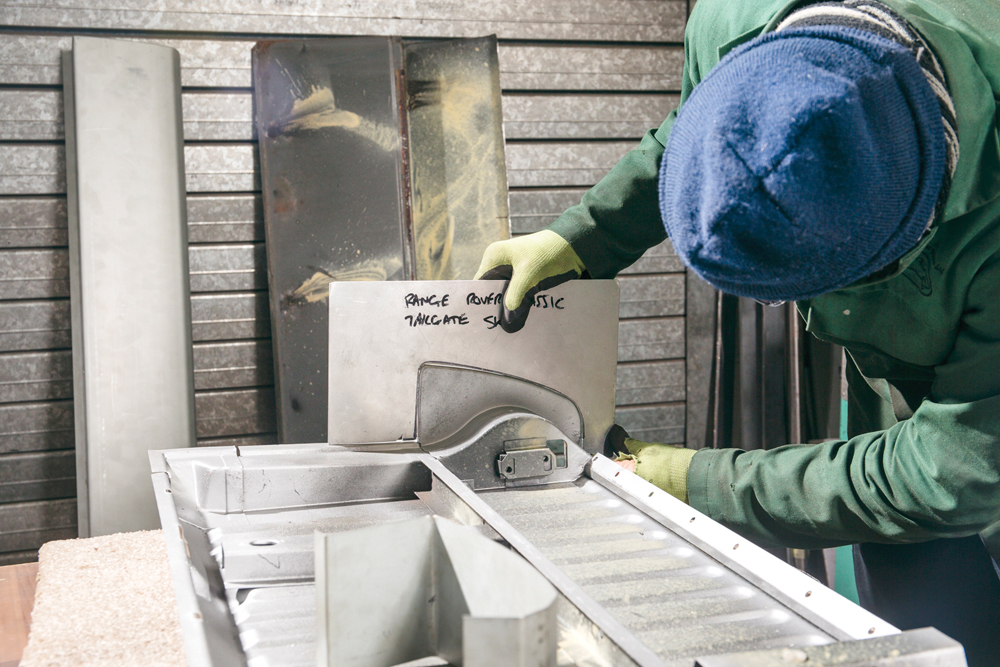
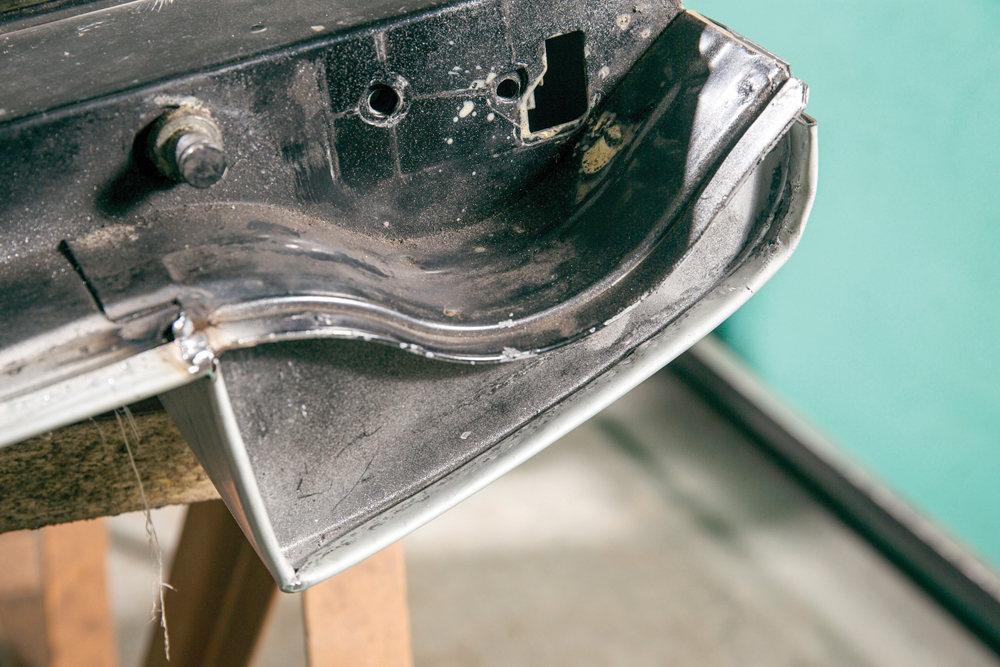
High visibility: The lower steel panel of the Range Rover Classic tailgate assembly provides a distinctive shape to the rear of the vehicle – the eye is immediately drawn to corrosion problems.

Typical: Tailgates usually corrode along the lower edge. Ours shows rust on the underside of the upper overhang around the number plate lights. Gaskets hold water, allowing corrosion to take hold.
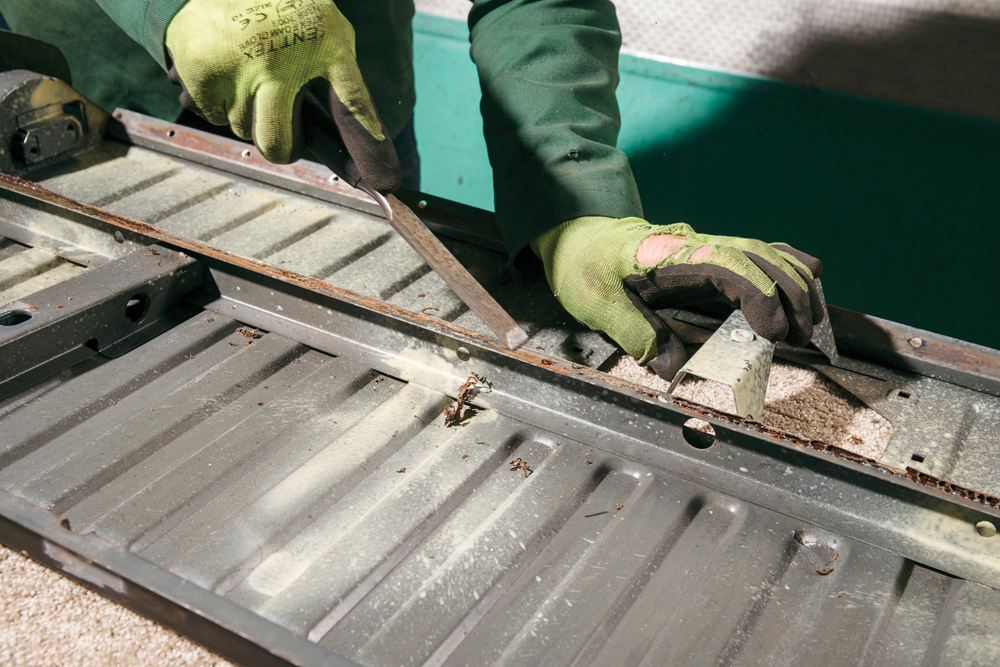
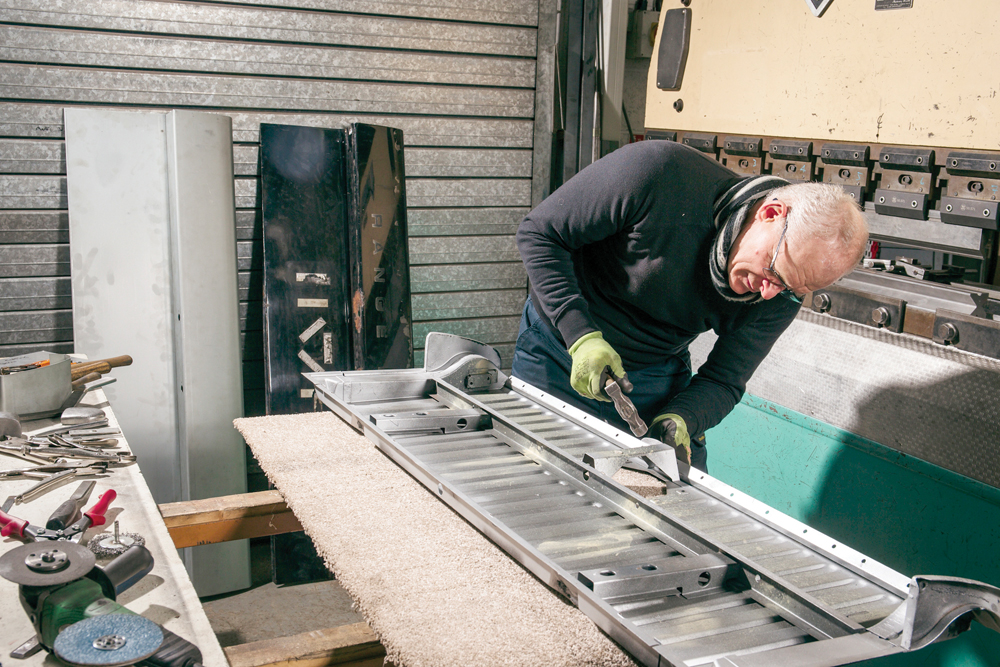
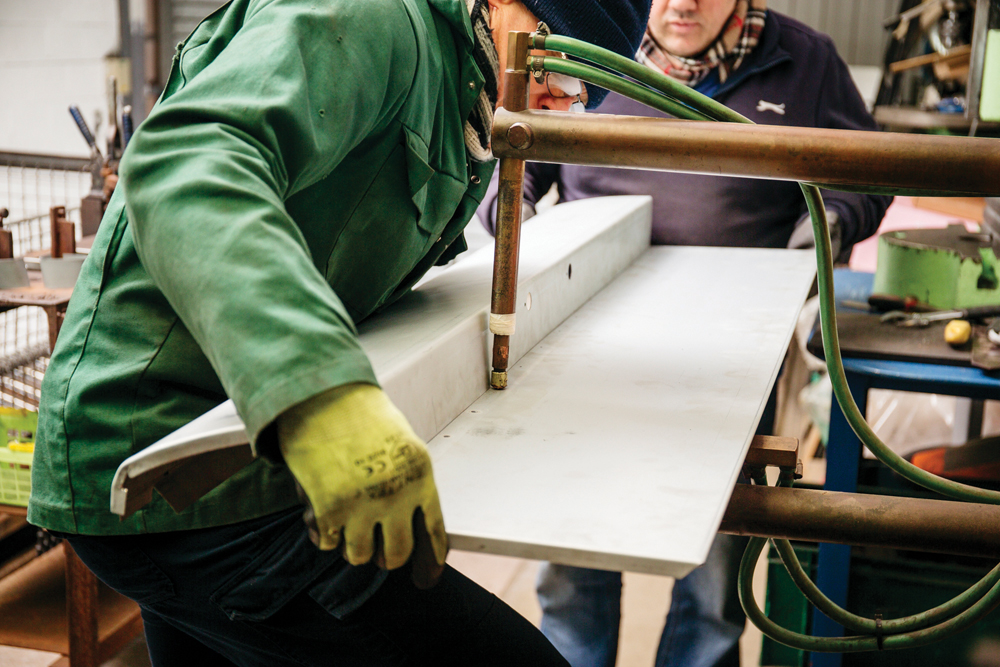
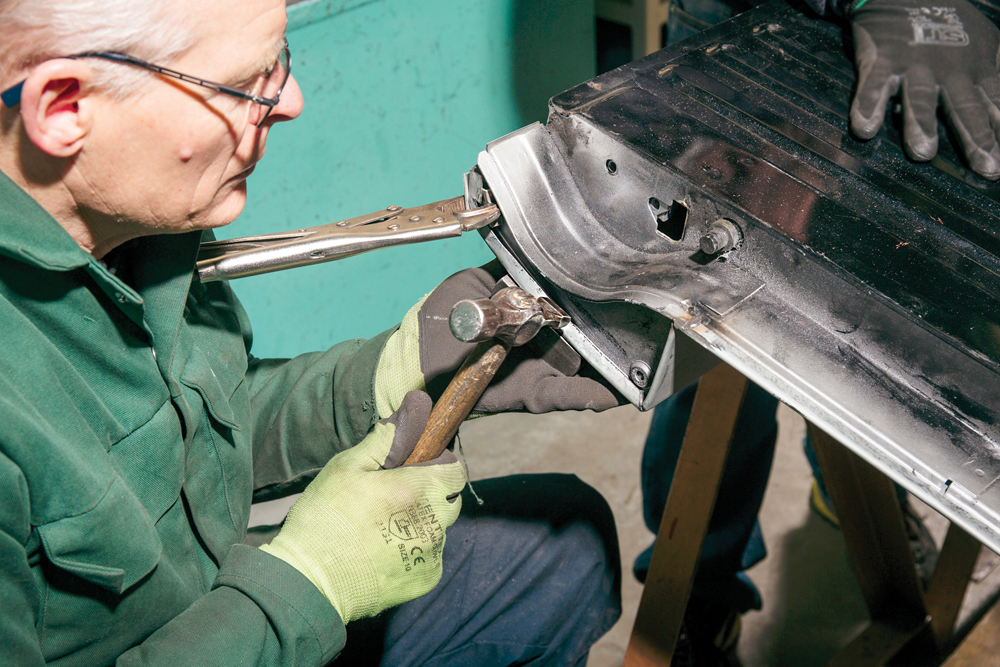
First cut: With the tailgate removed, and inner side facing upward, Barry cuts though the crimped edges of the skins, cutting just deep enough to separate the inner and outer.
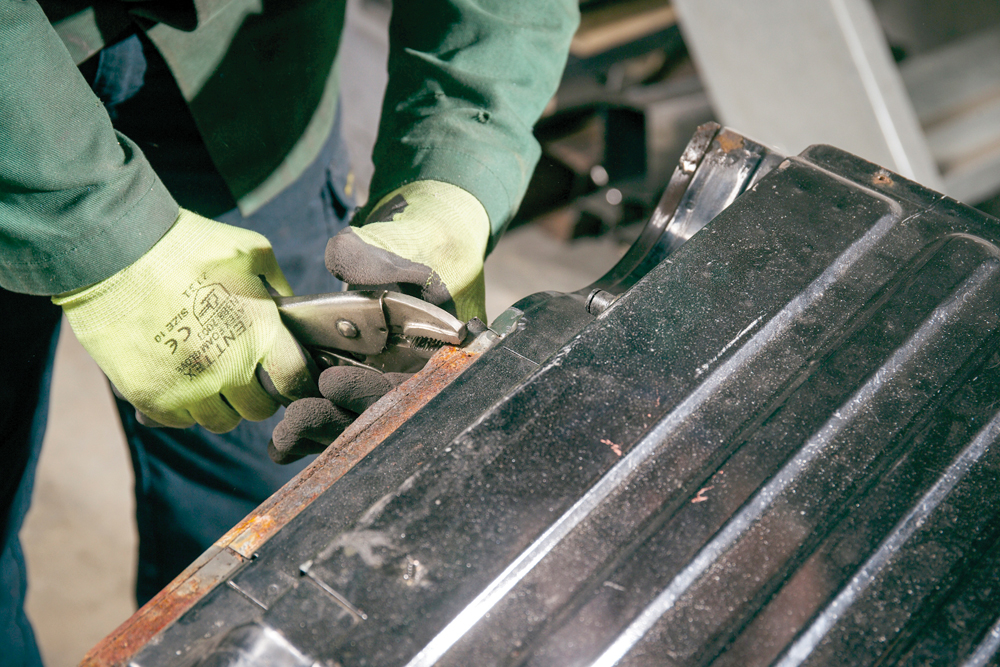
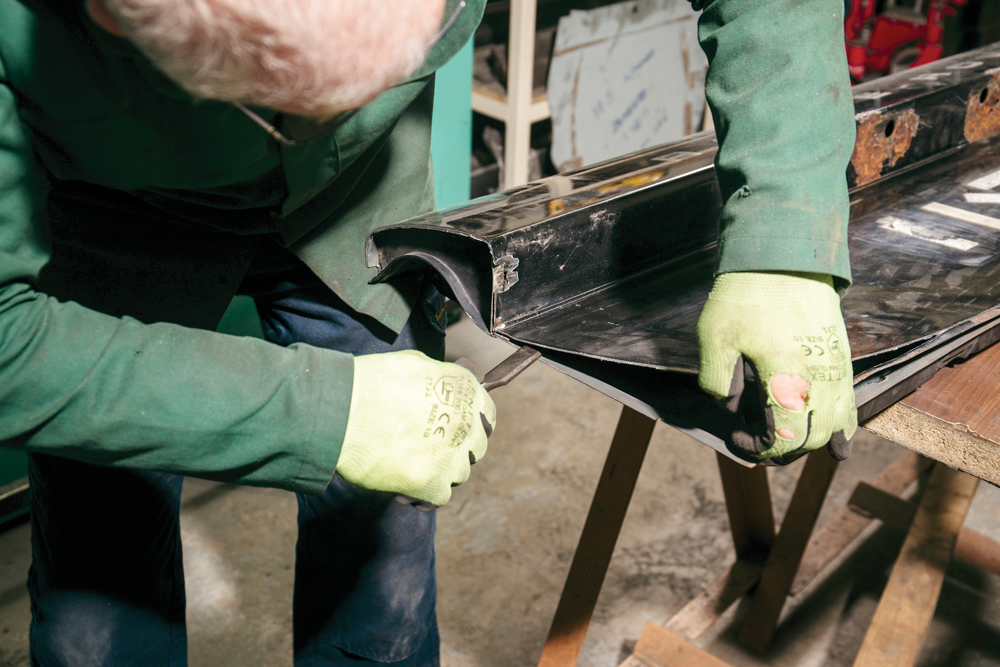
Opening up: The edge crimps are then folded open using grips, releasing that edge. Note the hidden corrosion in the fold (and this is a relatively good tailgate).
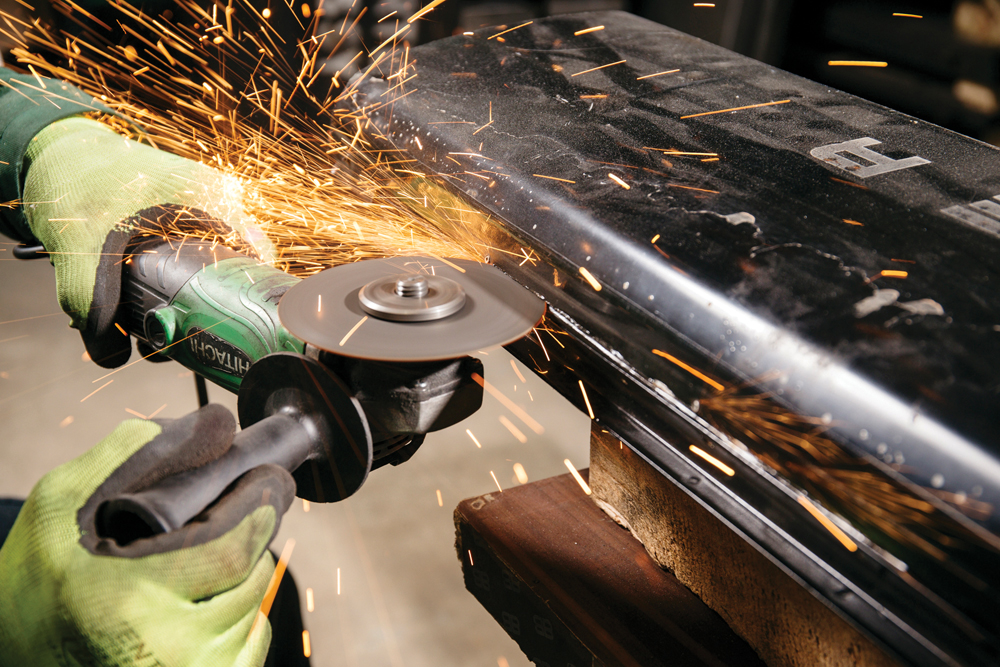
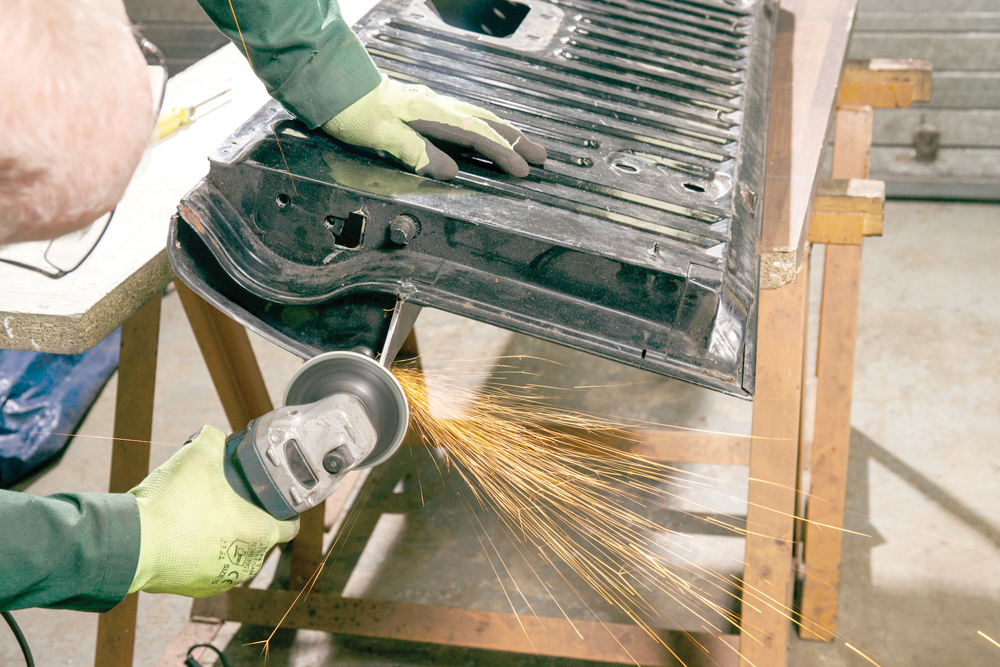
Deep cut: The outer panel is cut away by slicing down a panel joint using a fast cutting disc. This leaves a lip, which the new skin will fix to.
Spot welds: On this CSK tailgate, two spot welds on the return lip hold the inner and outer panel together. These are carefully cut each side, avoiding going too deep.
Breaking the seal: Early tailgate outer skins are riveted to the inner frame but, on later models, there’s a line of sealant down the centre internal crossmember that needs separating.
Pop: Suddenly the inner and outer will pop apart. There was an attempt at cavity protection here, ironically applied everywhere except the areas that need to be protected.

Corrosion: This tailgate inner section is still in very good condition, with only light surface corrosion. But they can be corroded to lace at the bottom edge and corners.
Last bit off: Barry drills the spot welds off the top strip (the only remaining part of the outer section) before removing it. Crucially, he leaves the inner lip untouched.
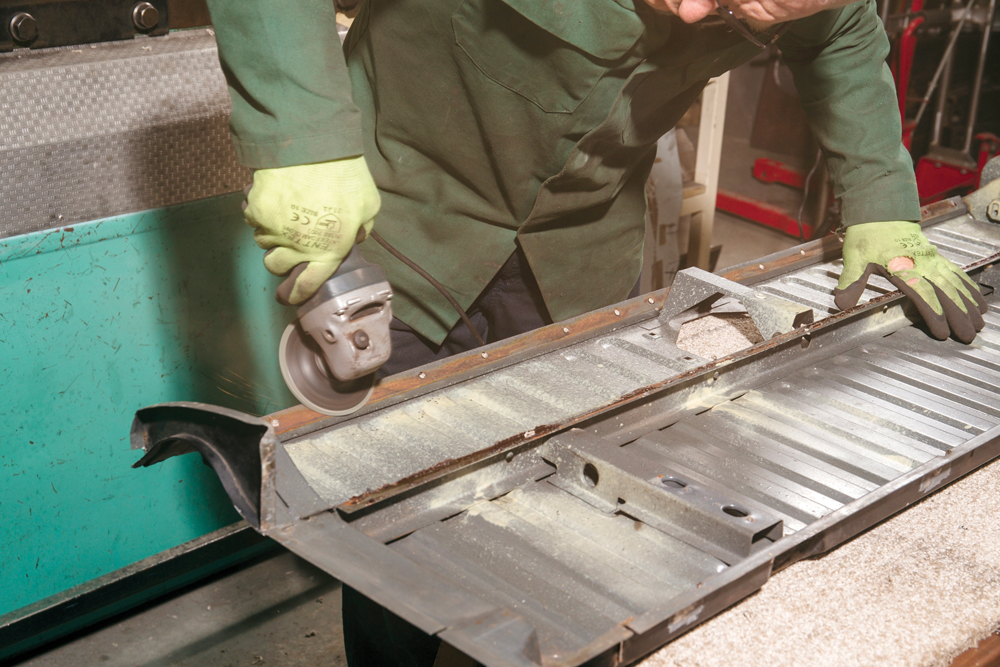
Clean up: The inner is then cleaned of corrosion. Heavily corroded tailgates will likely need repair sections welding back in at this point, but this one is unusually good.
Crossmember, too: The line of remaining sealant is scraped off the centre crossmember. All corrosion needs removing until we’re left with clean, blemish-free, solid metal.
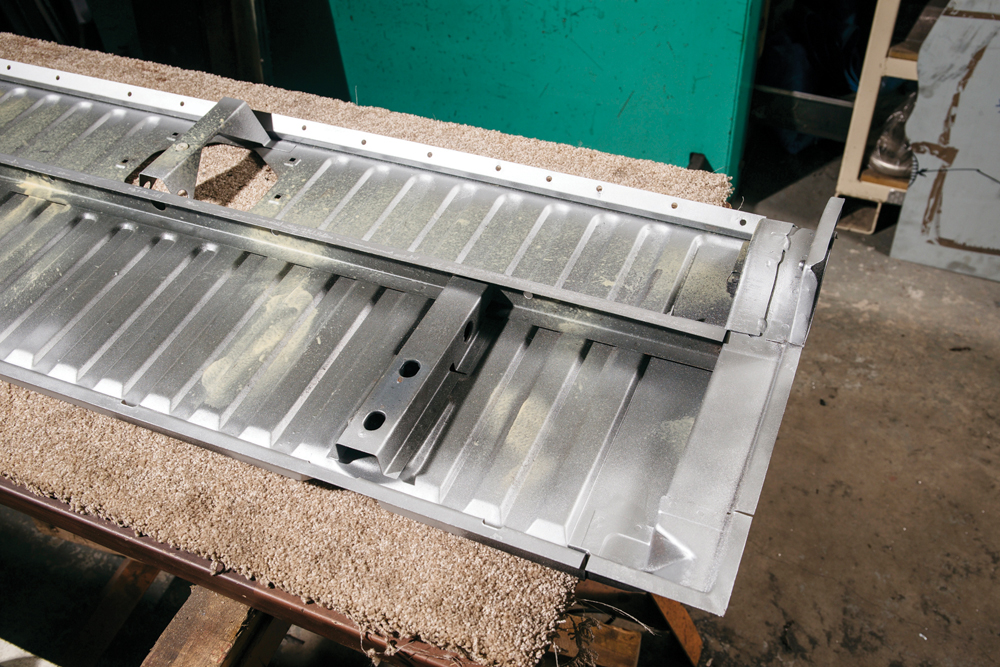
Protection: Zinc-rich weld-through primer is sprayed on the cleaned inner structure to protect the inside from future corrosion. You could use epoxy paint, or your preferred protectant.
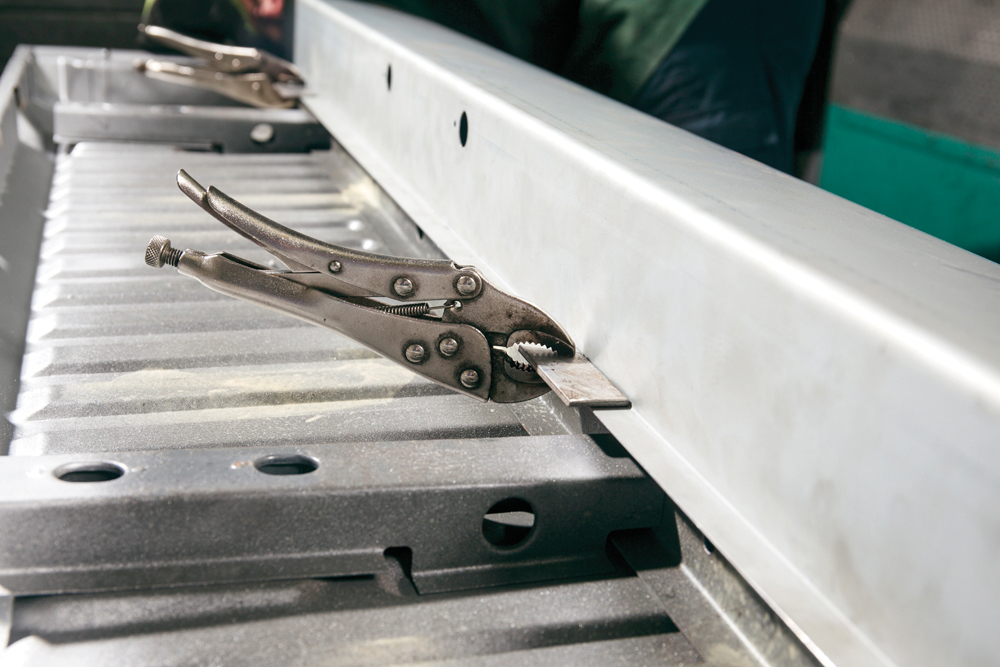
First offer: The new upper section of the outer skin is test-clamped to the inner frame. Note metal packers under the clamp jaws to avoid damaging the outer skin.
Inspection: With the upper section positioned, Barry carefully checks the fit and alignment. Misalignment will prevent the top tailgate from sealing, and give uneven panel gaps on the car.
Secret weapon: Panel alignment relies on each part matching perfectly. Templates ensure each section is correct shape. If not, they rework each area as required.
Check, adjust, repeat: The edges are checked for consistency and adjusted. It is slow, methodical and painstaking work. Accuracy through the whole process ensures the best as original finish.
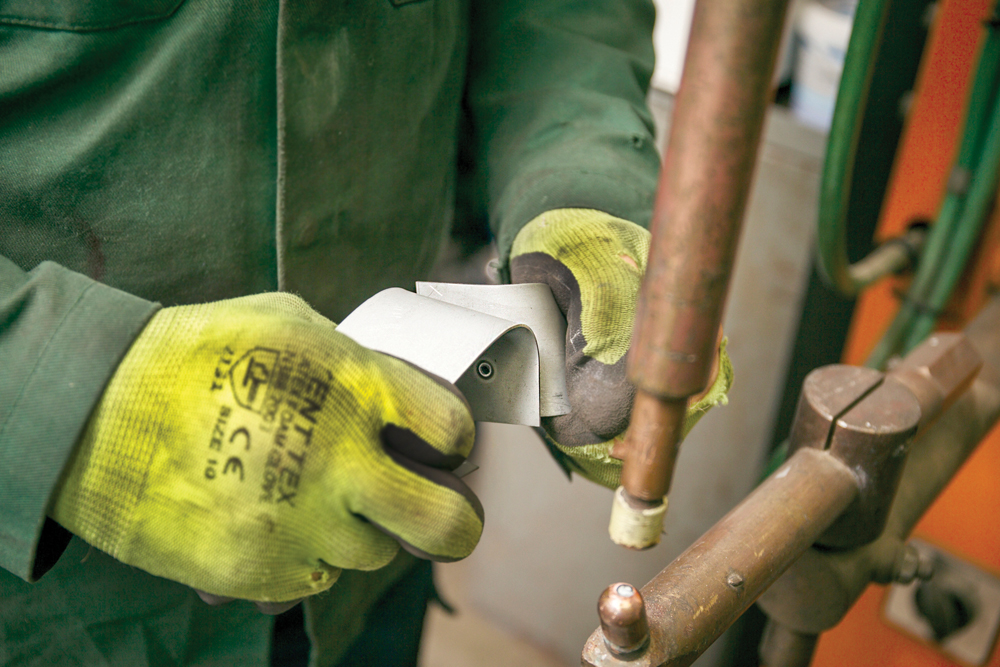
Spot weld: Before spot welding the outer skins together, Barry checks for correct weld penetration. A sample spot weld is made on the same material as the tailgate panels.
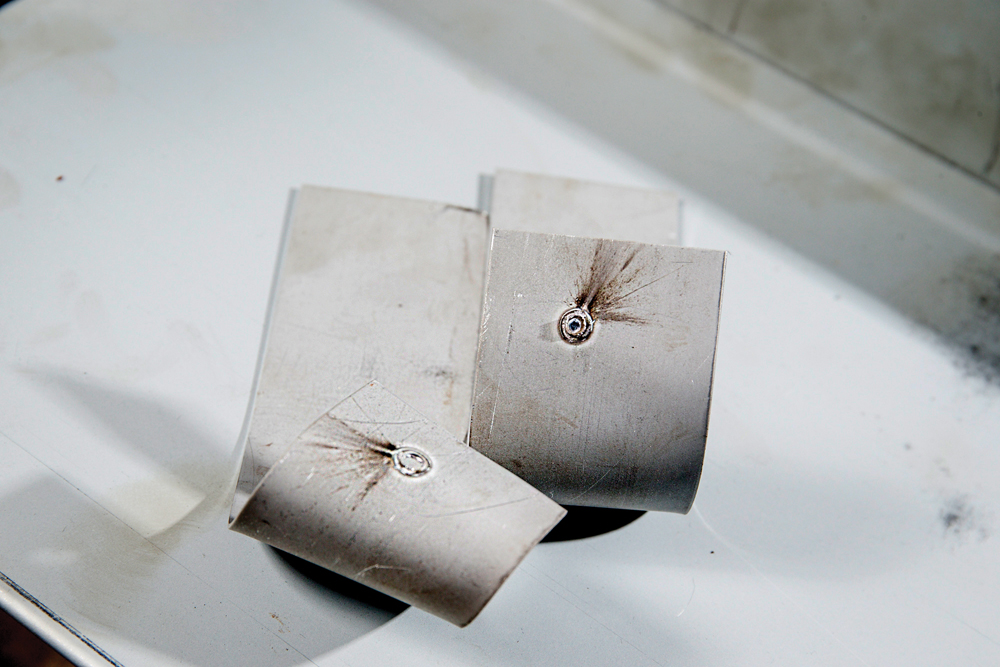
Test and confirm: The test weld is then wiggled and pulled until it shears – so called ‘pulling the slug’. Correct penetration leaves a hole in one panel, and a lump on the other.
Welding the panels: Once happy with the weld quality, the upper and lower outer skins are spot welded together, using the same weld pitch (distance apart) as the factory tailgate.
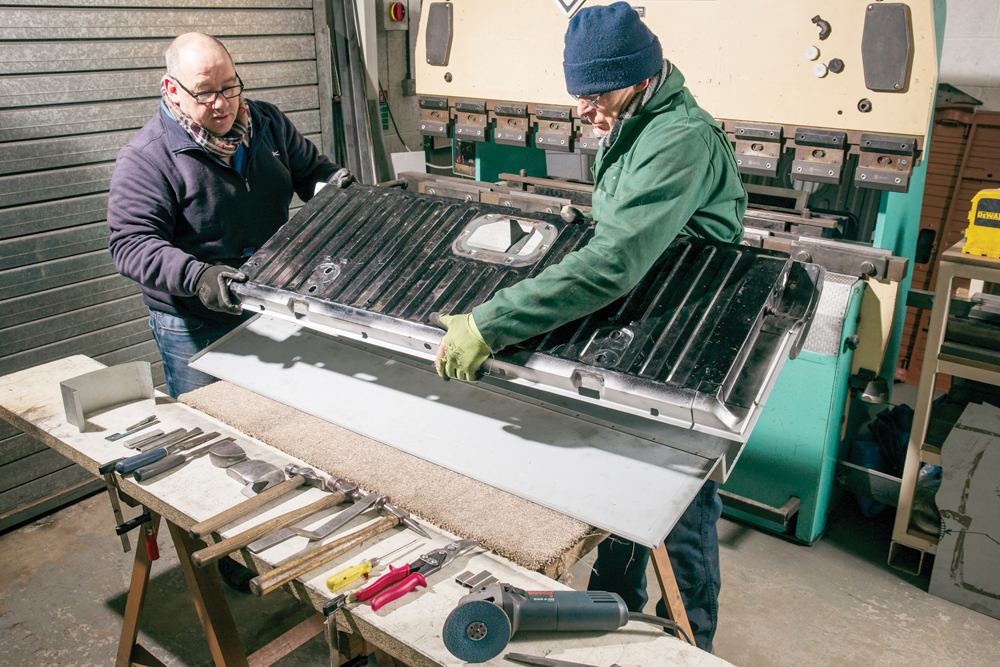
Test fit: The inner frame is lowered into the now one-piece outer skin for a test fit, lining up first against the lower edge crimp to ensure accurate, repeatable fit.
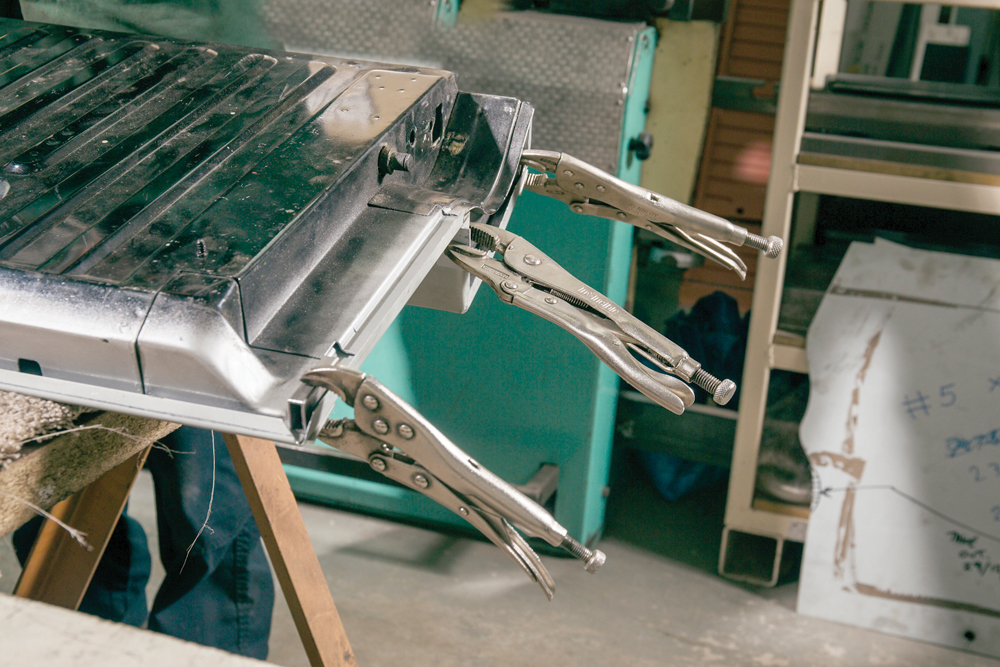
Grip test, too: The clamping positions are also tested. Loads are spread using packer pieces again to avoid damaging any part of the panels by the jaws of the grips.
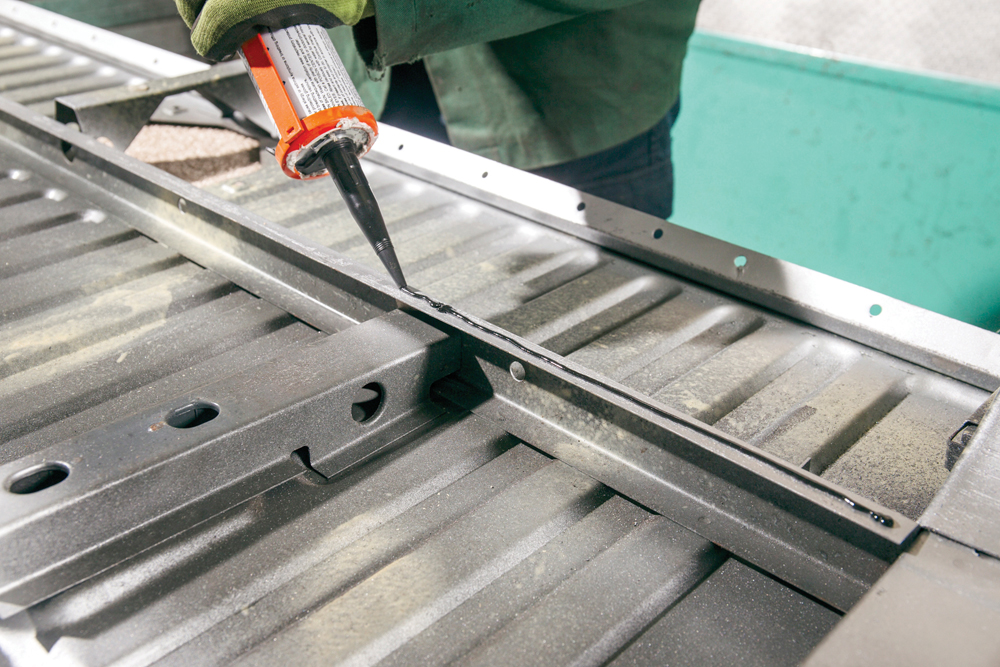
Seal the deal: When happy, Barry applies PU sealant along the centre crossmember to seal outer panel to the inner, preventing vibrations, and giving strength to the structure.
In it goes: The inner frame is fitted onto the outer panel. It locates in one go, carefully engaging the lower crimp first. Clamps hold the two together in critical register.
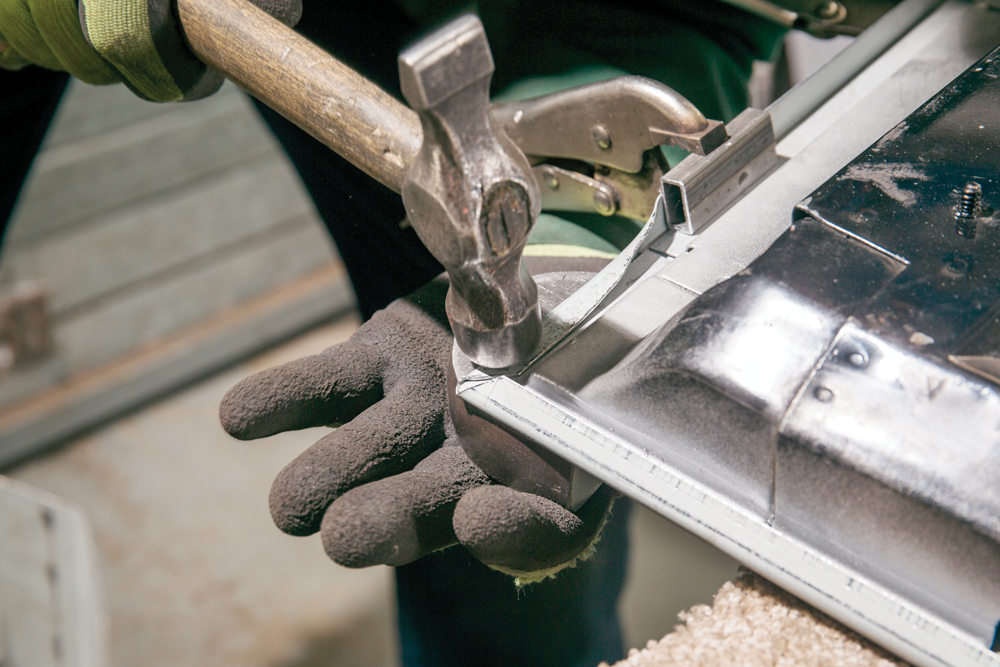
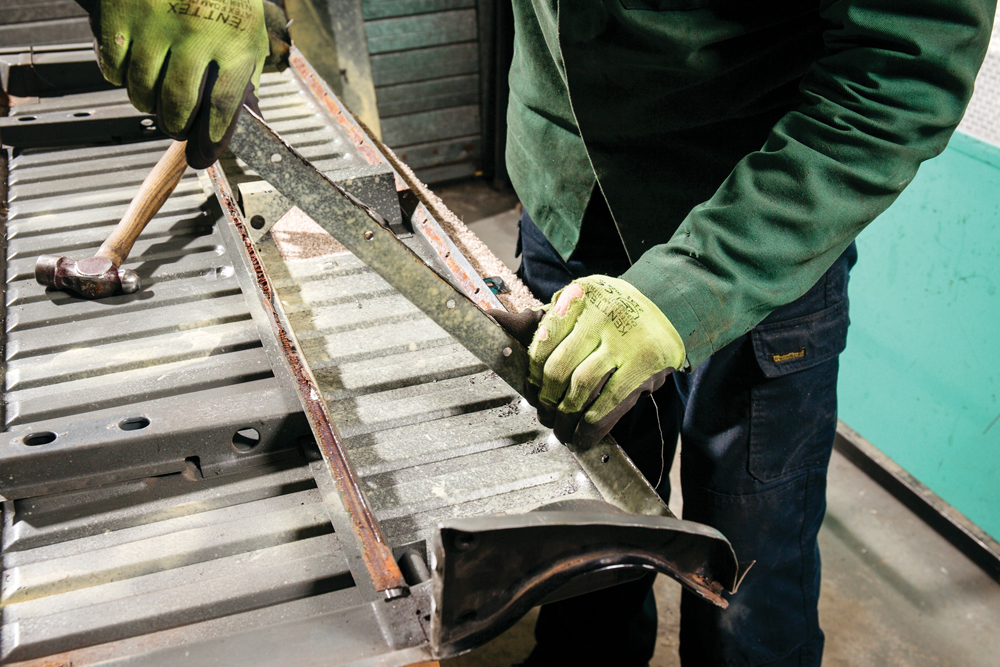
Fold over: The leading edges of the side crimps are folded over fully, using a hammer on one side, and a dolly underneath to avoid marking the outer skin surface.
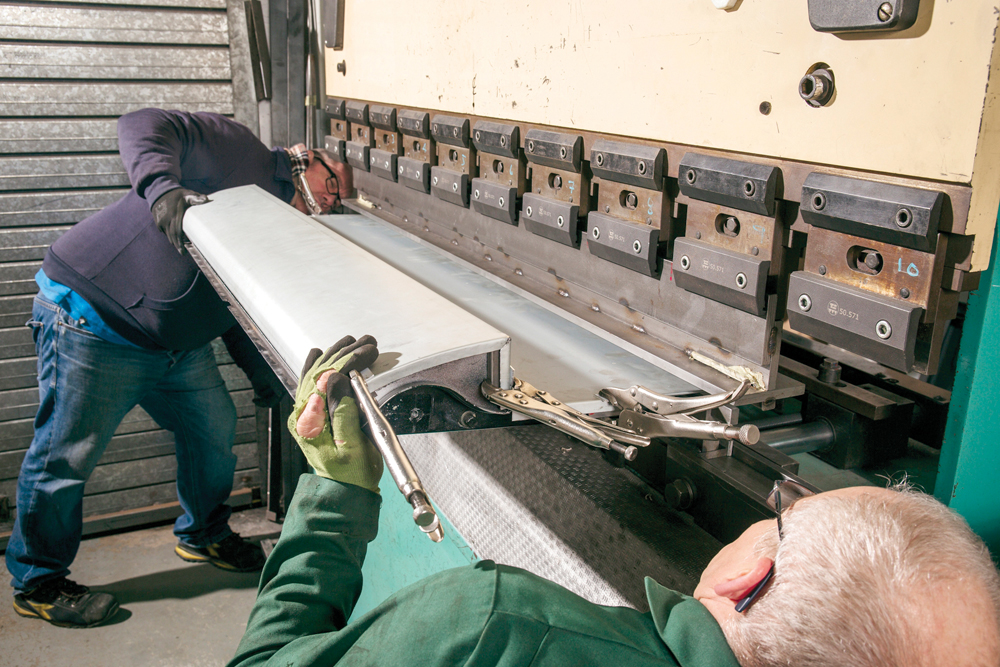
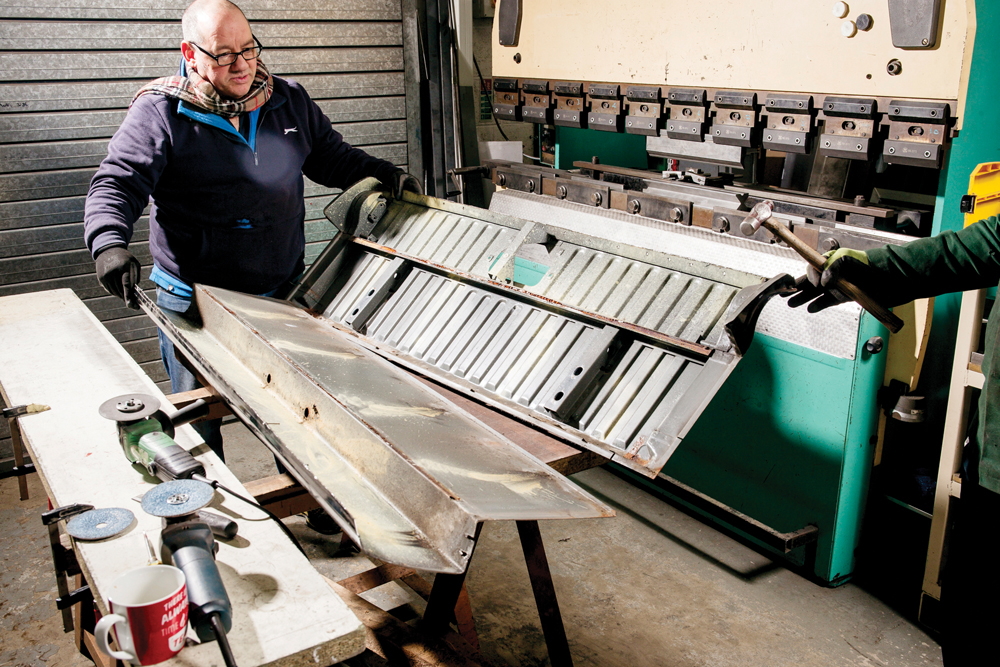
Press: The long lower edge is fed into a press, aligned, then crimped. This does the lower edge in one go, keeping the panel straight and avoiding any distortion.
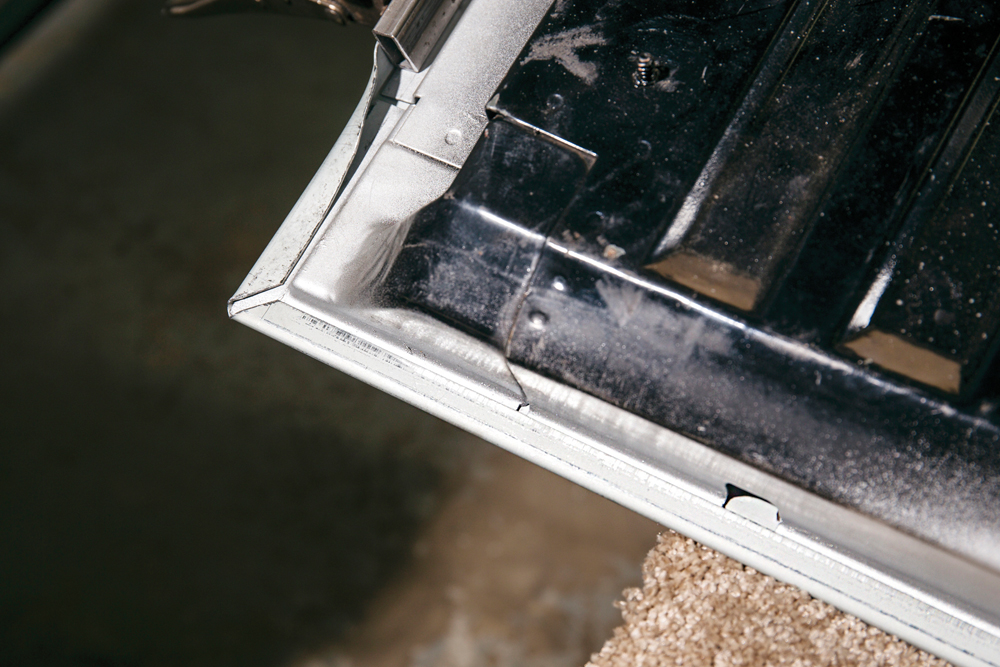
Factory look: The end result is a neatly crimped lower edge, exactly like that on an original production part. This holds the inner frame and outer skin firmly together.
Sides, too: The sides are folded over manually using hammer and dolly. The crimp is tightened down, then the edge adjusted if not level. This is accurate, skilled work.
As original: The end result is visually equal to the original part. Tight, consistent, neat. The crimp looks like it was just put together in Lode Lane.
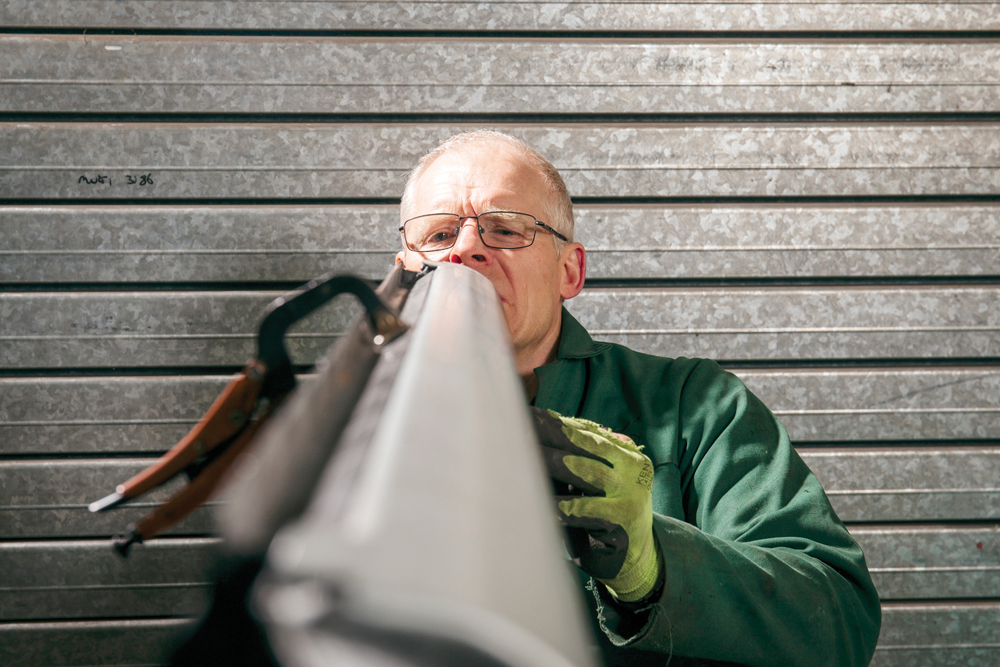
Eyes have it: Sometimes, you can’t measure accuracy: Barry’s eye tells him what he needs to adjust where and how, until the top edge is absolutely bang on.
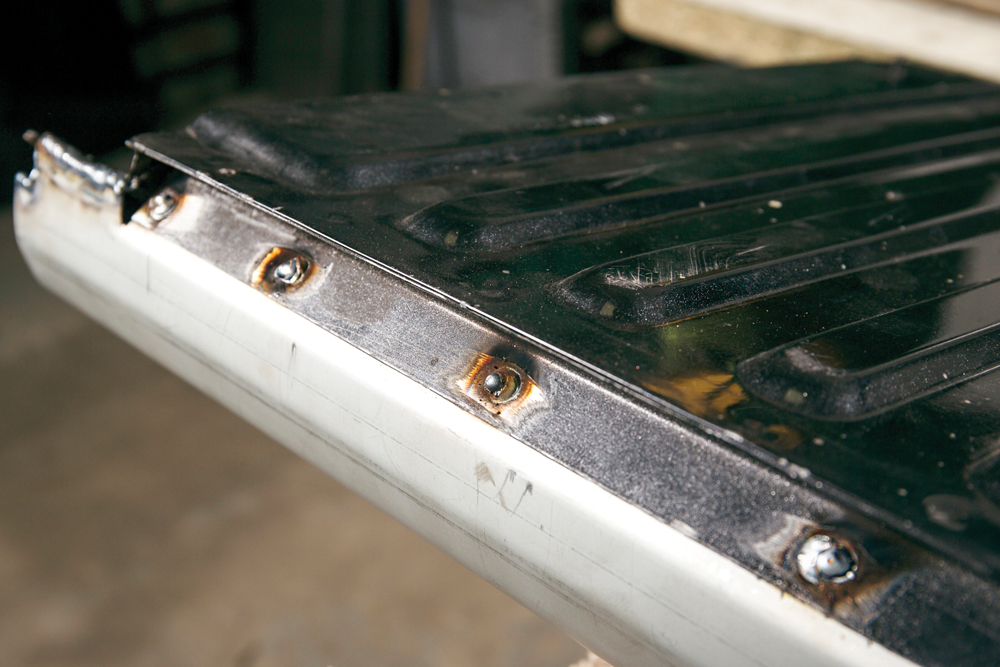
Matching welds: Original TIG weld holding tailgate’s outer edges to the inner are now replicated. Holes where the spot welds were drilled out earlier on the top edge are plug-welded.
Final job: The welds are dressed back, and voilà – one re-skinned tailgate looking exactly like the original factory item. All thanks to traditional metal finishing techniques.
Budget Digital Subscription
Get access to over 7 years of Land Rover Monthly – that’s almost 100 issues plus the latest digital issue. The issues are fully searchable so you can easily find what you are looking for and what’s more it’s less than 10p a day to subscribe. Click here and start enjoying all the benefits now.