


01 December 2018
|
 : credit: © Alisdair Cusick
The simple wipers on a Series I or II should work consistently. If they don’t, Alisdair Cusick has a simple cure
Models: Series I and II
Time: 2 hours
Cost: Free if nothing breaks
Difficulty: 3/5 stars
Tools needed: Imperial spanners, various sized flathead screwdrivers, brake cleaner, toothbrush and wire brush.
Work safely: Wear eye protection when using wire wheel or brushes and brake fluid, and when removing circlips.
We all know the jokes about the wipers on Series I and II Land Rovers. They’re fitted as single units for driver and passenger, working independently from each other, and they famously have a small handle allowing for manual wiping of the screen. To some, those manual handles are their saving grace, being the means to operate them if the motor has ceased to function. If they do work, they will likely be at different speeds between driver and passenger wipers, with one comically arcing in slow motion in relation to the other.
That needn’t be the case. The wiper motor, made by Lucas and called the FW2, is relatively simple, and it offers good access to the working parts. Diagnosing issues is fairly straightforward, and the most common one is the simplest to fix. But if you continue to use it as it slowly dies, then you’ll probably cause the motor to burn out. The oldest are well over 60 years of age, so they do need a little respect and sympathy.
By the way, if you do break one, you’re looking at hundreds of pounds for a replacement Lucas item, as there aren’t too many around and lots of people want them. Modern aftermarket alternatives are widely available, and they’re cheaper and are typically seen on tractors or boats. But if you have an original Lucas unit, then it should be possible to restore it to working efficiency, unless the motor itself has burnt out and simply failed. For reference, my motors did nothing when powered up and switched on. The arm did move manually though, so at least it wasn’t just corroded up internally.
I’ve marked this job as a three-spanner task in our difficulty grading. But that’s only because there’s a risk of damaging the aged fixings, turning the job into a nightmare. To avoid damage or other problems, make sure your tools fit well. Work against the full width of screw fixings, and use a socket rather than an open ended spanner. Here’s how I made my motor whizz efficiently again.
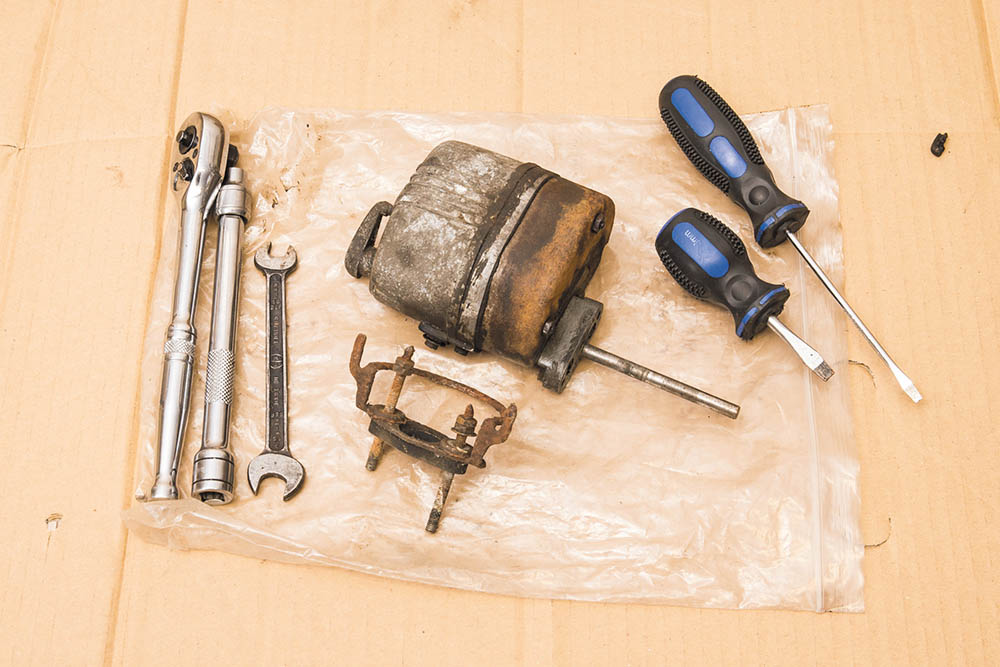
My unit was removed while restoring the car, so here it is out of its bag, with the windscreen side components and the few tools you’ll need.
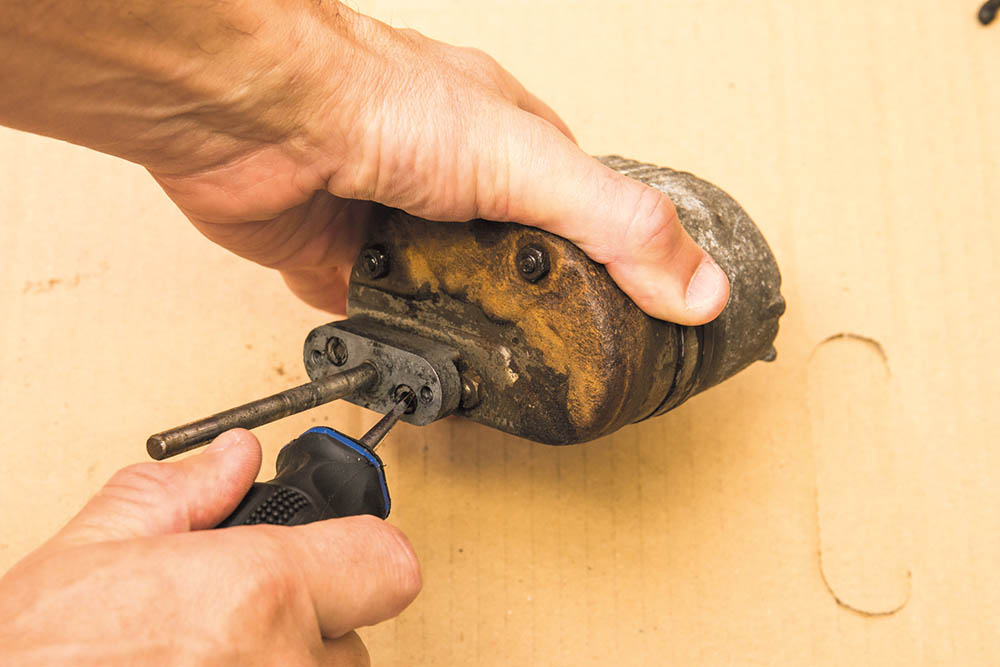
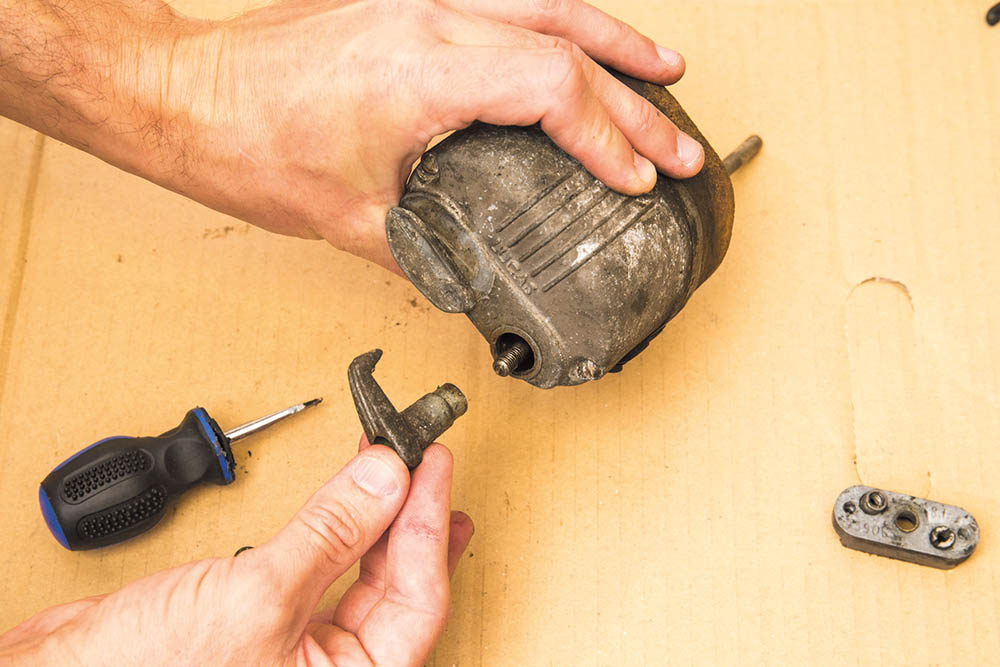
Remove the spacer on the windscreen mounting face. Key here is to ensure your screwdriver is a nice, wide blade that fits well in the slots.
Hopefully you didn’t mash the screws and they came out cleanly. Now, prise off the spacer from the motor. It is alloy remember, so go easy.
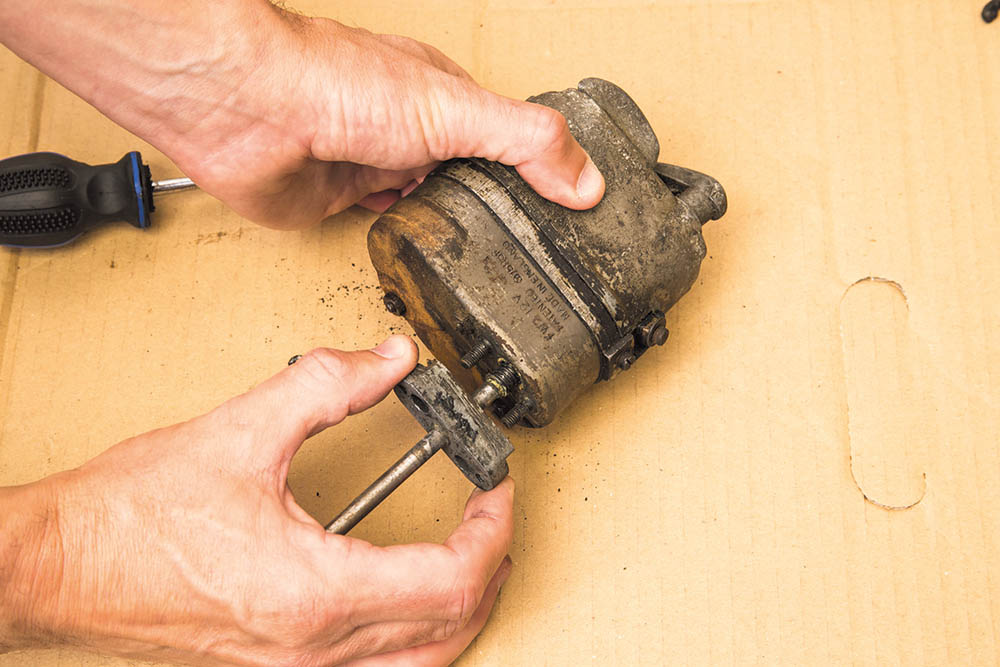
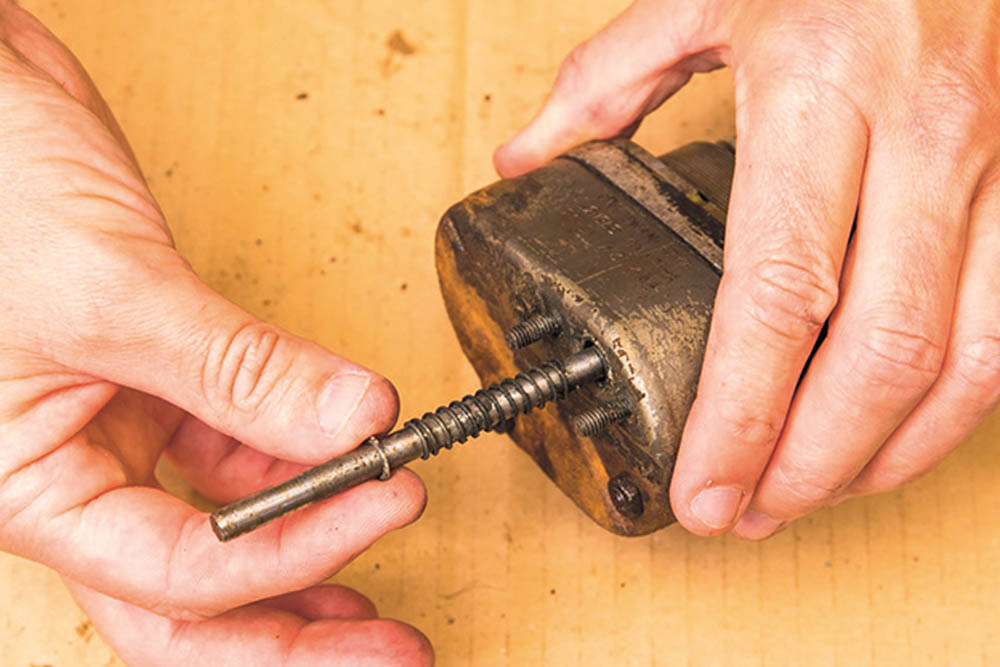
Turn the motor over, unscrew the manual wiper lever fixing, and remove the lever. Again, use a screwdriver that fits well.
Next, remove the two small cover screws on the same side. Wire brush them to allow good purchase with a screwdriver if needed.
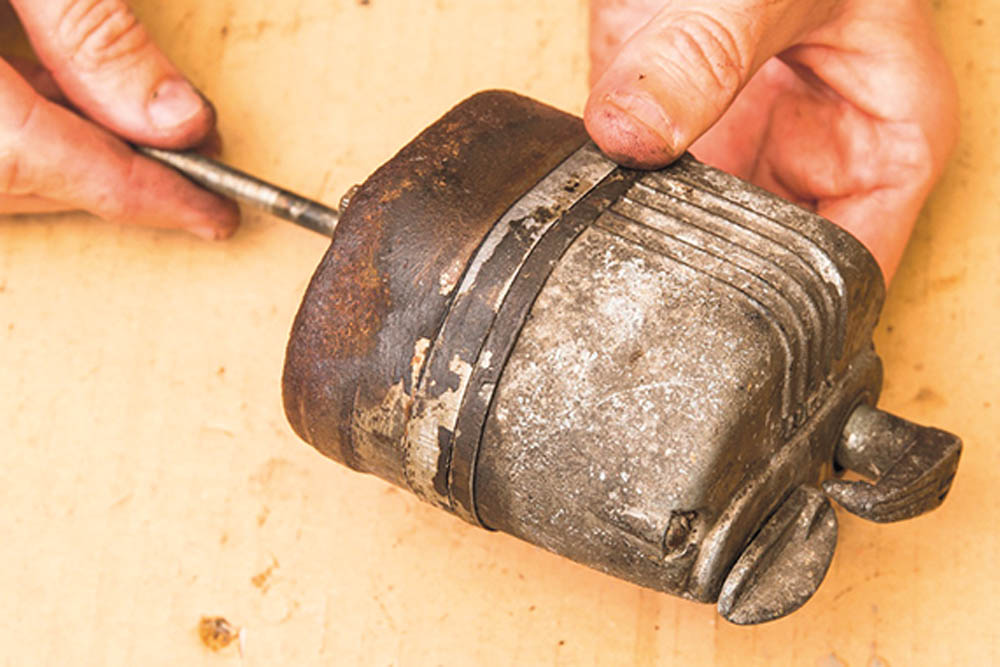
The rear cover can now be eased off. Concours owners will want to replace the thin cork seal to the case but, with care, it can be reused.
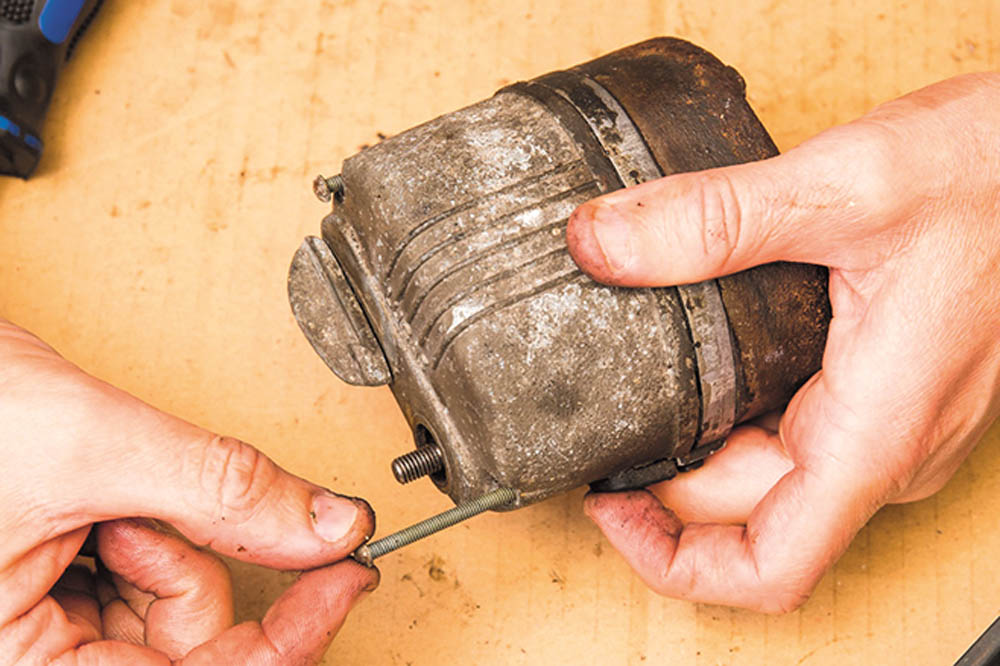
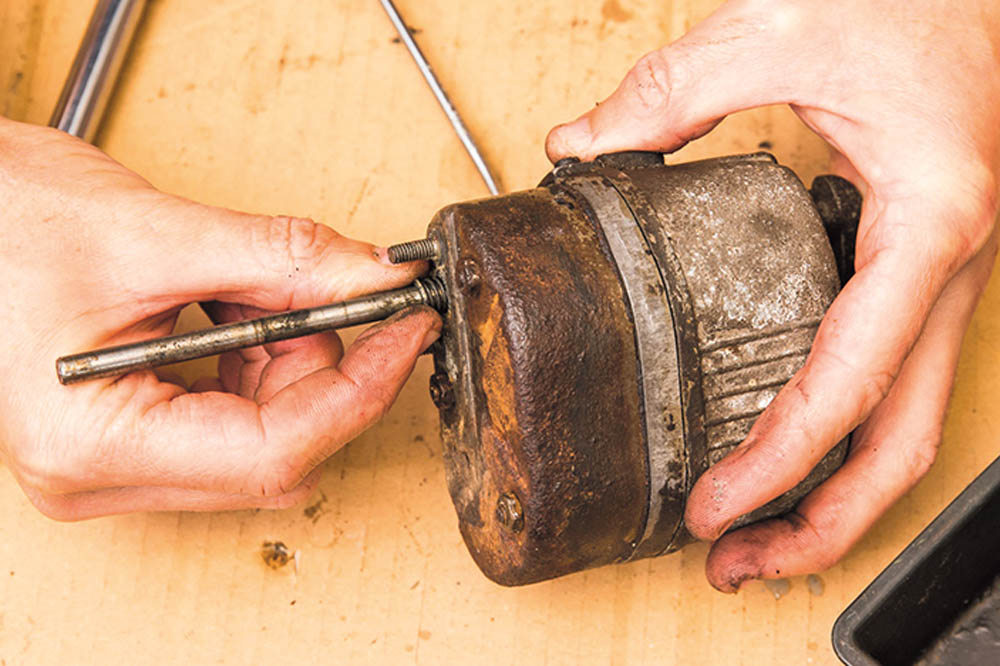
On the side of the cover is a small wiring screw, fixing the negative power feed on the wiring loom. Unscrew it to separate it from the cover.
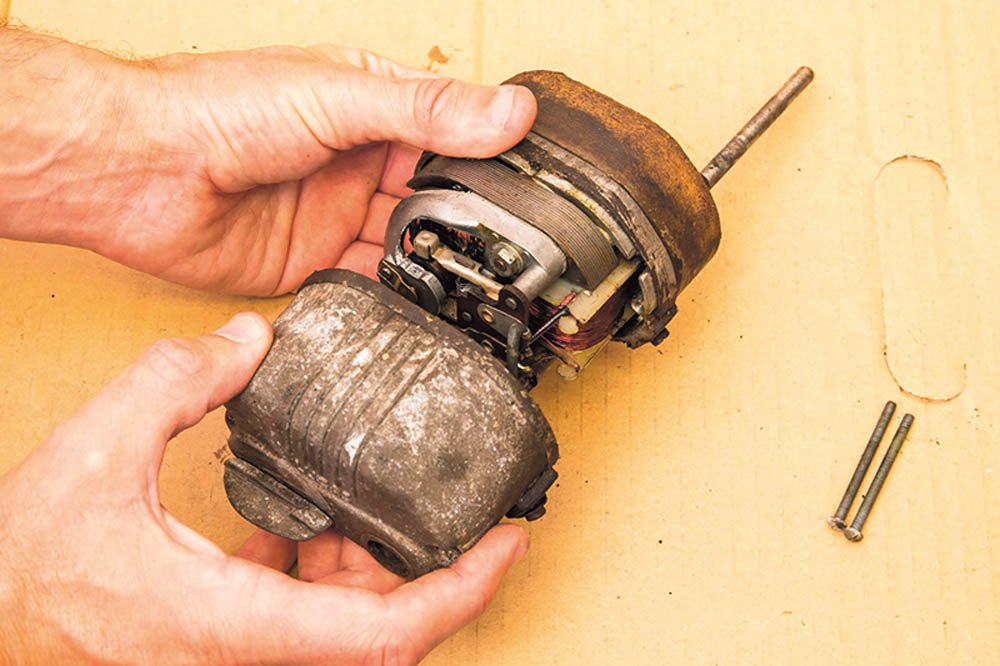
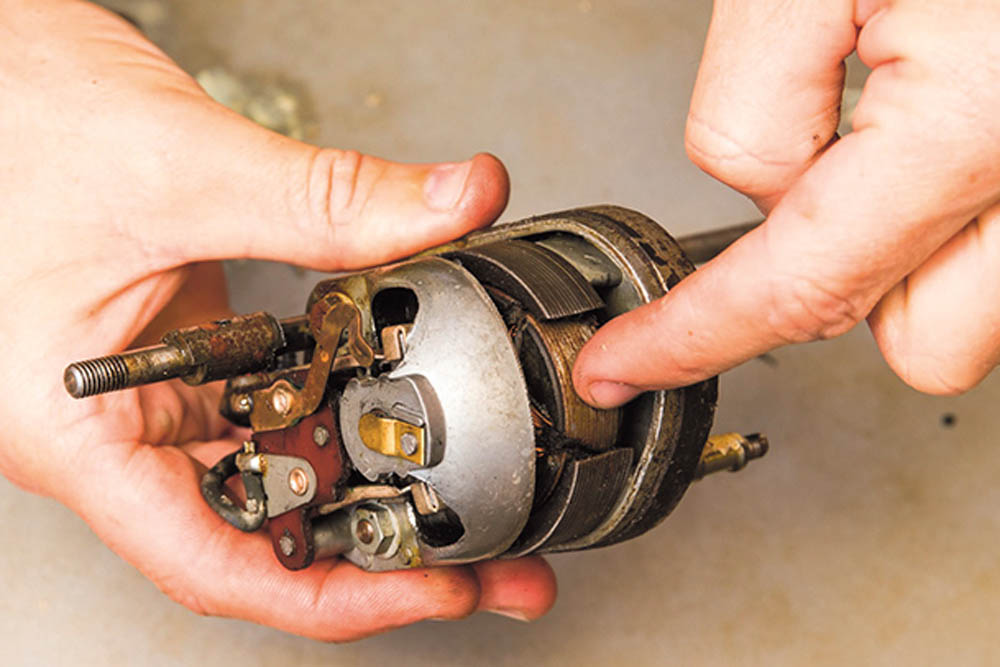
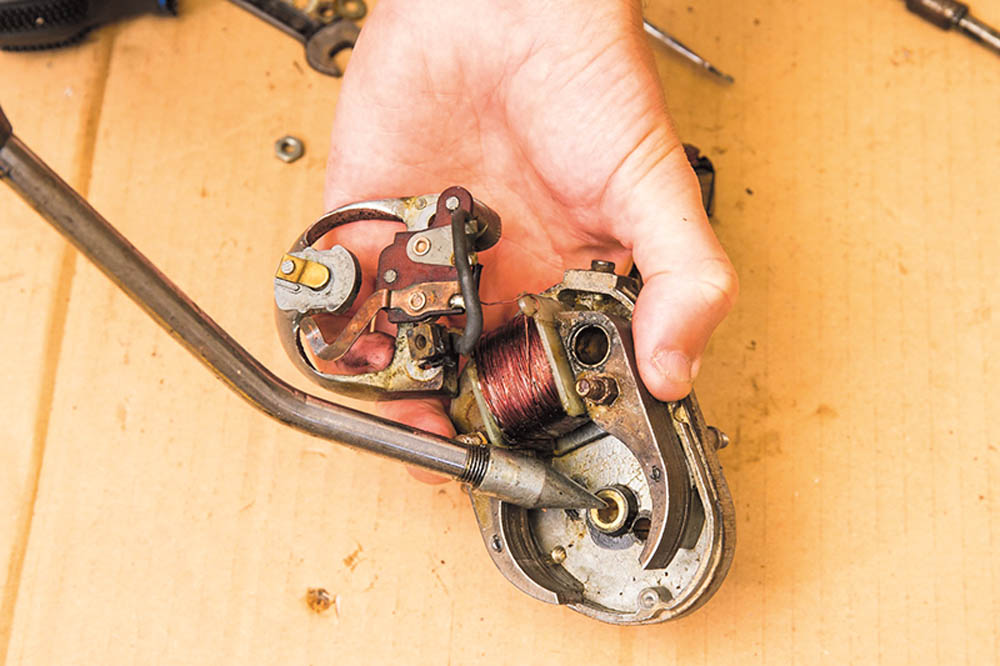
Remove the cover and inspect the motor side seen here, looking for burnt wires or anything amiss, and inspect the brushes and armature.
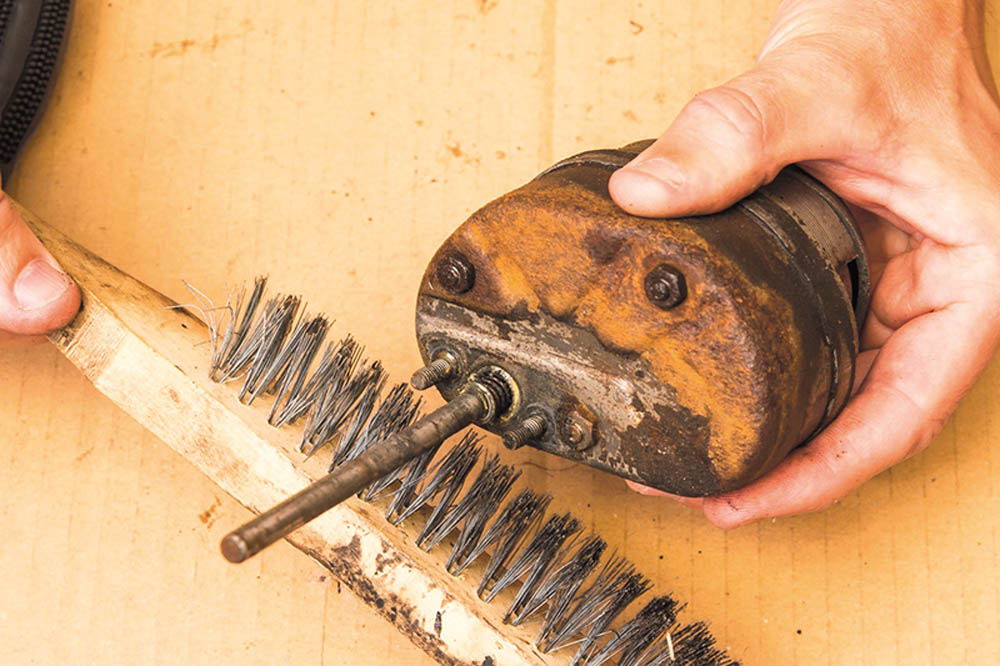
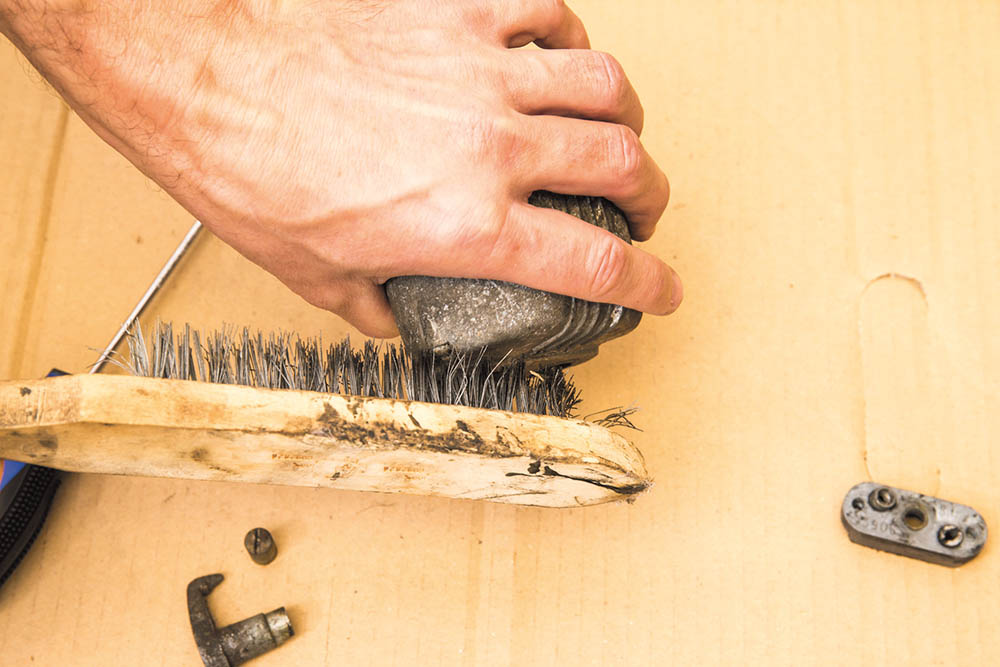
Turn it over to remove the screen-side cover. I gave mine a good scrub with a wire brush first. I’d already sprayed penetrating oil on the nuts.
To remove the wiper spindle, release the tiny circlip, washer and spring on the arm. Wear eye protection in case the clip flies off, as mine did.
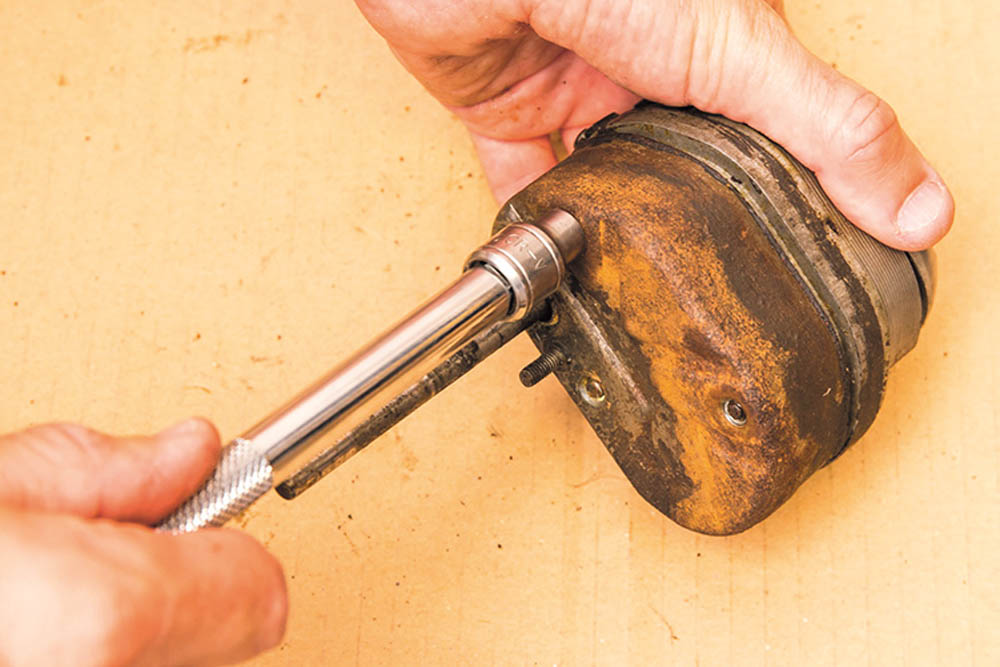
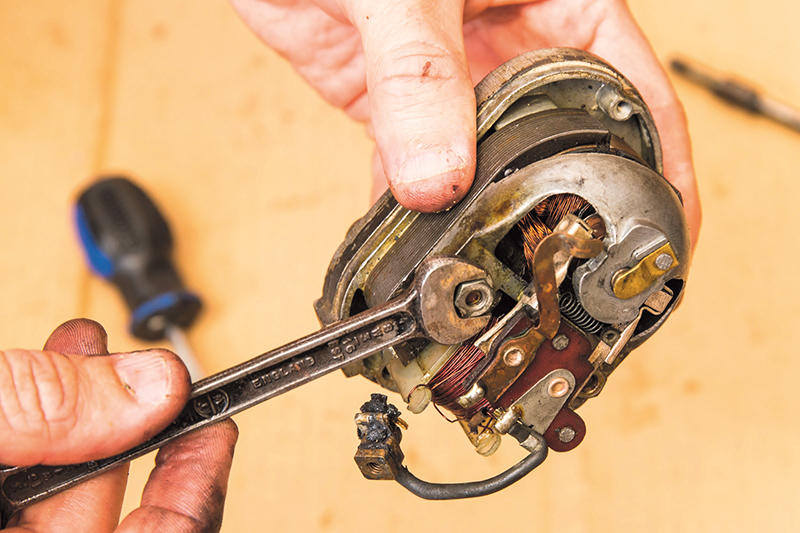
Remove three small nuts holding the cover. Don’t round these heads off. Go slow, and use an imperial size socket (not the nearest metric) for the correct fit.

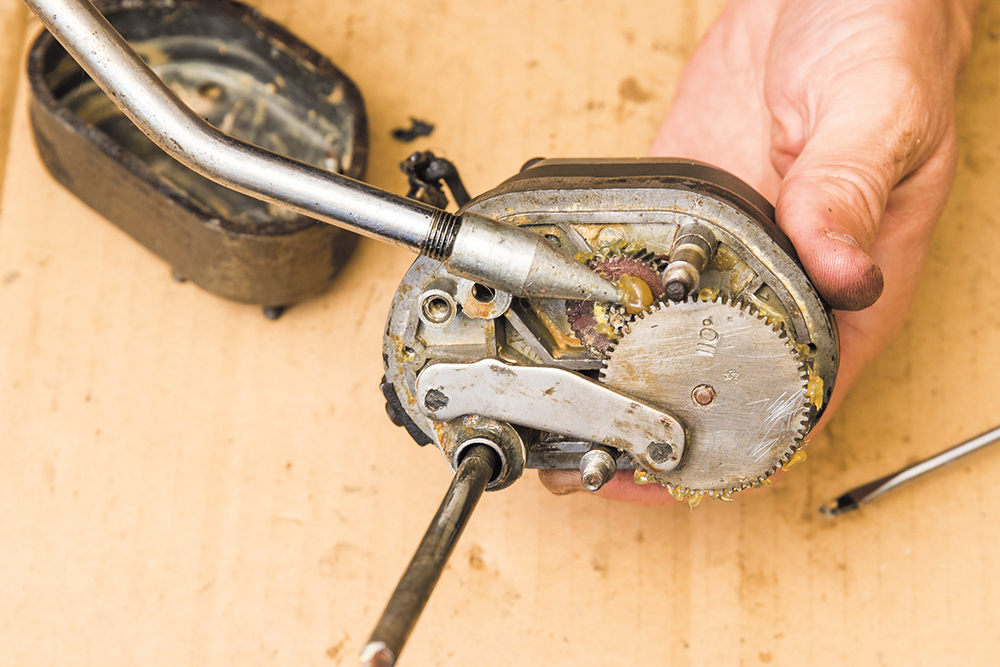
With the cover off you’ll reveal the typical problem that stops the wiper. Namely the old grease ages and hardens, or hardens then absorbs water, as here.
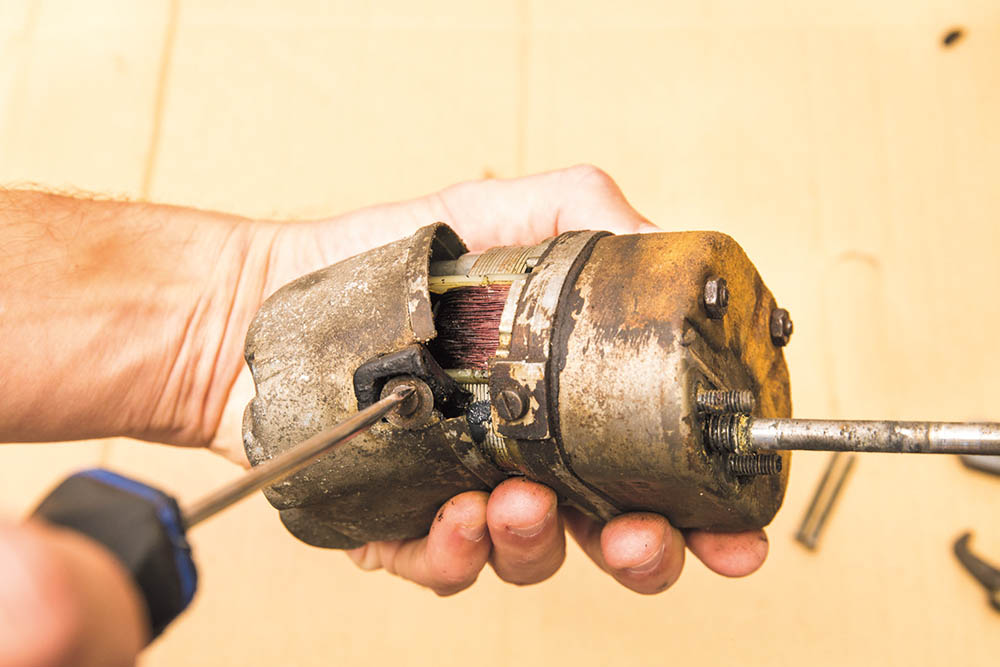
First check now is to see if the motor will turn. Carefully push the motor to inch it around, and see if it will rotate. This was just rock solid.
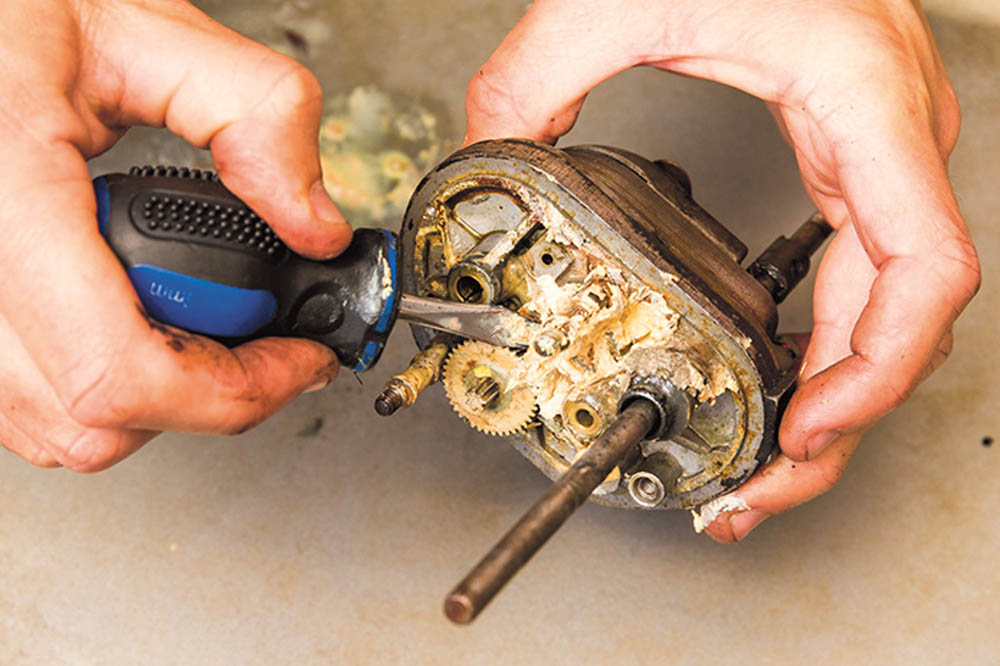
All that grease needs to come out. Scrape as much out as you can, then use a degreasant. I used brake cleaner, a toothbrush and a cloth.

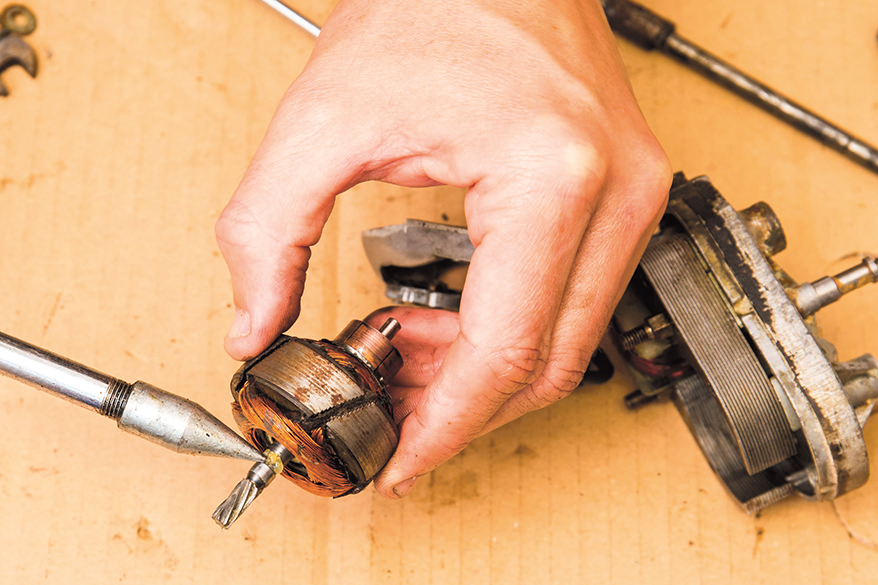
I then removed the wiper arm cam. It was really tight due to being packed with solidified grease. Brake cleaner and patience sorted it.
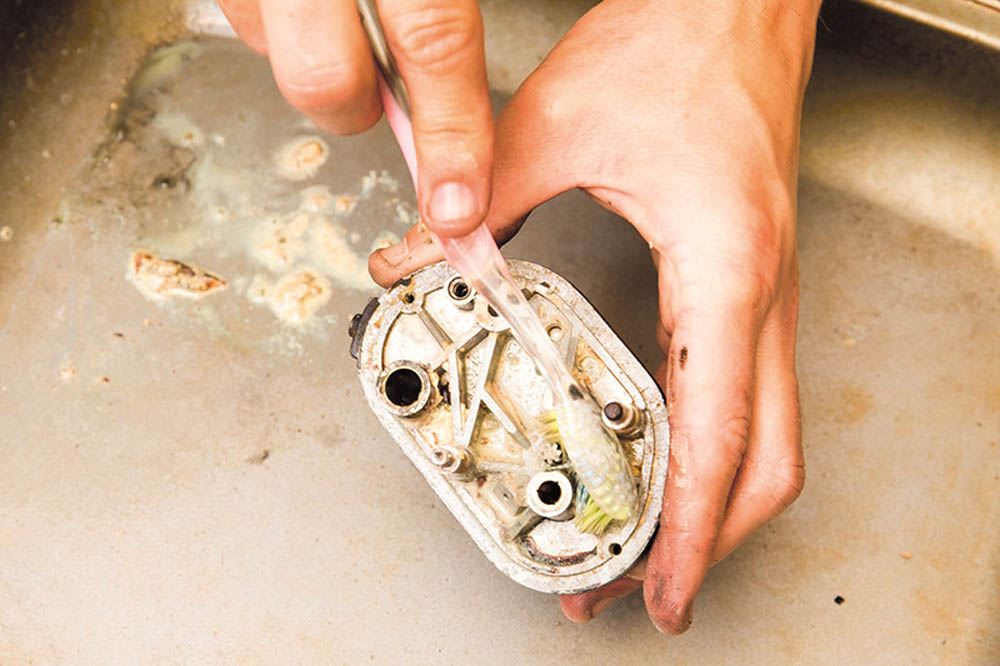
With the moving parts out, I worked the brake cleaner everywhere. I paid particular attention to the brass bushes where the moving parts sit.
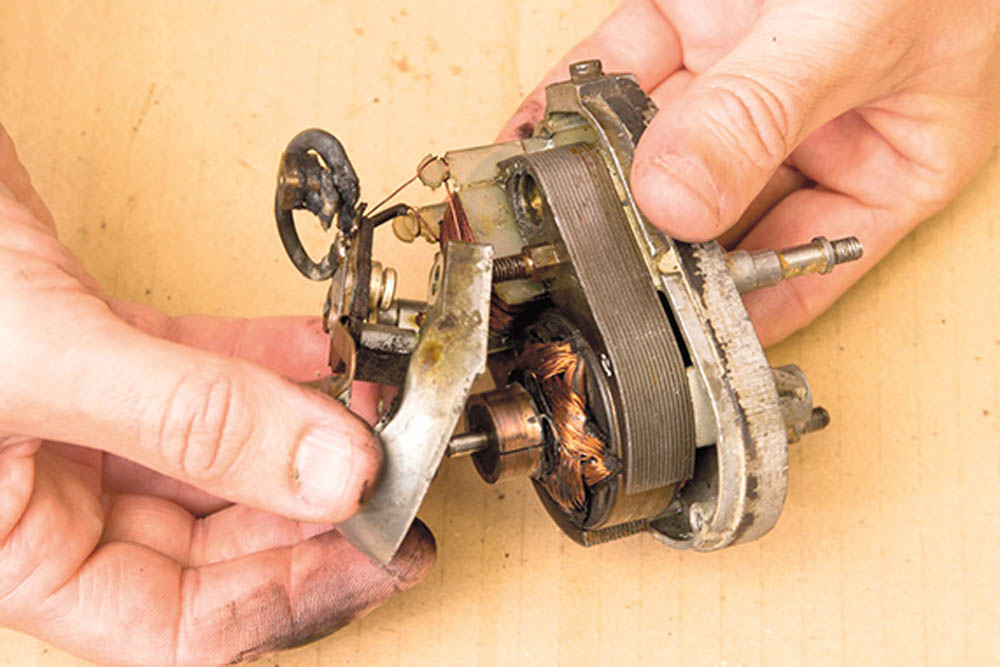
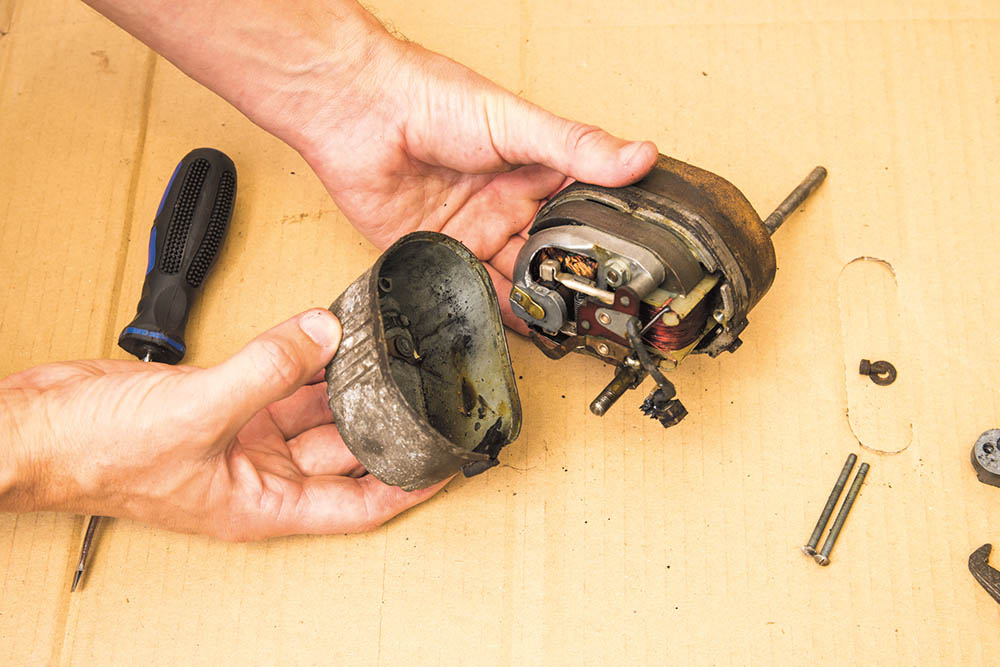
Trying the motor again, I found everything still solid. The only thing it could be was grease around the motor arm. Off with the brushes cover then.
Plenty of brake cleaner and the motor could just be persuaded to move. More cleaner, and it was slowly released from the concrete-like grease.
Reassembly
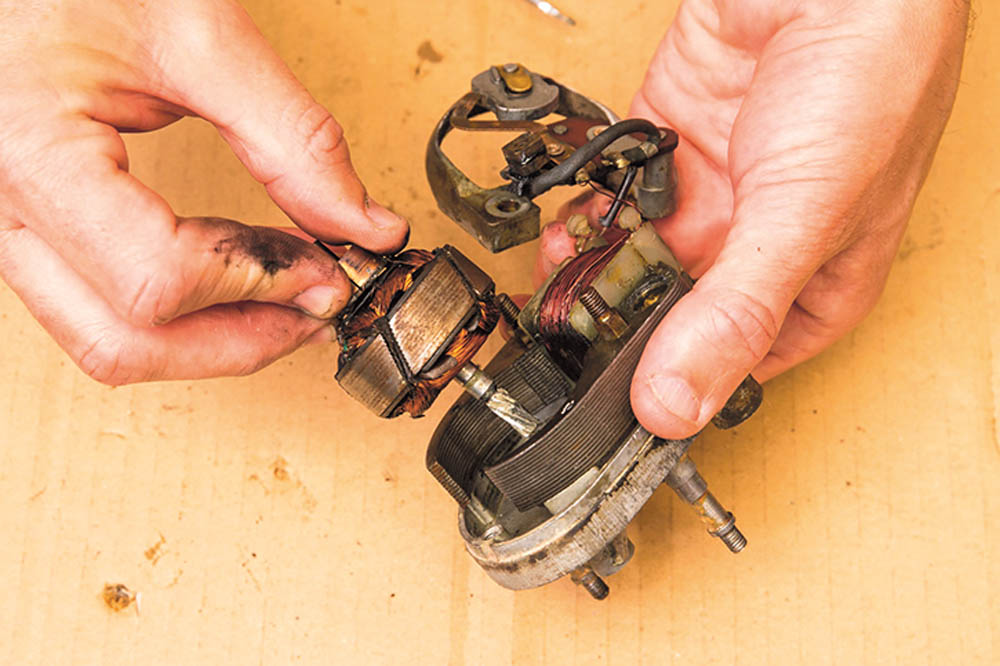
A good clean up of the motor armature and the case bearing and we’re ready to reassemble. First, I greased the case bearing lightly.
Then I did similar on the motor shaft. A needle fitting on the grease gun is fabulous for accurate, controlled grease placement on jobs like this.
Carefully reassemble it, feeding the brushes over the motor armature. Don’t overtighten the fixing bolts, which will prevent the motor from rotating.

Test the unit by powering it from a car battery or power probe. It should spin fairly quickly, but may start slowly, and increase a little the more you run it.
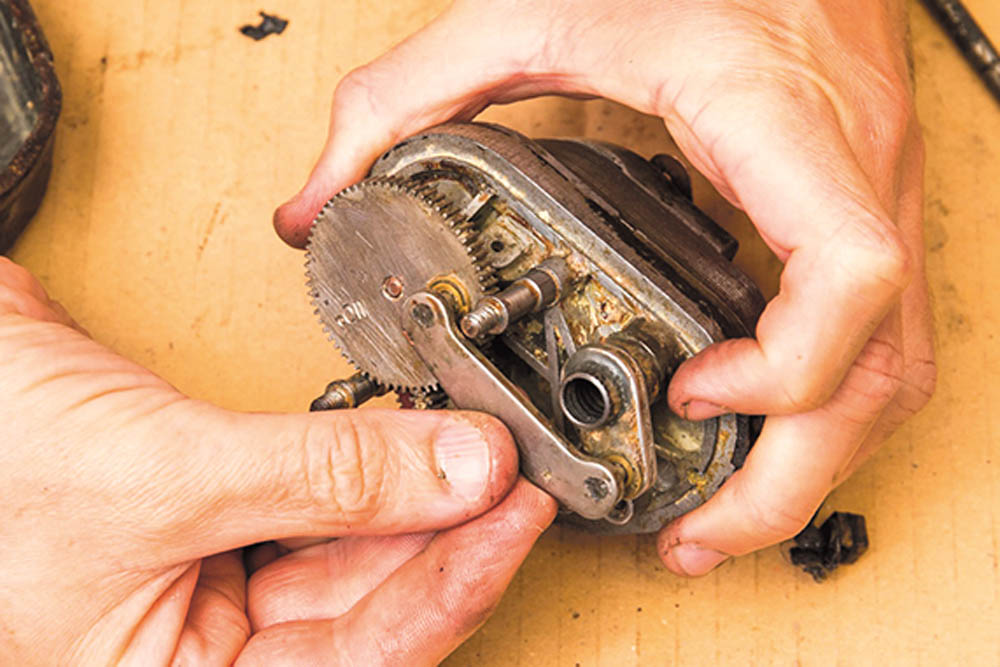
Flip the unit over and refit the gearing, working a dab of grease into each bush. Test it again once built up. It should work well now.
Now is the time to regrease all the working faces of the gearing. Apply where accessible; run the unit to spread it around, then regrease any gaps.
Refit the covers. Now is the time to rub it down and repaint it if you want it mint. I wire brushed it and wiped it in light oil for an aged look.
On the motor side, refit the manual wiper handle, then at the gear cover side, refit the circlip (preferably a new one) and spring, then the spacer.
There we have it – a 61-year-old wiper motor restored to full function once more. It’d be nice if it lasted another 60 years, wouldn’t it?

Finally, refit it to the car. There are two bolts that mount in through the screen, then the wiper bolts on. Inside, refit the wiring, checking the wiring diagram if you’re unsure.
Did you know that you can now get access to the entire archive of Land Rover magazine content with our brand new digital archive? You can enjoy all the issues since the launch of the magazine – use the search bar below to find features, reviews and other great content: