


01 December 2018
|
 : credit: © Trevor Cuthbert
Trevor's 110 V8 goes soft-top, as he assembles his sticks and aims for a perfect fit
Models: Ninety, One Ten, 127
Time: One and a half days
Cost: £1702
Difficulty: 3/5 stars
Tools needed: Drills, drill bits, hammer, centre punch, chalk, spanners, socket wrenches, centring bar, taps and tapping tool, riveter and clamps.
Parts: Full hood frame set, £430; Seat belt hoop, £292; Mohair hood with side windows, £800 (all from All Wheel Trim Ltd); Galvanised body cappings (eBay), £120; Ex-military door tops (local classified ads), £60.
Contact: All Wheel Trim Ltd, Tel: 01993 776800, allwheeltrim.co.uk
In the previous incarnation of the Land Rover V8, as an 88-inch off roader, it had been at times a hard top, a hard top with side windows and then a full soft top. The old canvas
tilt was showing its age and wasn’t suitable for the new long wheelbase 110 configuration. Way back when I converted the 88-inch Land Rover to full soft top, I sourced all of the hardware and the canvas tilt itself from All Wheel Trim Ltd in Witney, Oxfordshire.
Now, with a decision made that the 110 would again have a full soft top, I spoke with All Wheel Trim boss, Kim Johnson, about the available options. The first good news was that some of my hardware would be reusable on the 110, for example the ex-military roll-bar/seatbelt hoop, as well as some of the non heavy-duty hoops. All Wheel Trim Ltd were able to put together a partial package of hardware to complement my reusable parts, keeping cost down a little (although I have quoted full kit costs for this feature).
The next question was centered around the hood itself. A full canvas tilt or a more stable mohair hood? Which would be more suitable for the County Donegal environment in the long term? Canvas tilts can shrink slightly in changing environments, while mohair is much more stable. Any concerns about the durability of mohair evaporated when Kim showed me his own Defender 90 with its mohair hood of over 20 years old. Yes, mohair is also more expensive than canvas, but I particularly like the ease of unzipping the side and rear panels, so my mind was made up.
Assembling the frame
Fitting a complete hood set of hardware is a relatively straightforward process. However, taking time and care pays dividends in terms of the finished job. It is possible to achieve excellent door shut lines and a very snug fitting hood when the job is not rushed. I have heard it said that a properly-fitted frame and hood can be as watertight and as quiet as a hard top.
In 88-inch form, my Land Rover had a very noisy exhaust system and a very flappy canvas tilt – all part of its charm and character. But now I am aiming for a little more refinement, and took a lot of time over the job to get it as right as possible. The Land Rover will be used not as a rough and ready off-roader, but for family outings and for visitors to get a taste of greenlane driving, so we’ll try to get it right.
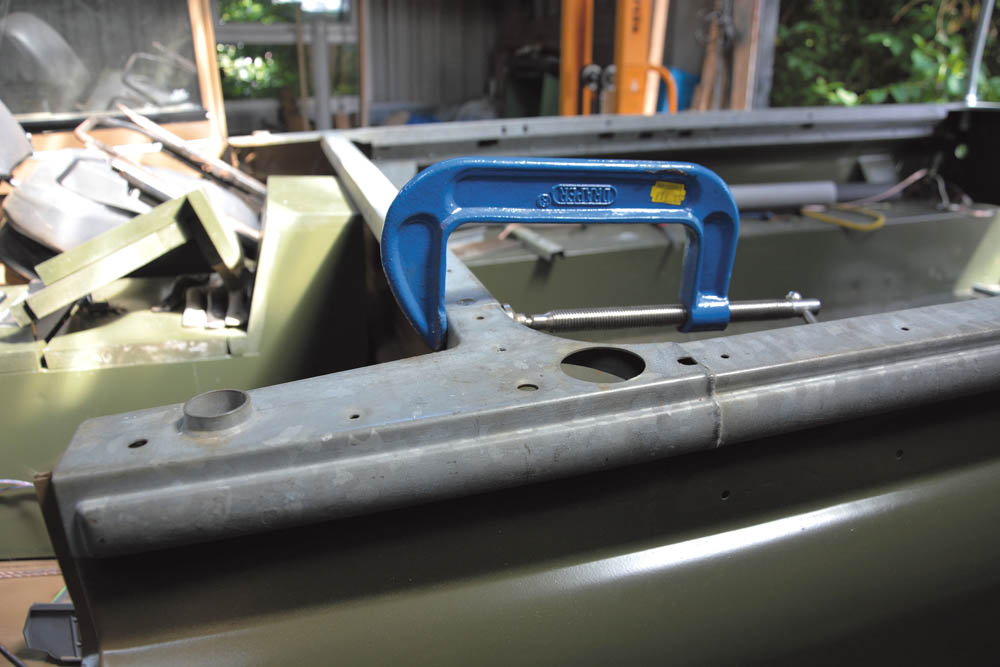
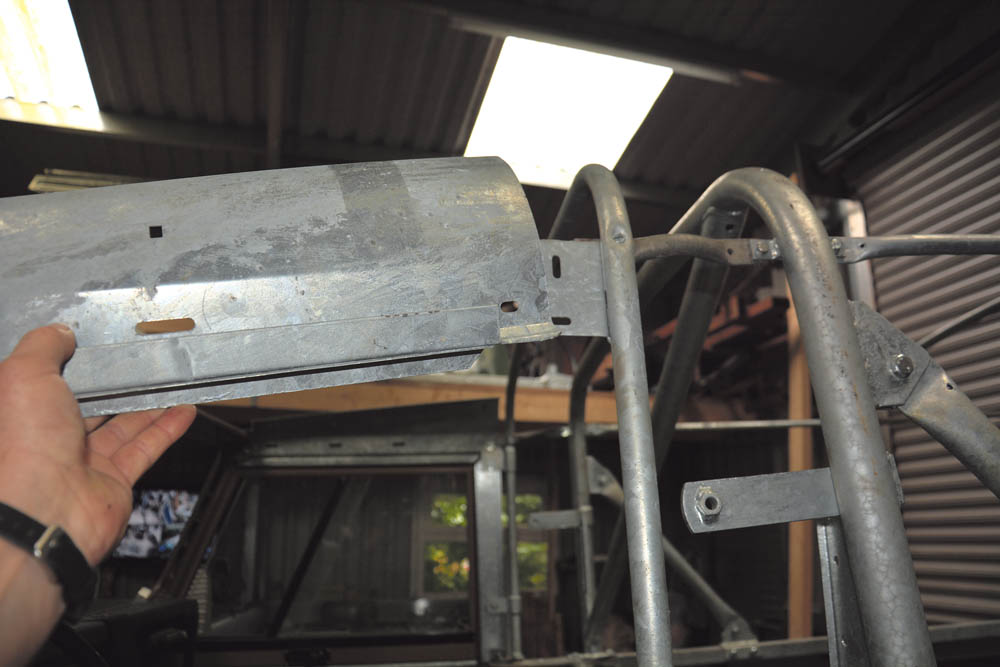
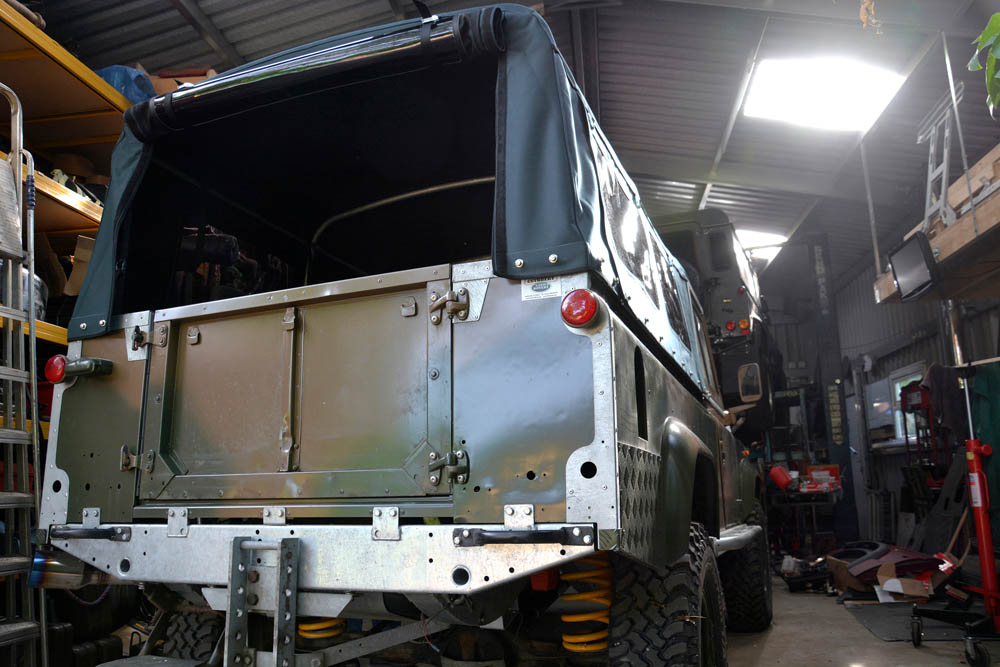
I was lucky enough to find these new old-stock body cappings online. As they are ex-military, they already have the holes for the roll-over/seatbelt hoop.

The roll-over hoop fits through the hole in the body capping and will slot into the load spreading bracket, which is bolted and riveted to the body tub.
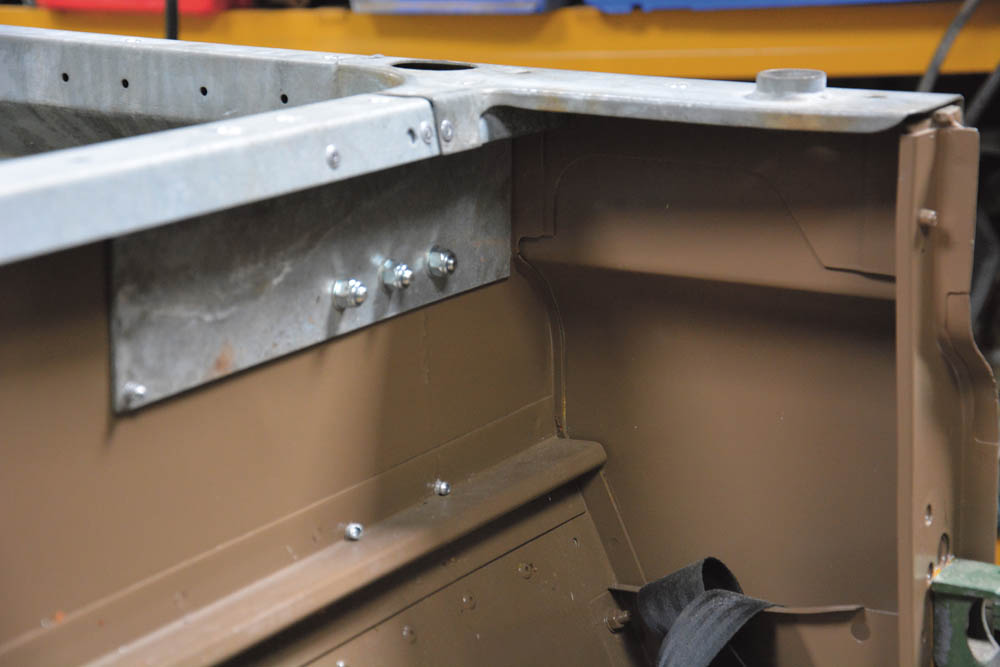
The load spreading bracket is bolted through to the cabin side of the rear body tub, to this second bracket, on each side, sandwiching the middle bulkhead.
The centre hoop that supports the hood is bolted to the body capping with a two M6 bolts. Access holes on inside of the capping allow nuts to be fitted.

Being a fan of how early Ninety and One Tens look, I’ve gone with galvanised/unpainted corner cappings and safari corner bracket cappings.
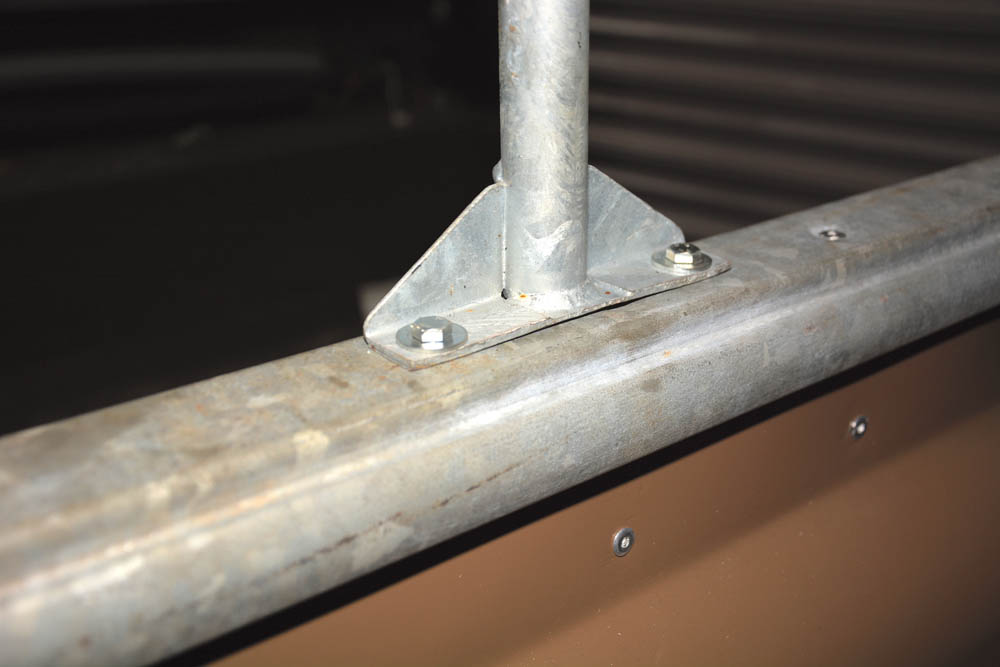
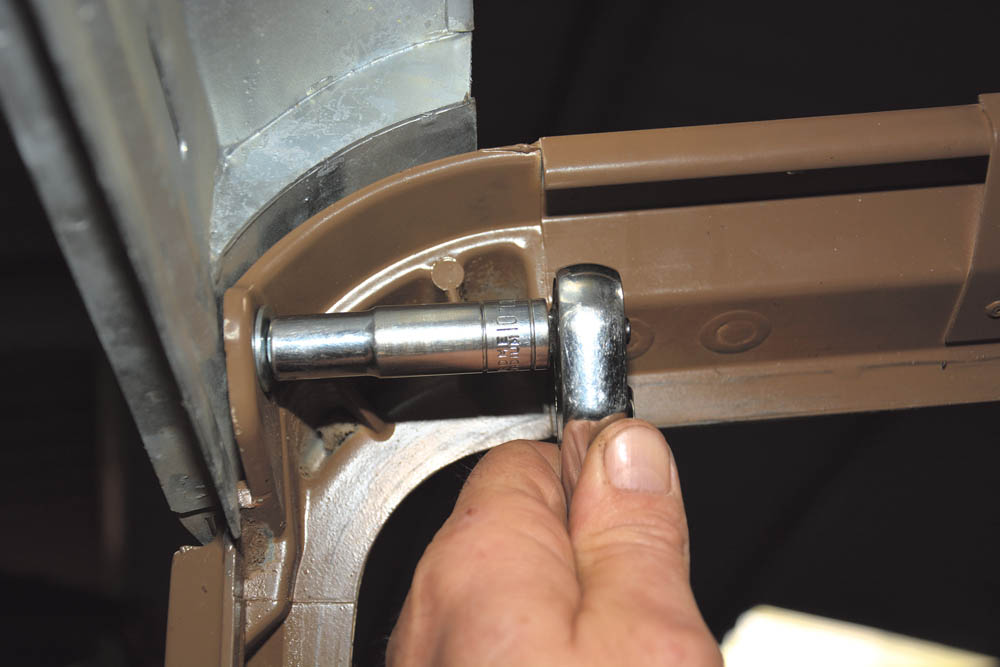
The roll-over hoop slots into place through the body capping and into the spreader bracket and is fixed down with a pair of M10 bolts on each side.
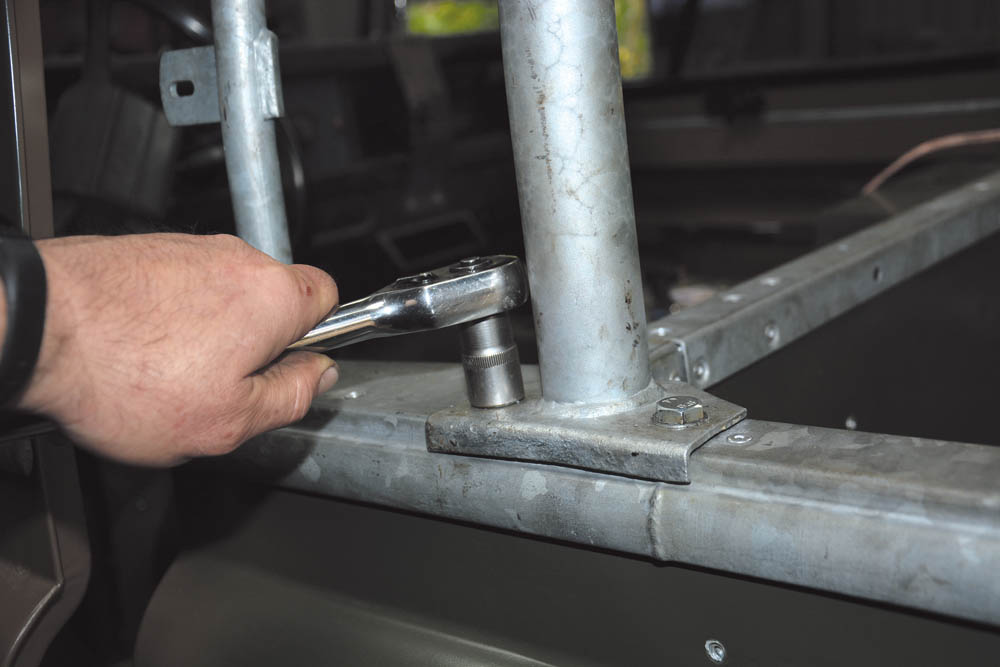
The roll-over hoop is made very firm by the addition of a support tube on each side, which attaches to a bracket on the hoop, by another M10 bolt.

The other end of the support tube is fixed to the body capping by means of a bracket, held by two M10 bolts into a captive nut plate on the inside.

Horizontal support tubes are fitted between each of the hoops and to the roll-over hoop, and bolted in position with 15 M6 bolts and nylock nuts.
Before the windscreen frame is re-fitted to the Land Rover, a new adhesive seal is positioned along the top of the bulkhead, to prevent water ingress.
Also to prevent water ingress around the bulkhead, new gaskets are put in place, before the windscreen mounting brackets are offered up for fitment.

The original door cappings were also shot-blasted and freshly galvanised. Here the fixing holes had to be re-drilled prior to riveting them in place.
The door cappings are fixed in place by three 5 x 18 mm blind rivets. These will hold the cappings in the event that the door tops are temporarily removed.
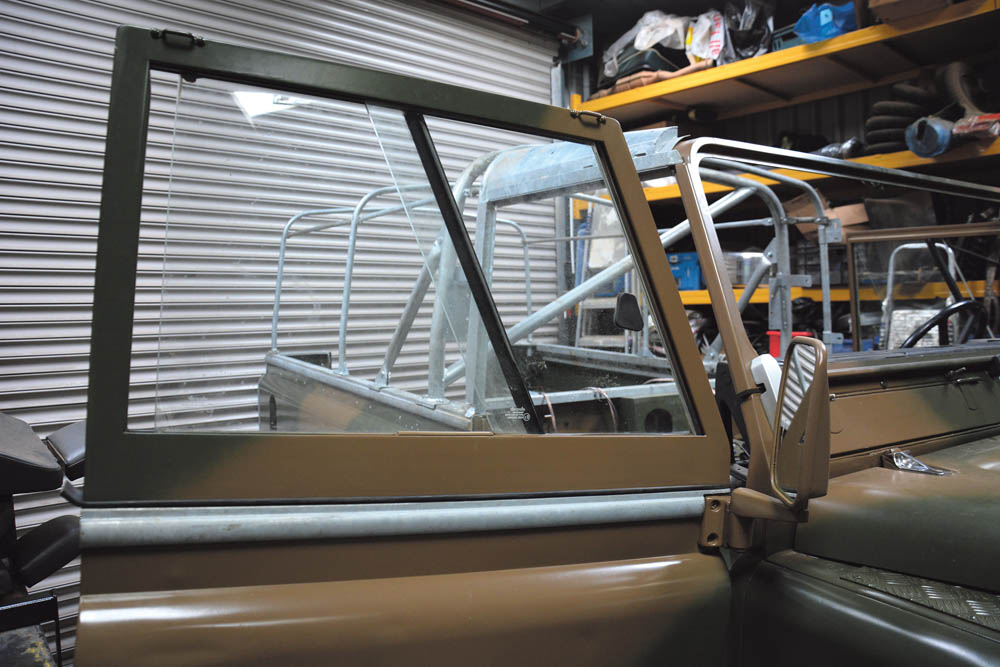
I was fortunate enough to get hold of a pair of ex-military door tops, with their distinctive angled glass. These were also used on early One Ten models.
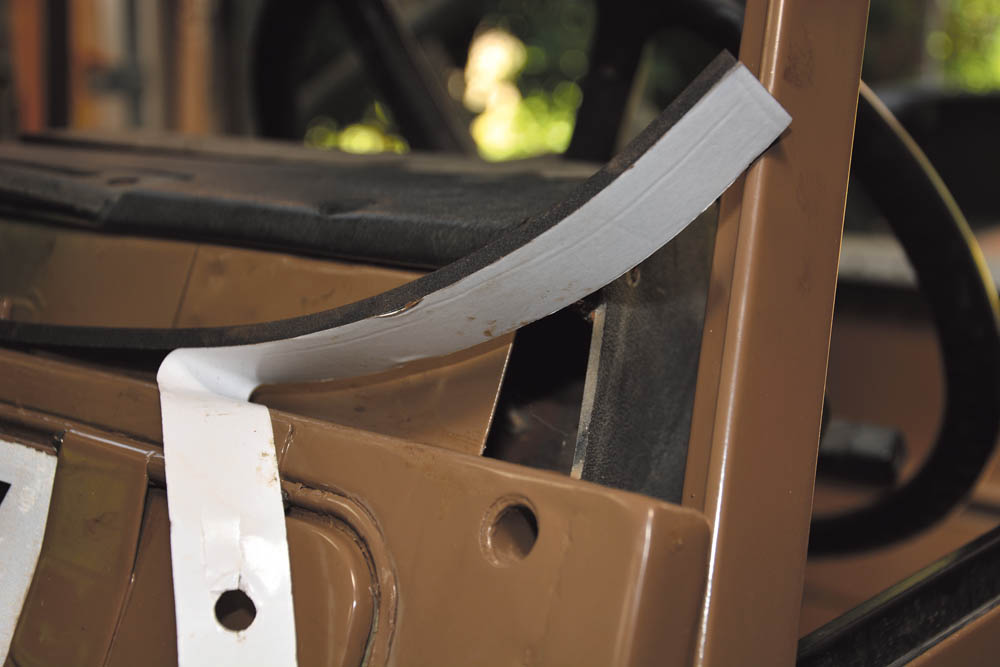
The over-the-door support panel on each side is a crucial part of the frame set, giving the cab area sufficient structure, and creating a rain channel over each door.
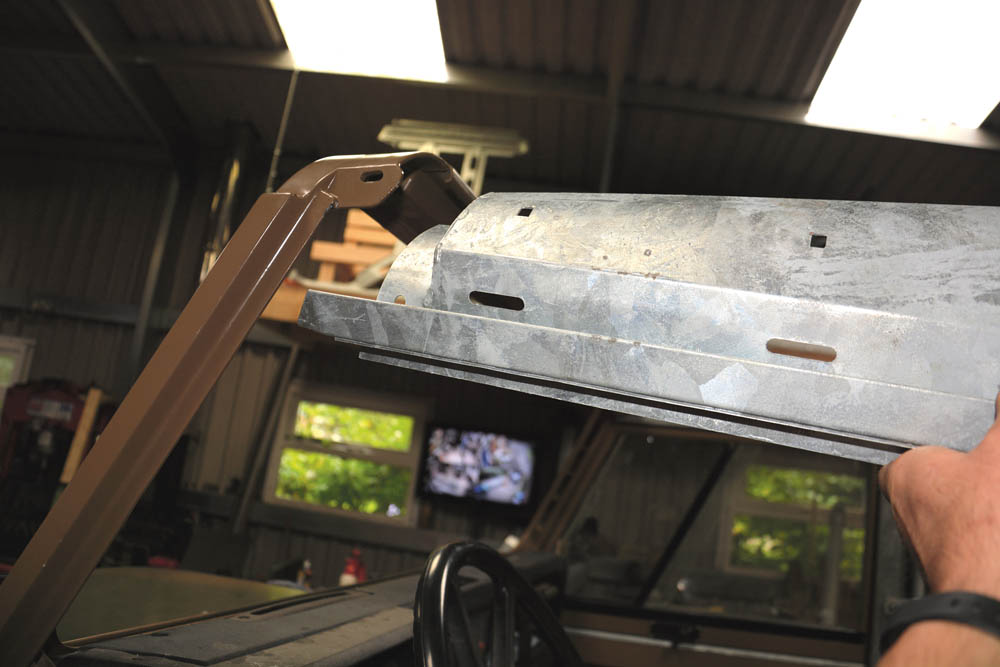
Each over-the-door panel attaches to the windscreen frame on each side, providing a place to tuck the hood into, at the same time establishing the rain channel.
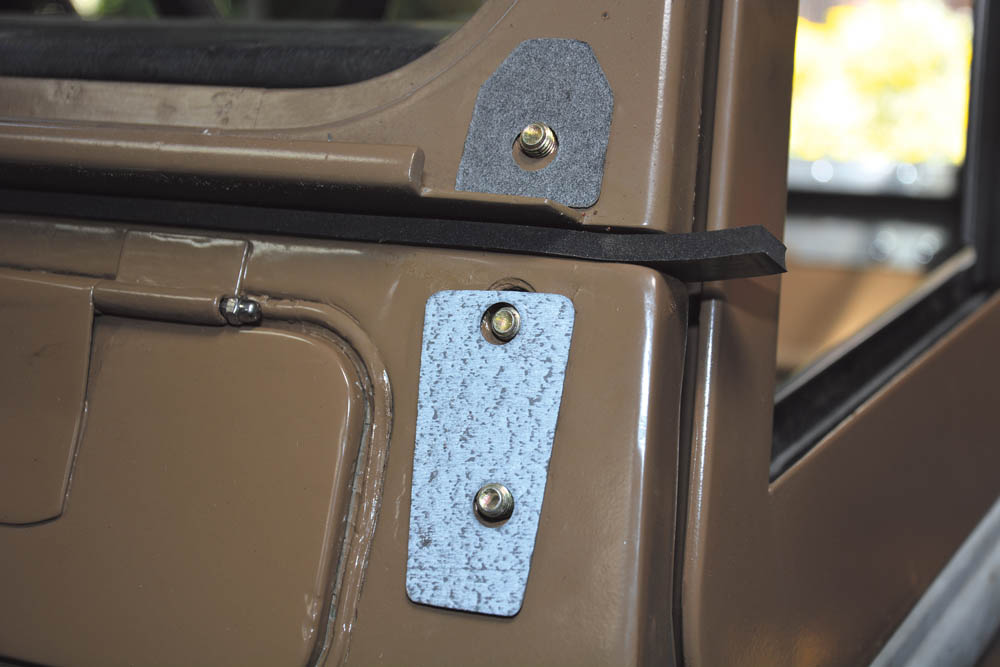
The over-the-door panel is fixed to the front hoop with an M6 bolt and has fore and aft adjustment to allow good shut lines for each door and a good
door seal.
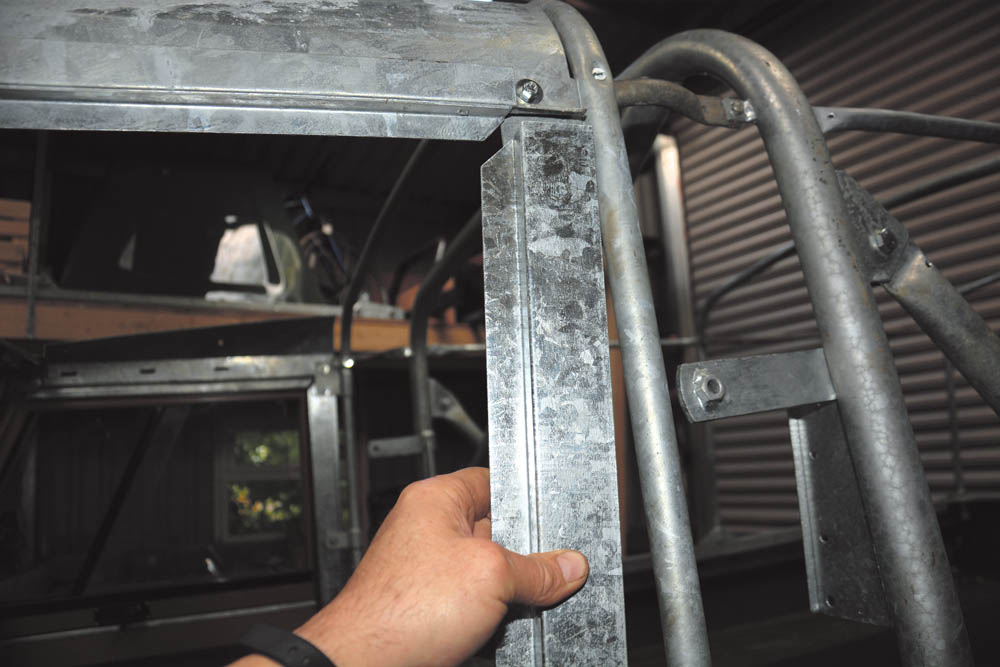
The B-post section is offered up and provides a channel to tuck the leading edge of the hood into, as well as a frame to fix the door seal.
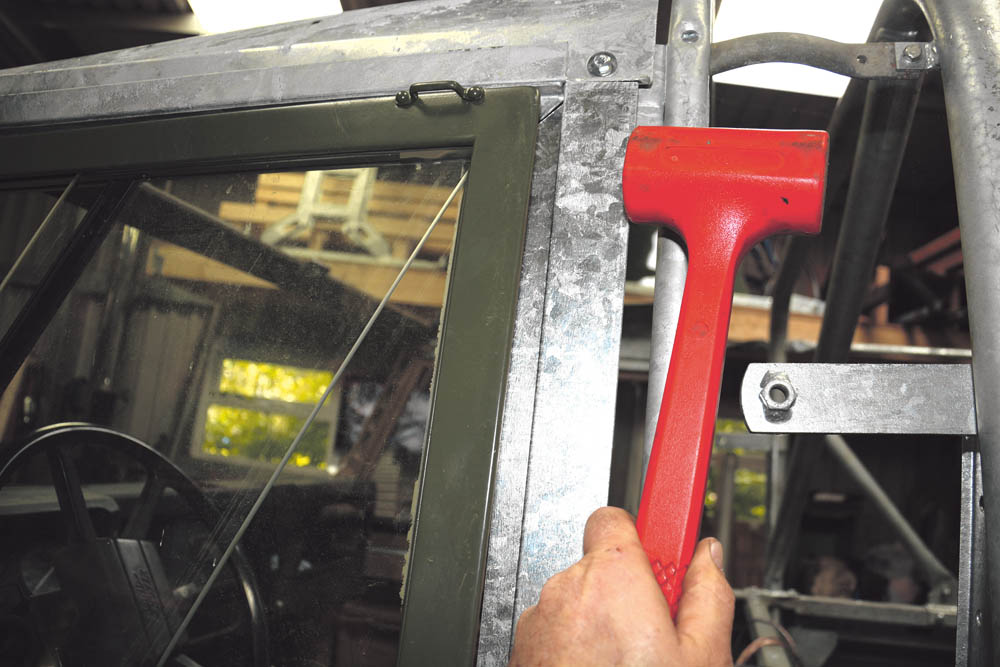
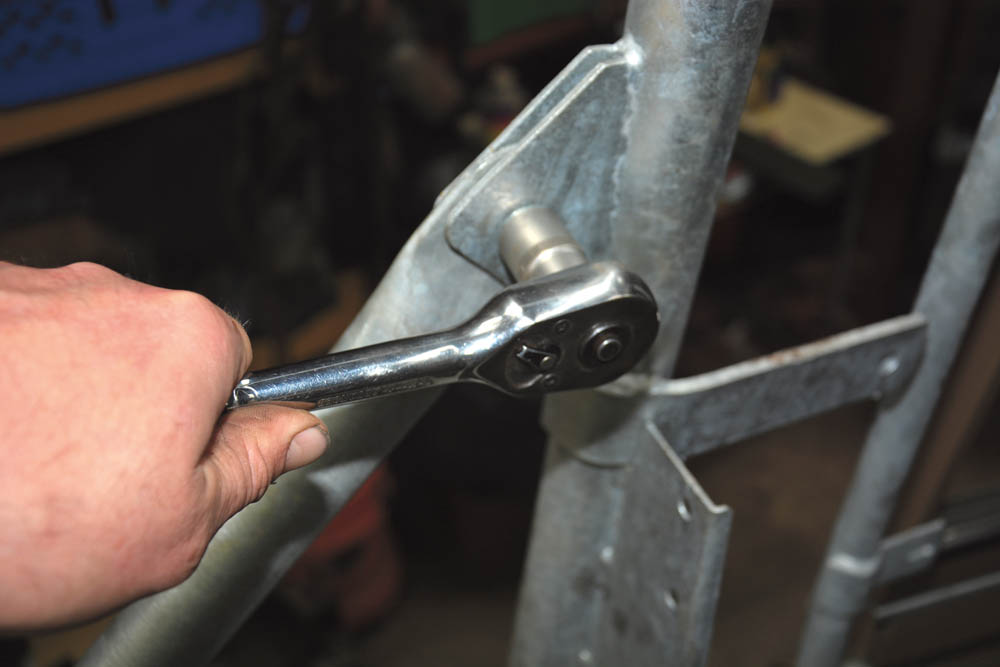
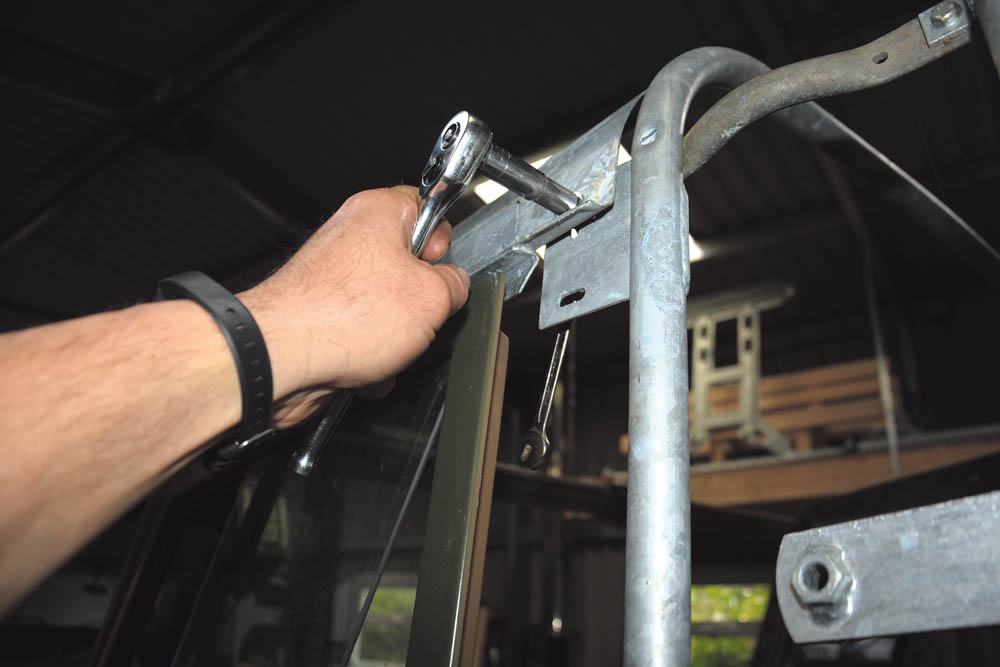
The bolts are not fully tightened yet, allowing the B-post to be gently tapped into the best position for a good door shut line.
As soon as all fine adjustments are made, the bolts are fully tightened. Here the M6 bolt to the windscreen frame is done up with a 10 mm socket wrench.

The completed hardware around the right side door is very pleasing, with very good lines achieved. The new door seals will work at optimum efficiency.

The roll-over hoop had recently been galvanised, so the captive nut which forms the top seat belt mount on each side had to be re-tapped to remove excess zinc.

The front rail for over the windscreen frame is fitted with a brand-new rubber seal, prior to being offered up to the frame.
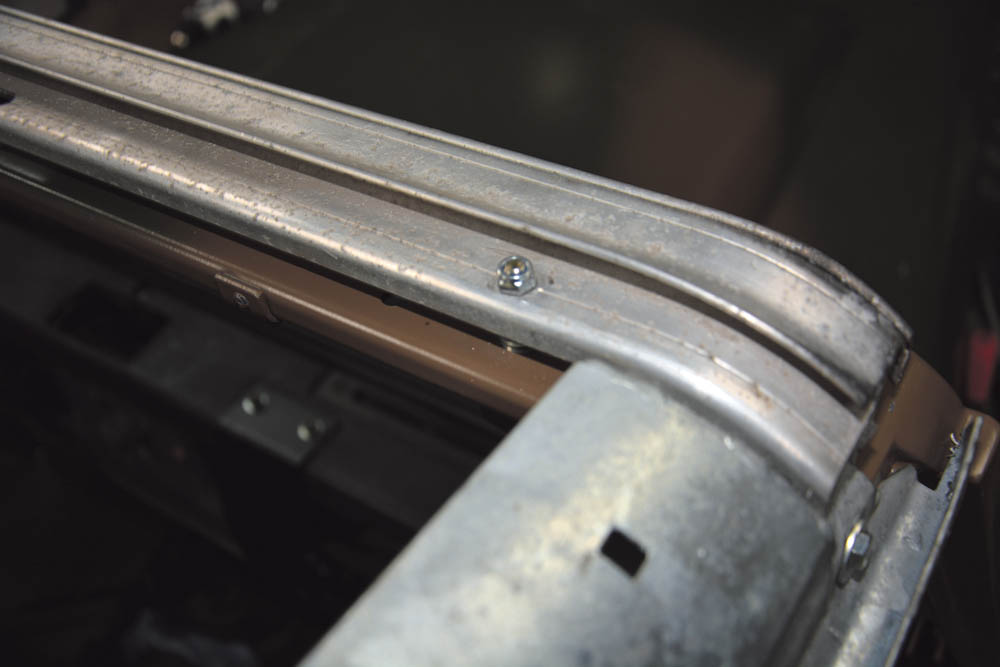
The front rail clamps the hood to the top of the frame with spring loaded clamps. So the bolts are only tightened enough to catch the nylock threads.
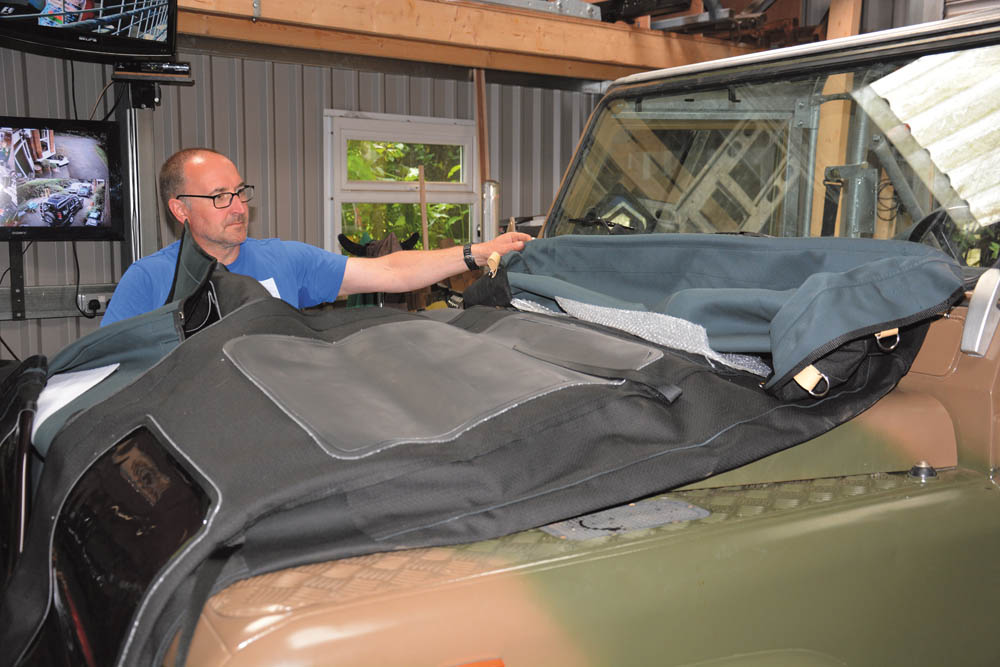
The new hood is laid out on the bonnet of the Land Rover with the inside facing upwards. It will be rolled back over the hoop set working towards the back.
The front edge of the hood is first clamped to the top of the windscreen, and is then carefully eased back over the frame and into position.

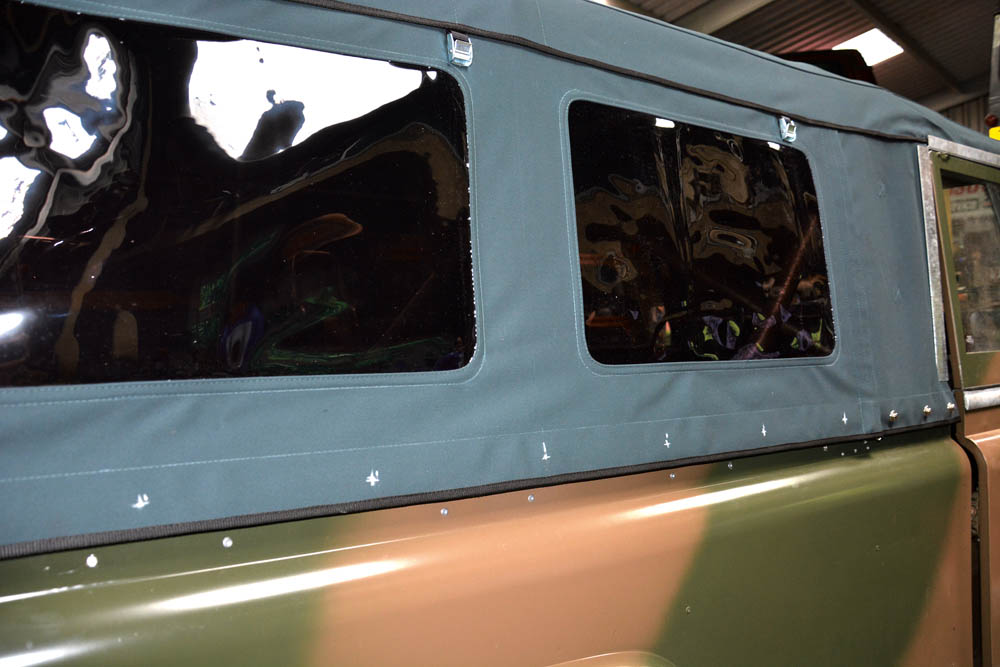
The high quality Mohair hood drops down over the frame perfectly and is beginning to show us how the finished job is going to look.

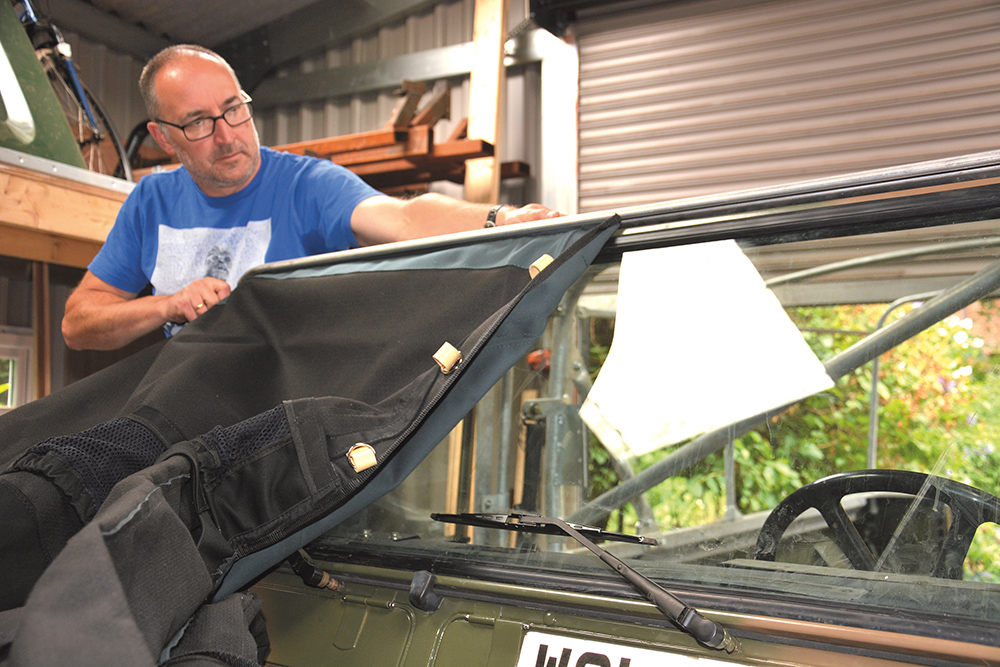
On the inside, there is a multitude of straps, buckles and Velcro attach-ments to fit. For example there is a length of Velcro that surrounds the middle hoop.

These straps are fed through the over-the-door panel and hook onto plastic clips, pulling the new hood taut over the cab area of the Land Rover.

All zip fasteners in the hood are done up so that the fixed areas (those that will not roll up) can be marked with chalk, for the fastener positions.
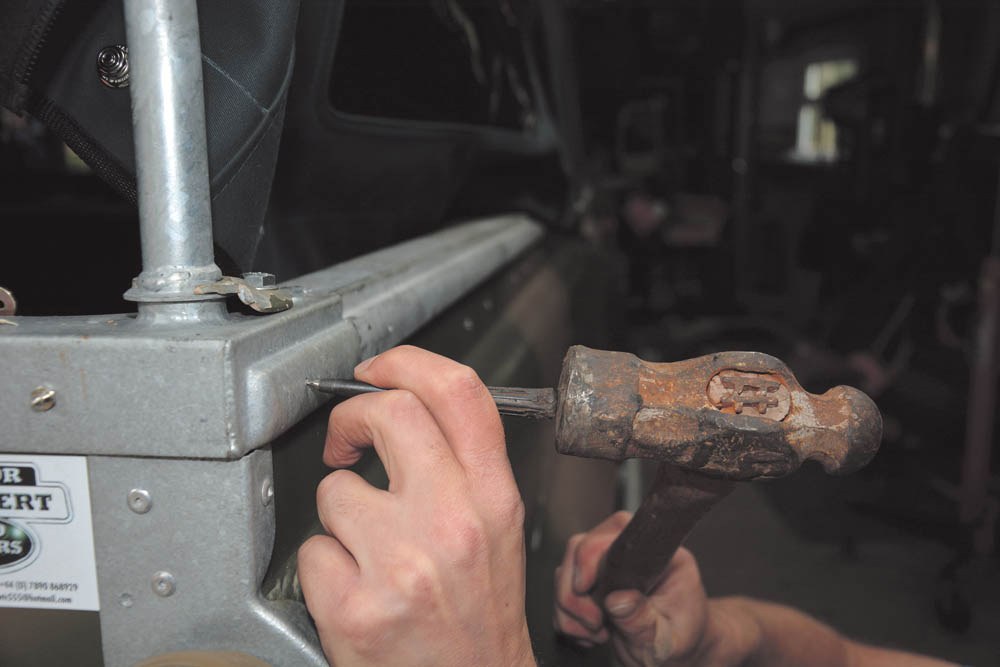
Each location for each of the fasteners is then marked with a centre punch to create a small indentation, for accurate drilling.

An undersize hole is drilled in the body capping for each location of the fastener post. In this case 5 mm for a 6 mm thread.
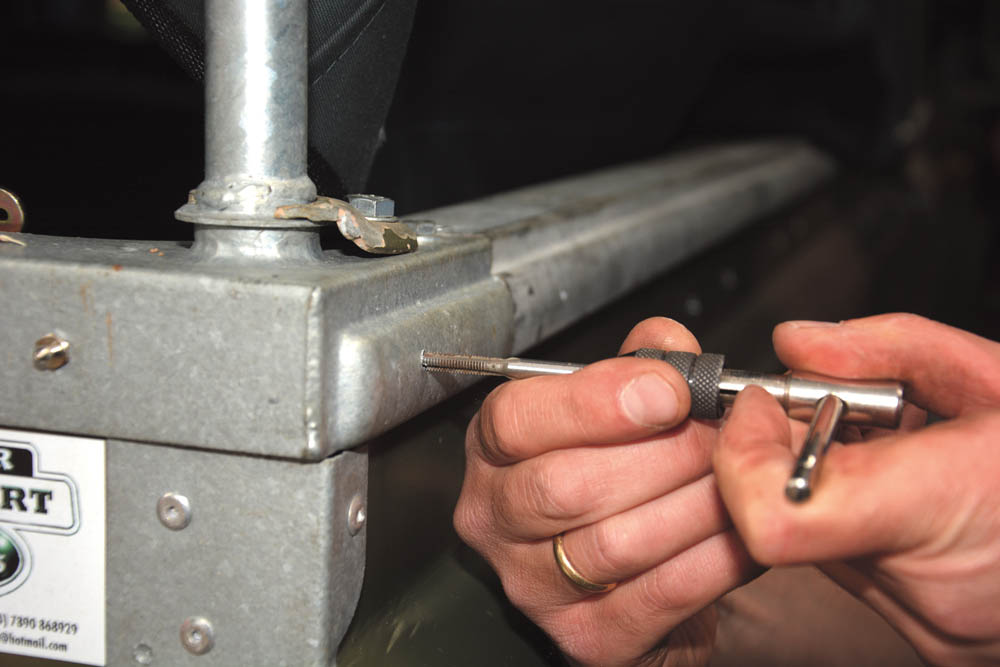
Each of the drilled holes is threaded using a 6 mm tap. The resulting threaded holes allow the fastener posts to be screwed into place and tightened.
All four fixed areas of the hood are attached in their positions to the body. Now the roll-up sections are marked for their own fasteners to be fitted.
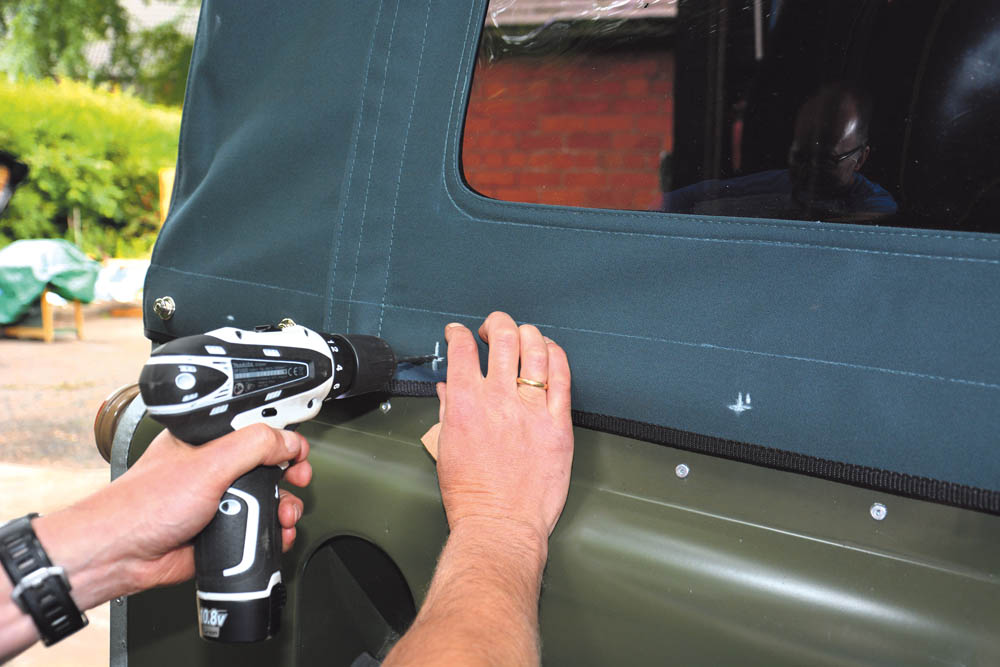
Drilling through the firmly-held hood to the body capping, at each of the marks, gives us the location for each of the fastener posts.

A 10 mm drill bit is used to enlarge each hole in the roll-up section. This is not ideal and makes a slightly raggedy hole in the fabric.
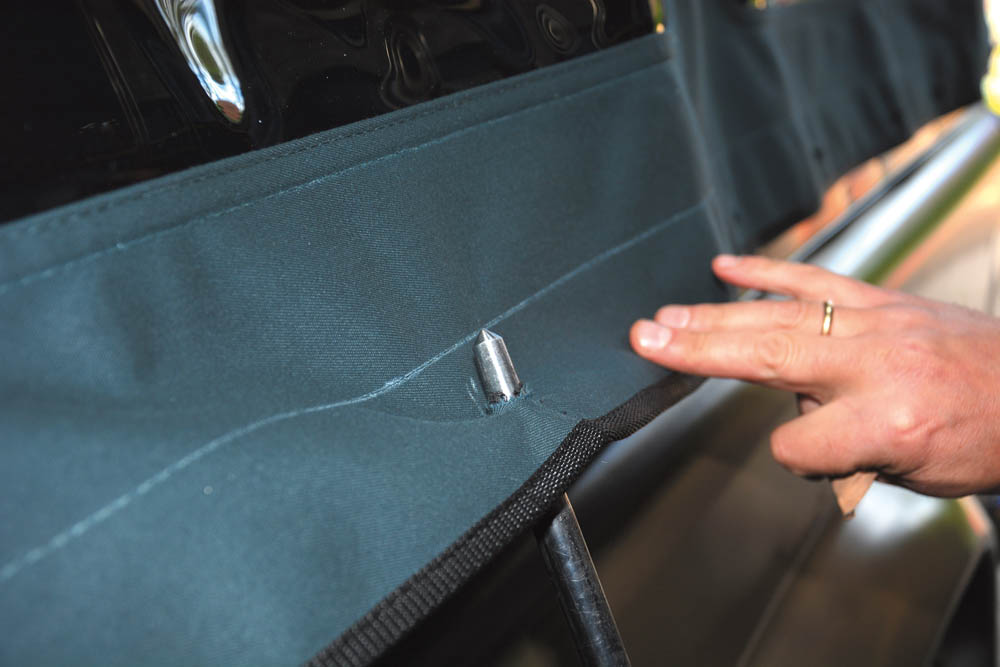
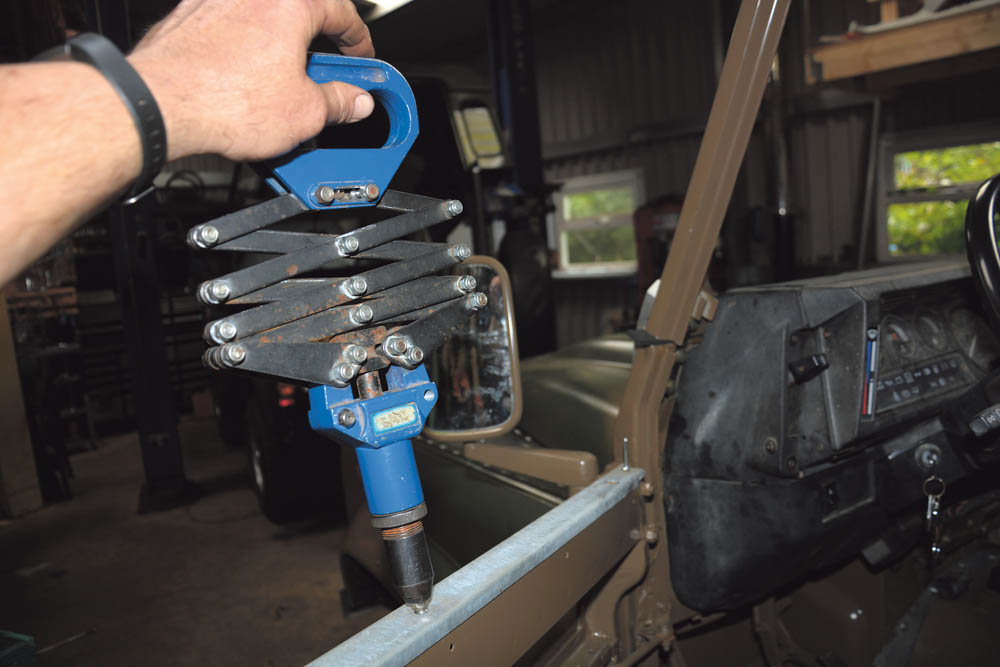
Using a large centring bar, the raggedy hole is stretched and smoothed sufficiently to create an acceptable hole for the fastener.

The footprint of the fastener body is of a large enough diameter to conceal any of the unevenness of the hole, so the job will look just fine.
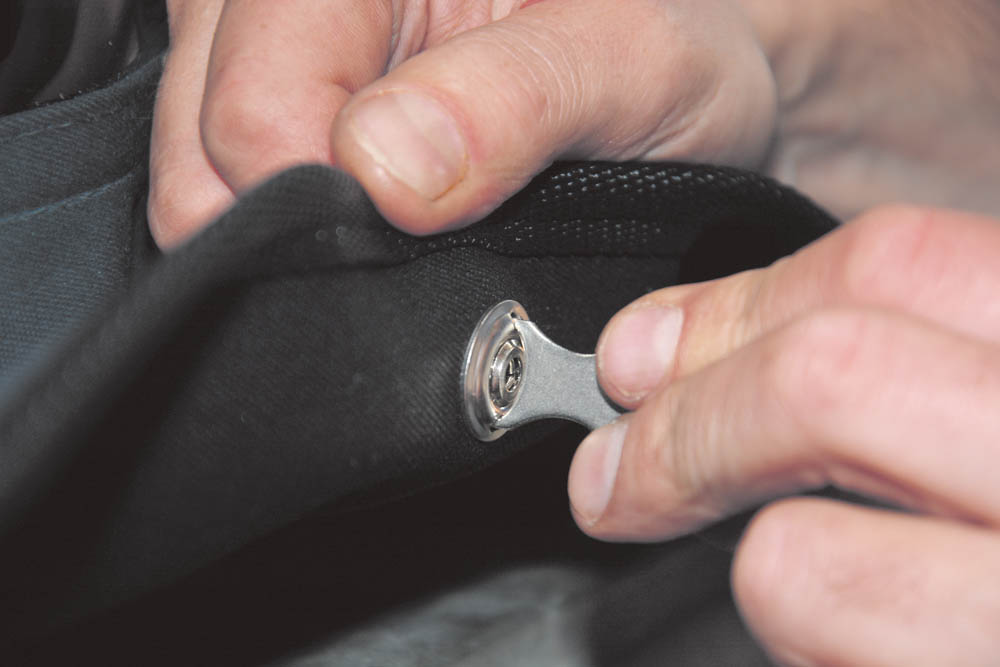
On the inside of the fabric of the hood, the backing plate is screwed on to the fastener, using a special tool for the job – securing it tightly.
The finished job on the Land Rover results in a snug-fitting hood, with easily opened and rolled up side sections and rear access section.
Did you know that you can now get access to the entire archive of Land Rover magazine content with our brand new digital archive? You can enjoy all the issues since the launch of the magazine – use the search bar below to find features, reviews and other great content: