


03 August 2021
|
 Whoops! Looks like time for a new wiring loom...
: credit: © Trevor Cuthbert
Whoops! Looks like time for a new wiring loom...
: credit: © Trevor Cuthbert
This Defender’s chassis loom came adrift and wrapped around the propeller shaft. Trevor Cuthbert demonstrates the foolproof way to fit a new one...
Time: 3 hours
Cost: £110
Difficulty:
Models: Defender 90, 110, 130.
Tools: Rope, insulating tape, spring-type drain clearing tool, circuit tester.
Parts & Costs: Land Rover Defender 90 and 110 chassis wiring harness (part number LR435), £110 from Autosparks Ltd.
Work safely:
• Wear eye protection when working under vehicle .
• Ensure raised vehicle properly supported and secure.
Contact: Autosparks, autosparks.co.uk, Tel: 0115 949 7211
It goes with the territory of working on or rebuilding Land Rovers that I get called out from time to time to recover stricken Defenders. On the evening when I was called to this particular vehicle, the owners told me on the telephone that they were on their way to collect their touring caravan when suddenly, a “horrible squeaking noise” developed from below, and they subsequently discovered the rear lights were no longer working.
On crawling underneath the stranded Defender with a flashlight, the problem was immediately apparent. There was a total mess of wiring wrapped around the front propeller shaft. The Land Rover was duly winched onto the low loader and taken to my workshop for further investigation and repair.
What initiated the ripping of the chassis loom from along the top of the chassis rail and around the front propeller shaft multiple times isn’t known, but all it will have taken is one single wire or even some loose insulation to set off the reaction. The result was catastrophic for the wiring loom, where more than half of its length had been ripped away.
The remaining part of the loom on the rear section of the chassis rail was also now loose, having been stretched from whatever securing ties had been there. The owners of the Land Rover had also complained that the lights on the caravan, which they frequently towed, were intermittent and unreliable. This is not surprising, as the connections of the trailer electrics to the chassis loom were very poorly executed and were unprotected.
Wiring connections should always be properly made, and all wiring well secured against vibration and to prevent it being caught by objects beneath the vehicle. The main wiring loom from the front to the back of the chassis is always safest when routed inside the chassis section, as Land Rover intended. Here’s how it’s done correctly.
Assessing the damage
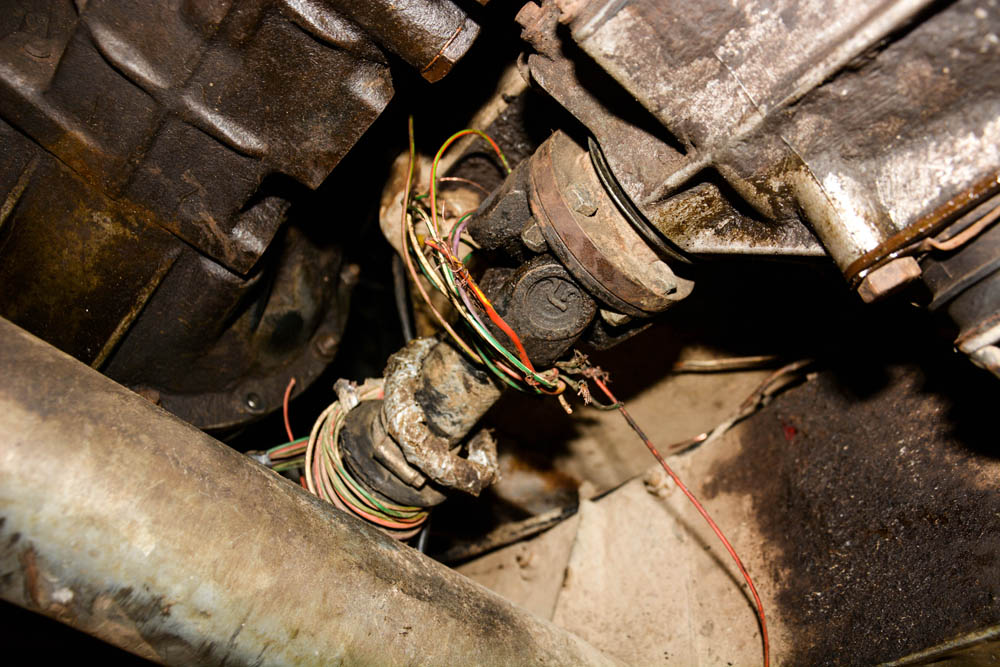
1. Tangled mess: The chassis loom has somehow got caught on the front propeller shaft and ripped apart, wrapping a section of it around the fast-rotating shaft.

2. Damaged remains: Some of the chassis wiring loom has remained in place along the top of the chassis rail but, overall, the loom is ruined and will all need to be replaced.
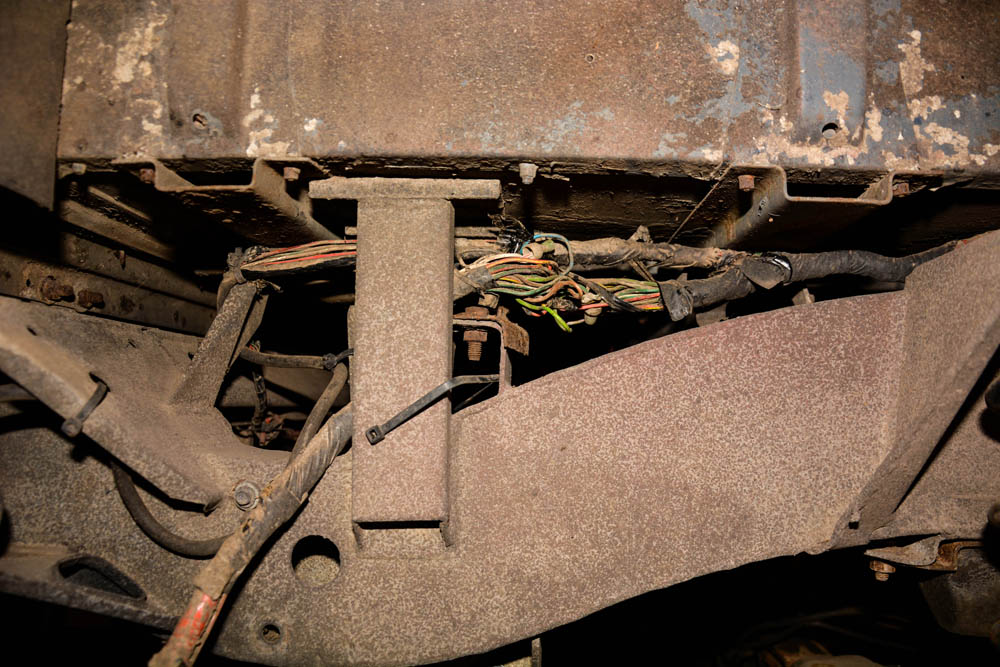
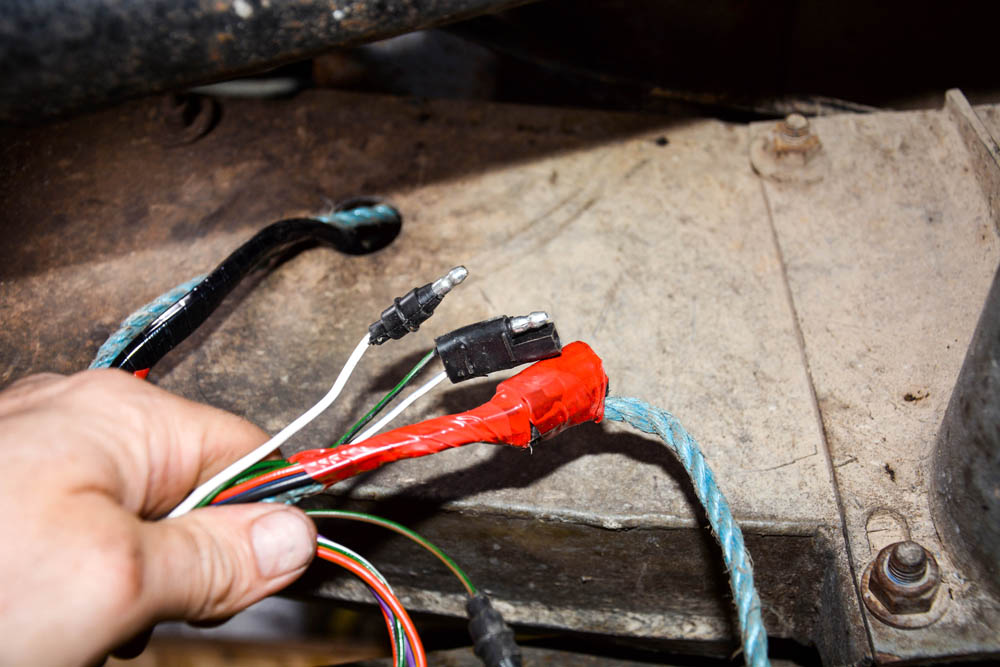
3. Dog’s dinner: Towards the rear of the Land Rover, the wiring harness is a bit of a mess and is sure to be unreliable, with exposed joints, and individual cables not insulated.
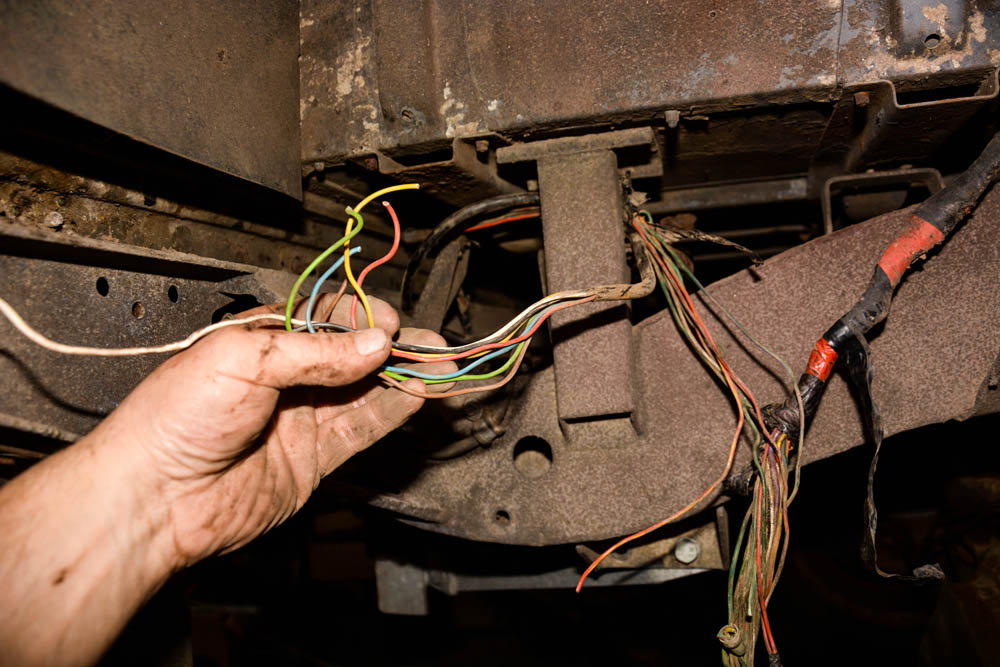
4. Enough slack: The trailer wiring will be retained, and there is enough length to separate the cable from the main loom and connect it to the new harness later.
Routing the new chassis loom
I have always believed that the best place for a Land Rover chassis loom is within the chassis rail. This is how they were built in the factory and it’s the way I have always routed them when I fit a new chassis to a Defender. Admittedly, it is much easier to attach the loom to the rail but, with an inexpensive drain clearing tool, a length of rope and some insulating tape, the loom can be routed through the chassis rail fairly quickly.
A correctly manufactured Land Rover chassis has anti-crush tubes within the chassis rails at numerous points where components are bolted to the chassis. Examples of this are where the gearbox crossmember is fitted, and at the location of the rear top damper (shock absorber) bracket. These internal anti-crush tubes can restrict the passage of the loom, depending on the exact route. For this reason, I started using a large nut tied along the rope (though this latest tool has a larger leading hook that essentially does the same job). If the nut or the leading hook fits through the chassis, then you know the route is correct for the chassis loom to pass through without becoming lodged under the crush tubes.

5. Repurposed tool: This flexible drain clearing tool has been my trusty chassis loom assistant for countless Defenders, having pulled many wiring harnesses through new chassis rails.

6. Front to back: The flexible drain cleaner tool spring-shaped end is inserted into the right hand chassis rail at the front hole, and jiggled through to the rear of the chassis.

7. At the end of the tunnel: The head of the tool emerges near the rear crossmember, and can be led to the outside or inside of the chassis rail, depending on how you wish to route your loom.

8. Check for restriction: This rope is taped to the tool and pulled through. The large nut (arrowed) will confirm it is not routed under one of the anti- crush reinforcement tubes.

9. Shining harness: The brand new chassis loom will replace the destroyed original loom and will be very much safer when properly routed through the chassis rail.
10. Ease it through slowly: The new loom has been taped to the rope and must be carefully fed into the chassis rail, while it is pulled through by the rope.
11. Unwrap and connect: The cables have pulled through safely and are ready to connect. The rope and attached nut are pulled back and out of the chassis.
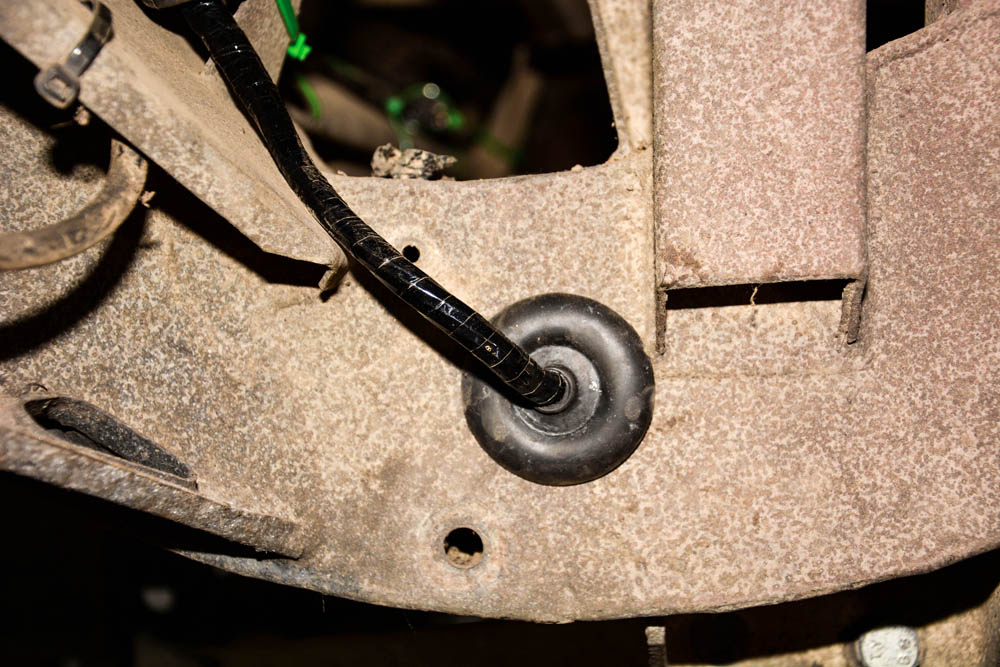
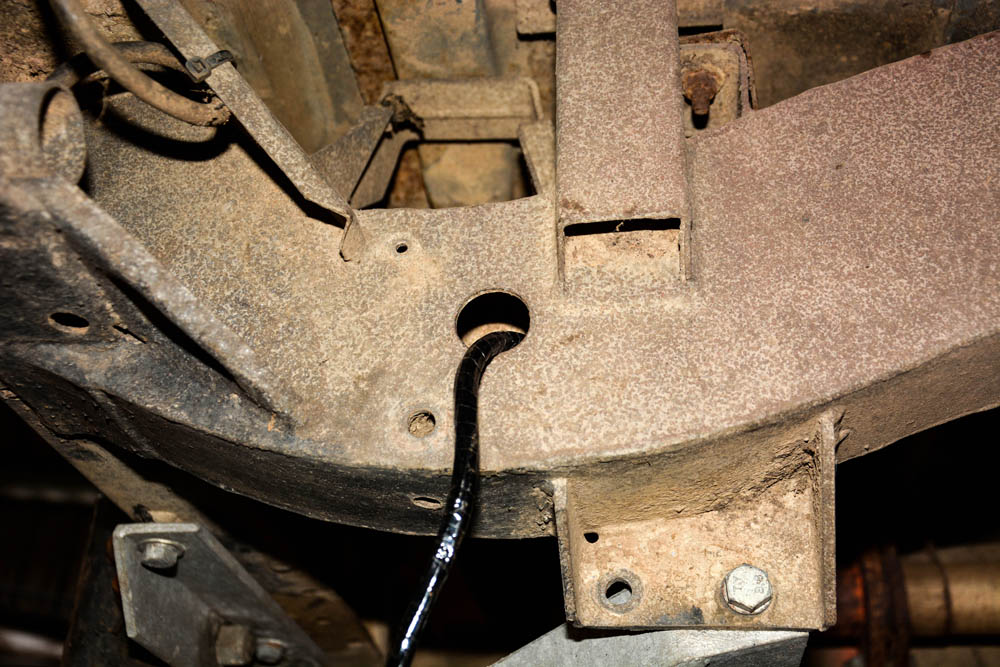
12. Secure it, seal it: The new loom has chassis grommets that seal the holes and protect it, but the loom must also be properly secured to the chassis and bodywork at each end.
Did you know that you can now get access to the entire archive of Land Rover magazine content with our brand new digital archive? You can enjoy all the issues since the launch of the magazine – use the search bar below to find features, reviews and other great content: