


04 April 2024
|
 A roll cage should be fitted correctly to ensure protection
: credit: © Alisdair Cusick
A roll cage should be fitted correctly to ensure protection
: credit: © Alisdair Cusick
Whether fitted for looks or protection, a roll cage must be carefully built into the vehicle structure to best protect occupants. Alisdair explains how
Need to know
Time: 3 days plus
Difficulty: 3 out of 5
Models: All Defenders, but process similar for all Land Rovers.
Tools needed: Socket set, drill, saw, screwdriver, ratchet straps, pry bar, ladder, file, spot-weld drill, marker pen, masking tape, trim tool, craft knife, measuring tape, straight edge.
Parts and costs: PPLR227 Terrafirma 130 cage, contact Terrafirma dealers worldwide for pricing.
Work safely:
• Use the right tool for the right job.
• Use correctly rated lifting and support equipment.
• If in any doubt, get an expert in to do the job.
• Never take risks working underneath or above a vehicle.
• Wear eye protection when drilling or sawing.
Thanks to: Eddie Priscott of Terrafirma, Steve Grant of Britpart and James Bartlett of Exmoor Search and Rescue for their help with this feature.
terrafirma4x4.com, britpart.com, exmoor-srt.org.uk
The roll cage originally came in to being as an off-road necessity for enthusiasts who push their vehicle’s abilities to the limit. Today, roll cages may equally be fitted for cosmetic reasons, to create a rugged look an owner desires for their dream build. Land Rover itself utilised this appeal in the 1990s with the North American Spec (NAS) 110, featuring a body-coloured external roll cage – and it looked the absolute business.
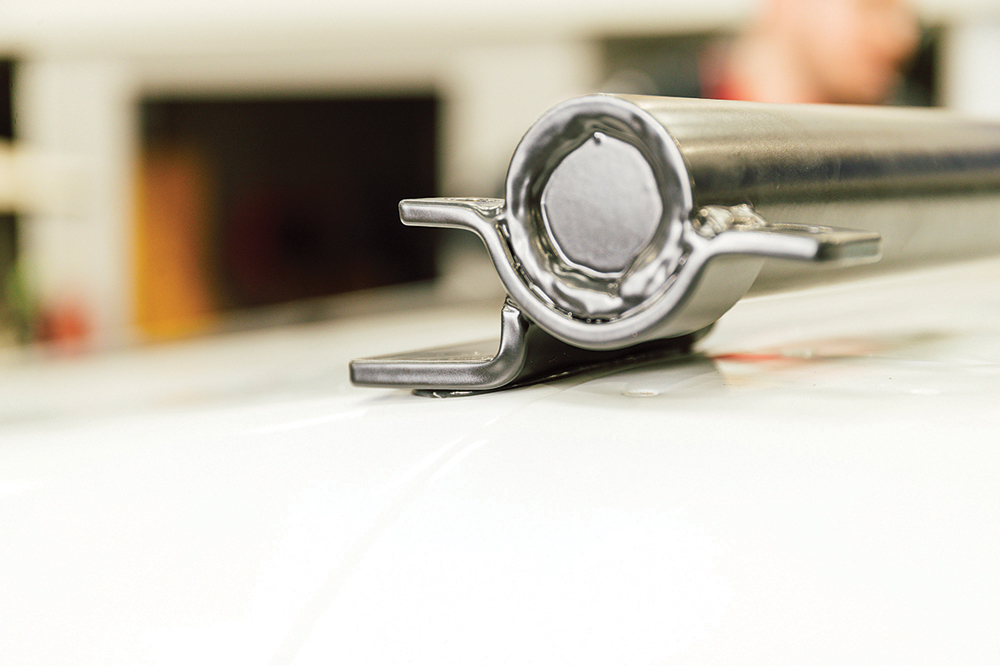
Cage manufacture has moved on since then, and modern cages now fit snugly to the body, and intrusion inside the cabin is minimal, whilst offering maximum protection. Don’t get confused between a thick cosmetic roll hoop set and a roll cage: the thick hoops (intended for supporting a canvas hood, not supporting the weight of the Defender) may look meaty, but a cage needs to be mounted to strong body and chassis points to offer the required strength. There is insufficient strength in the top of the rear tub, for instance, where roll hoops mount to, which is why the cage bolts onto chassis points, then braces together externally.
Because of the mounting requirements, fitting a cage means a fair bit of stripping out to access the various mounting points. In the case of the front wings and rear body tub, they need trimming, too. The caveat here is the older the car, the more potential you have for trouble with corroded fixings that hold the wings on.
In severe cases, removing those front wing skins can sometimes involve cutting the wing to properly access the bolts to grind them off.
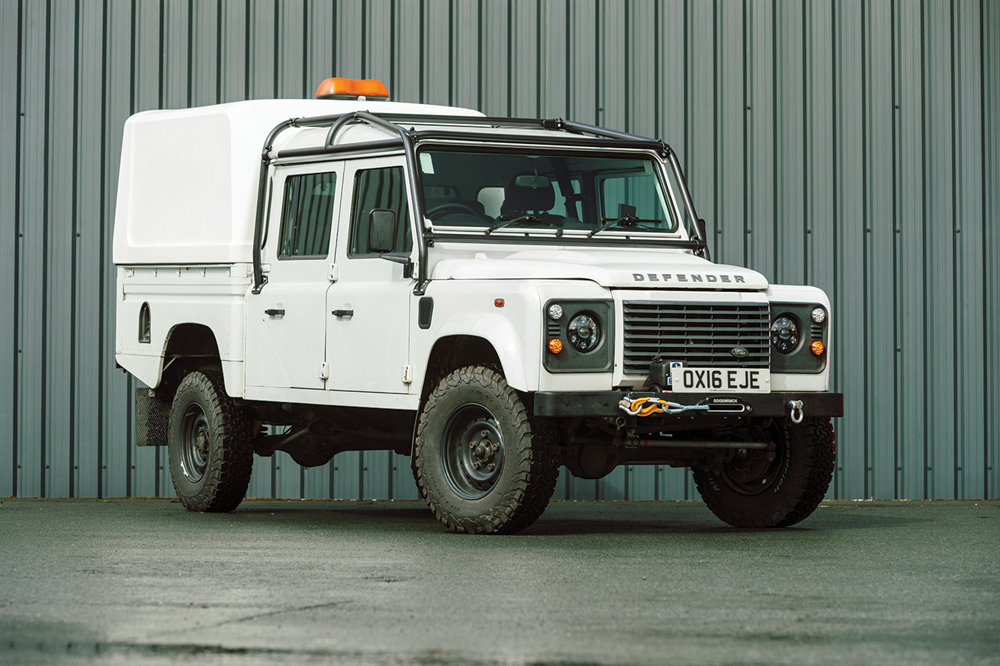
Here, we’re watching Terrafirma’s Eddie Priscott and Britpart’s Steve Grant fit a cage to a 130 belonging to the Exmoor Search and Rescue Team. This 2016 truck illustrates the job on a vehicle that comes apart easily – that’s not always the case. Rescue team member, James Bartlett, is also lending a welcome pair of hands because this is a full-on job, potentially taking three or four days.
The 130 cage is a special order, but fits similarly to that of a 90 or 110, where cage designs incorporate hard tops, soft tops, internal bulkheads and models without internal bulkheads, and in four-point, six-point or eight-point designs. For demonstration purposes, fitting principles are largely similar to all models, fitting through a roof and body, then mounting to the chassis for strength.
Fitting a cage is a fairly big task but, with patience, it’s within the realms of a competent DIY enthusiast. The satisfaction afterwards of a job well done is immeasurable, but it does rely on neatness and accuracy throughout the work.
Day one – preparation
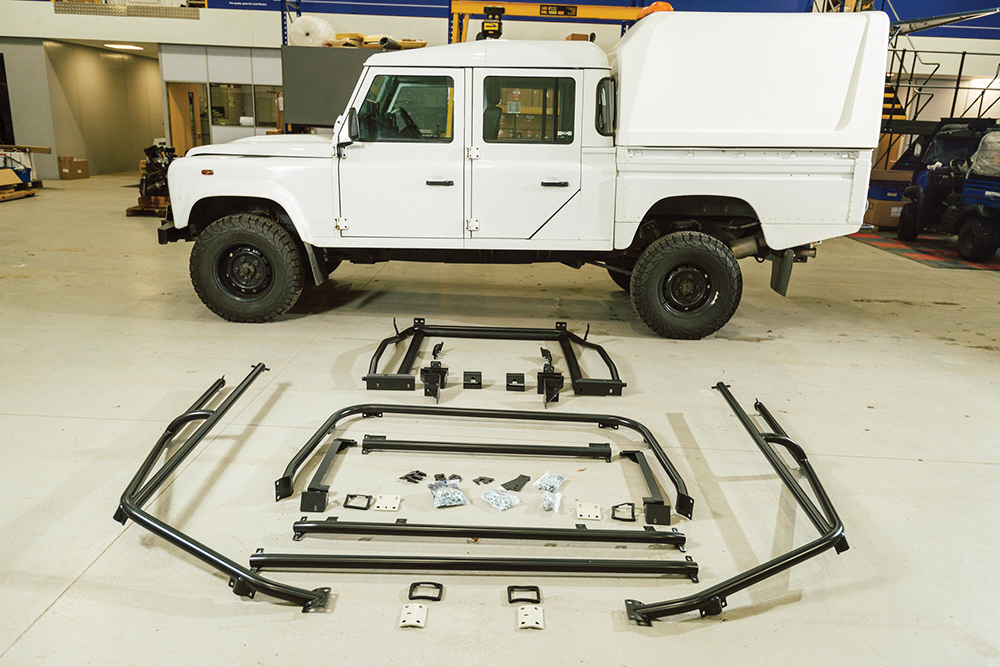
The bits: Roughly as it fits, front to back: side supports are obvious, but there are braces from the chassis, internal and external roll hoops, plus connecting bars, fixings and gaskets.

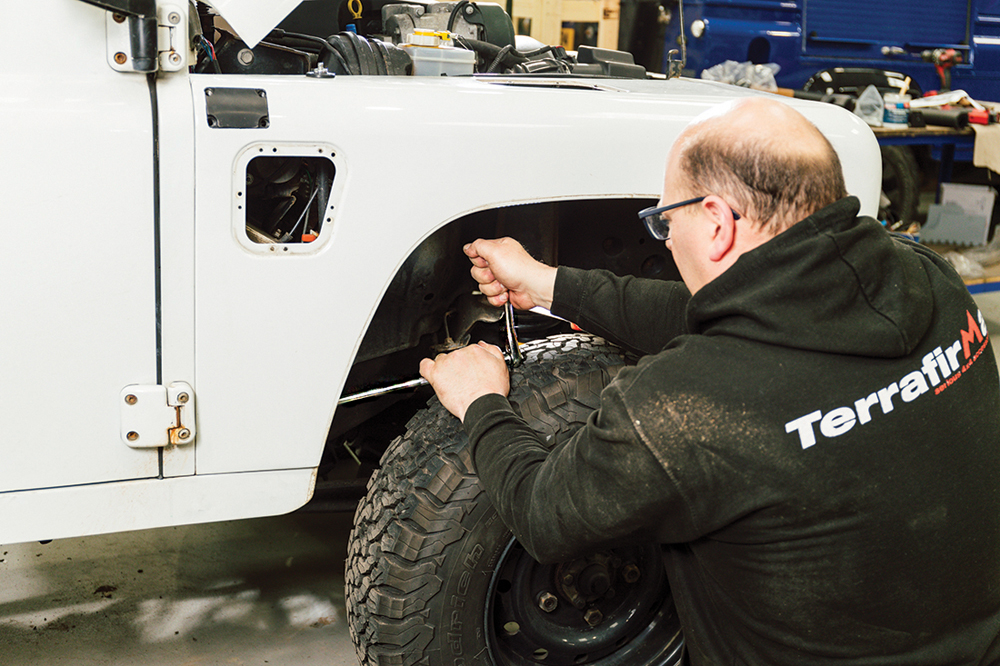
At the front: Eddie releases the clips to remove the wheelarch eyebrows, then gets to the outer skin fixings: four 13mm bolts using a long extension, then 11 ACME screws.
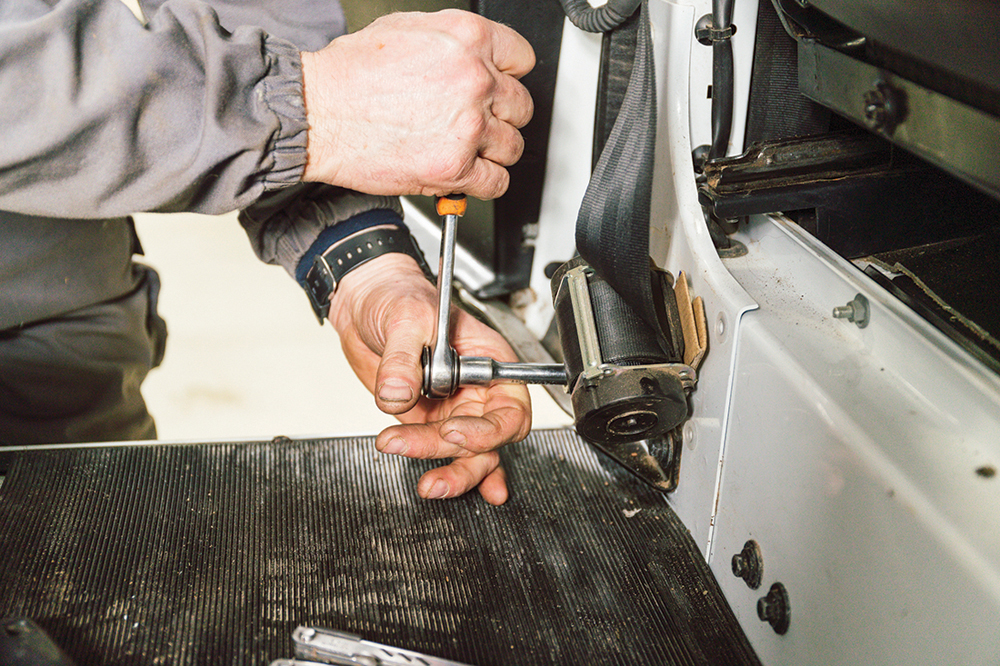
Inside: Remove the rear seats, then unbolt the front and rear seat belts, pushing a piece of cardboard into the belt mechanism first to prevent the belt retracting.
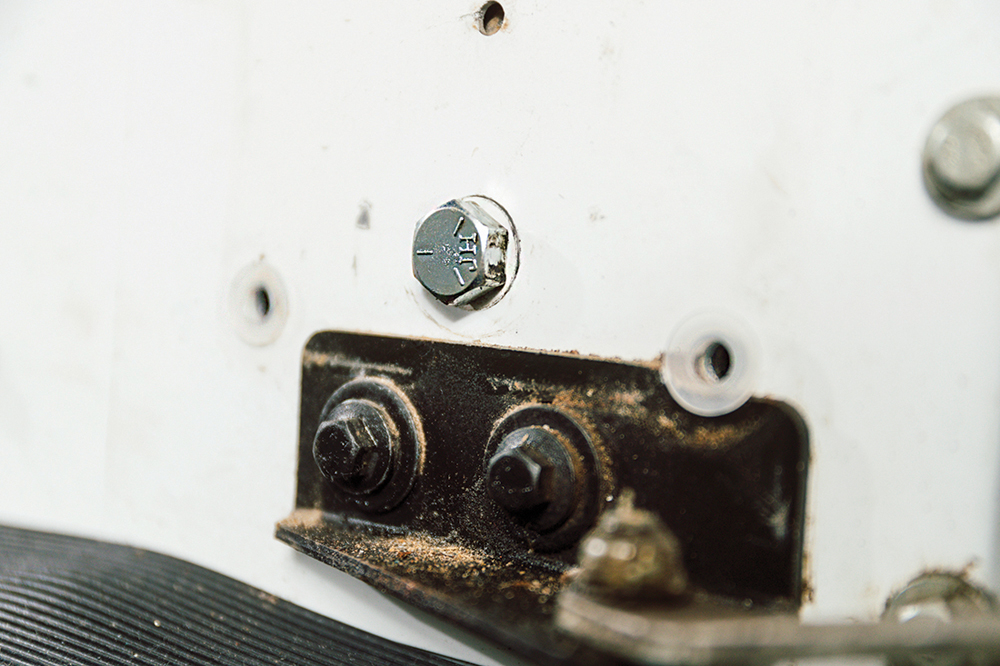
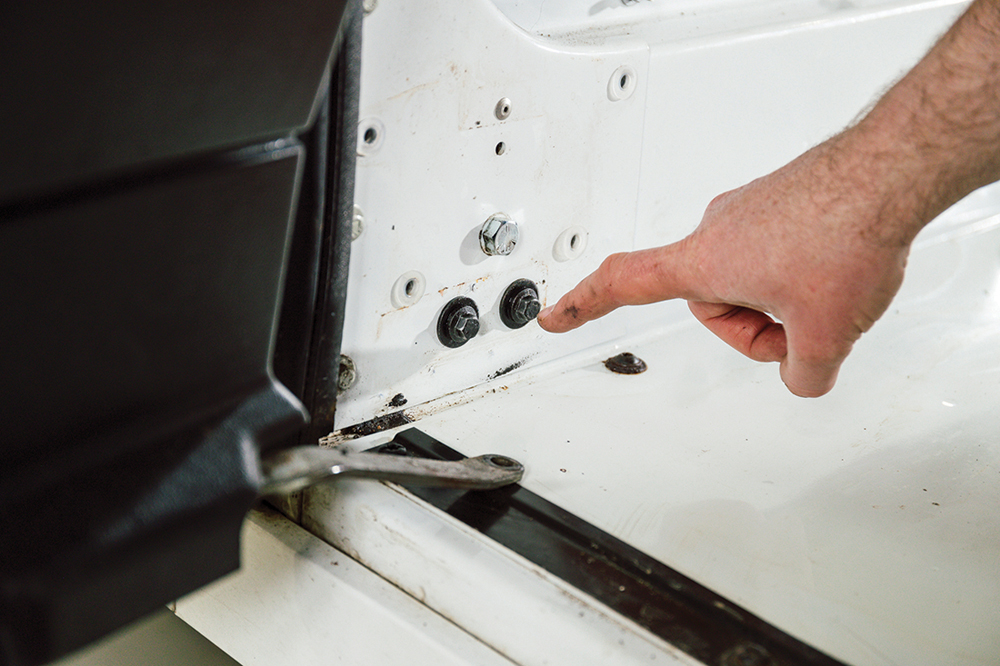
Blanking bolts: Blanking bolts are fitted to the redundant lower mounts for the front seat belts. This is to prevent water ingress – the belts will mount onto the new cage hoop.
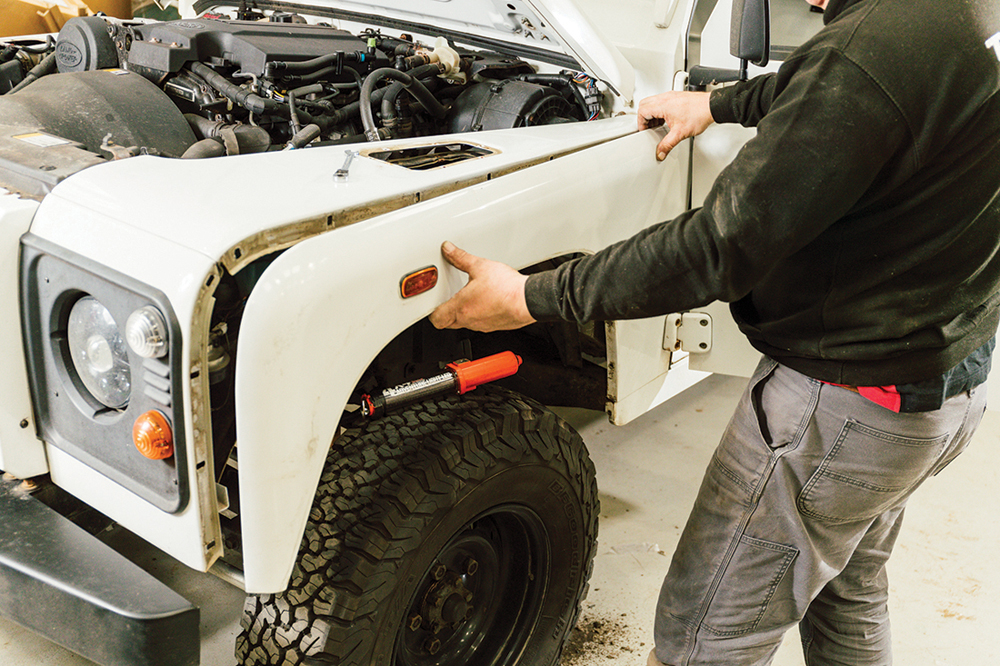
Wing skin off: The outer wing is removed, and these fixings came out okay. Reaching the bulkhead fixings needs an extension, so any trouble here can mean cutting the wing skin.
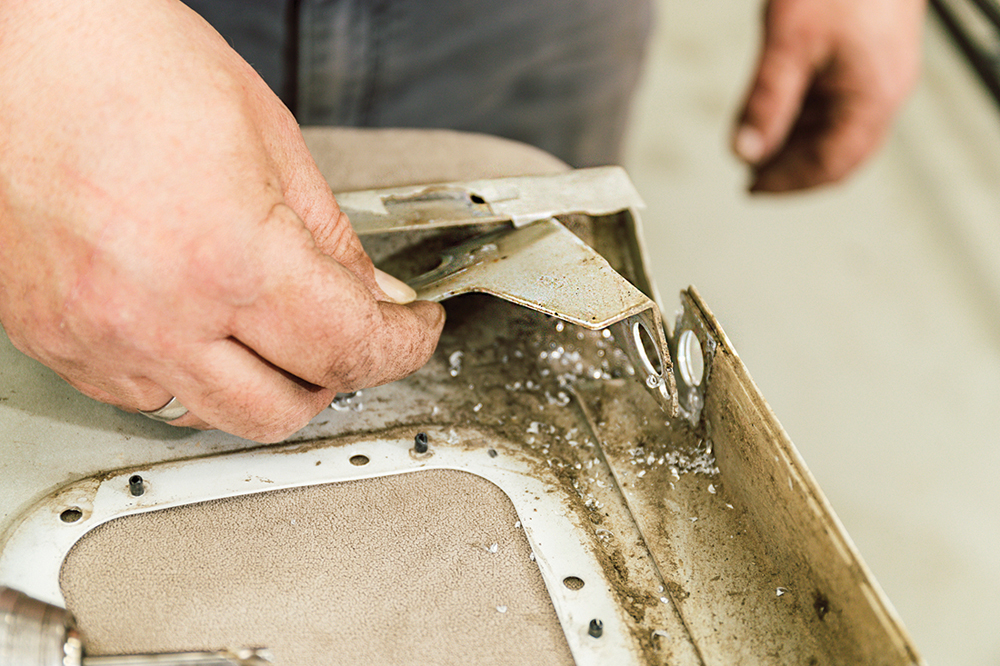
Make space: On the wing skin, Eddie drills out the spot-welds on the wing return where it mounts to the bulkhead. This releases a support bracket that isn’t needed.
Measure twice: Eddie uses the template to mark the outer edges of the mounting holes. He then joins the outside of these together, and cuts around the edge.
Does it fit?The aim is to make a hole for the chassis support to fit in. Eddie offers up the support, then checks the bolts will fit into all four holes.
Bracket clearance: On the vehicle, the sill return flange is trimmed to make room for a support bracket. On the outer wing skin, the same is removed from the lower edge.
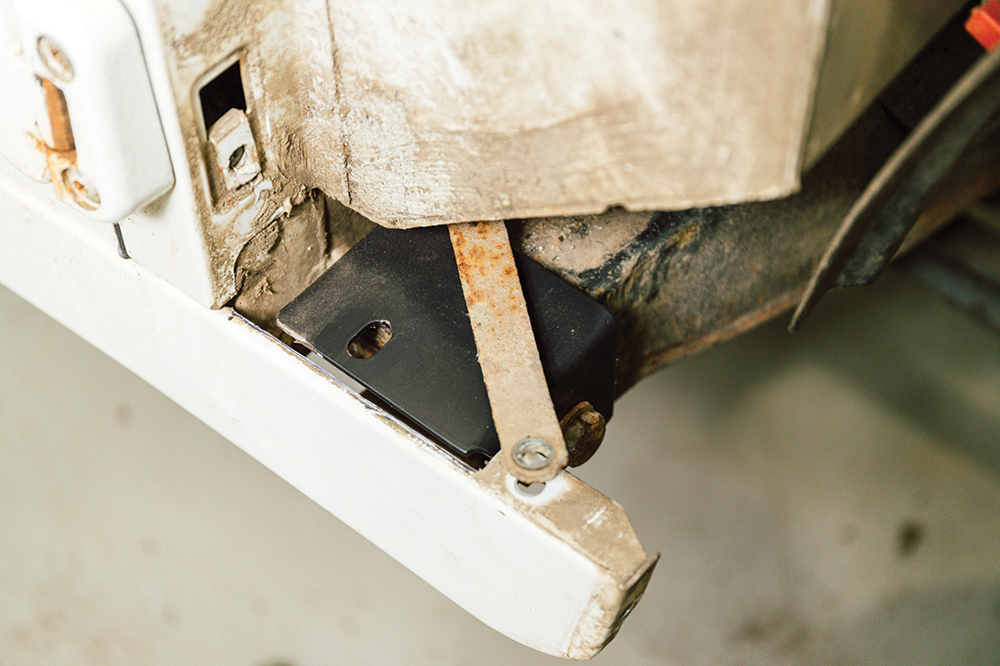
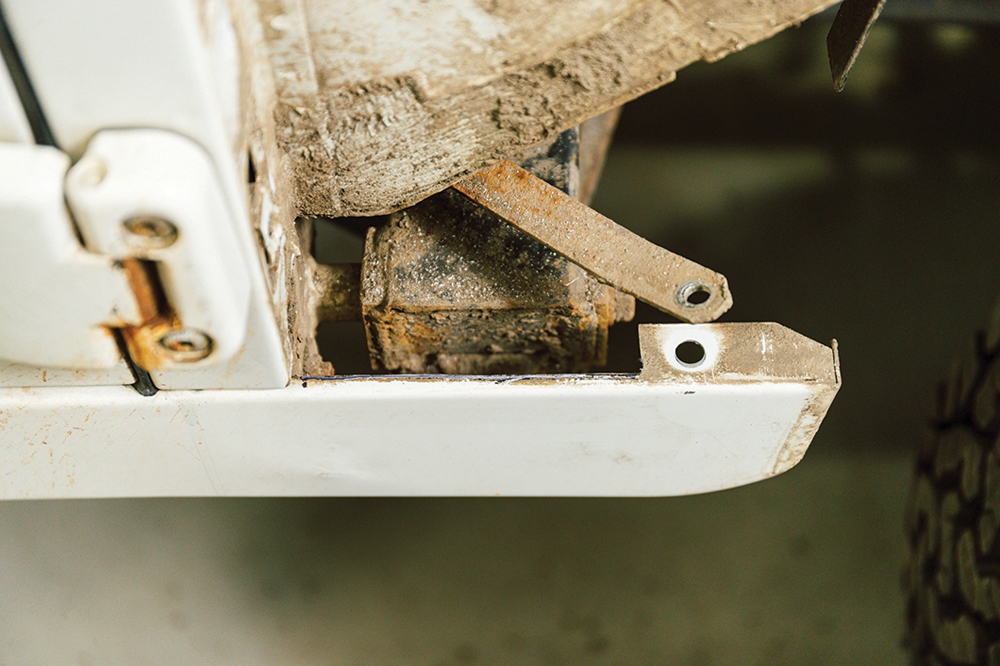
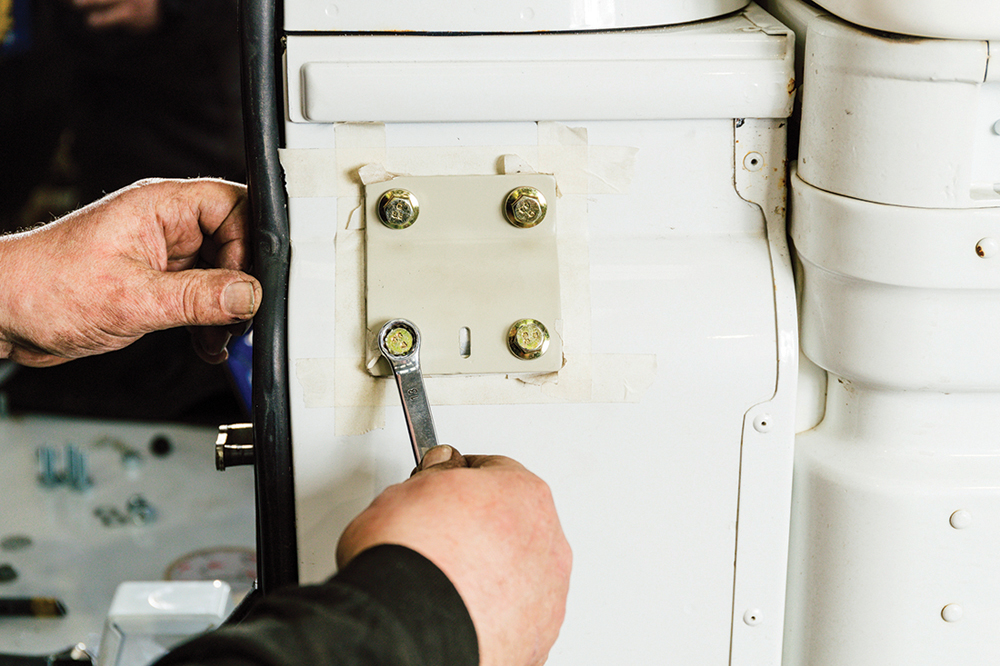
Solid base: The bulkhead outrigger bolt is removed, then the cage support bracket fits over the outrigger. The bulkhead bolt is replaced using anti-seize grease to aid future removal.
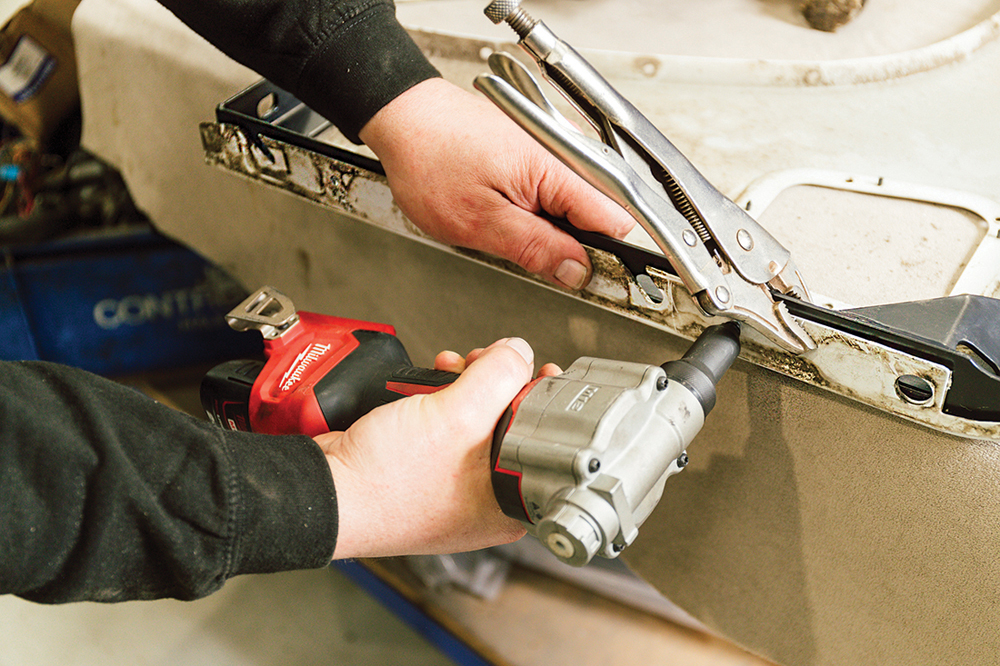
Support work: The A-post cage support is riveted to the outer wing skin. The bracket is clamped in position, two holes drilled, spaced apart, then riveted through those holes.
Refit both wings: The wing skins are now refitted using anti-sieze grease on the fasteners. A-post cage supports are positioned under wings and bolted to the outrigger brackets.
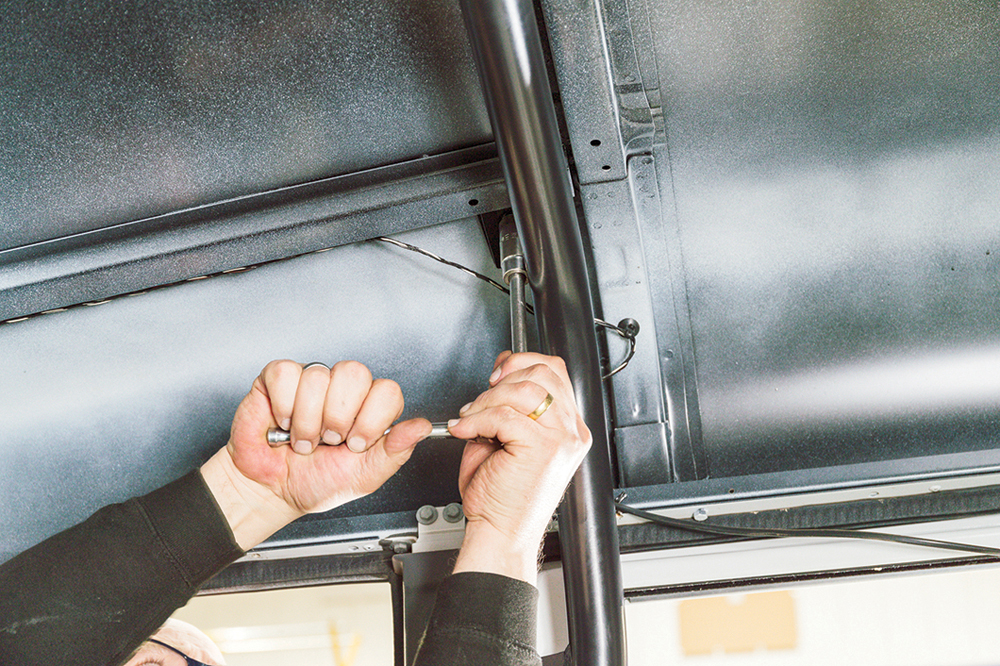
Inside: While all this was going on, Steve and James (with clean hands) released and removed the headlining, then unbolted cab’s internal rear body brackets, one each side.
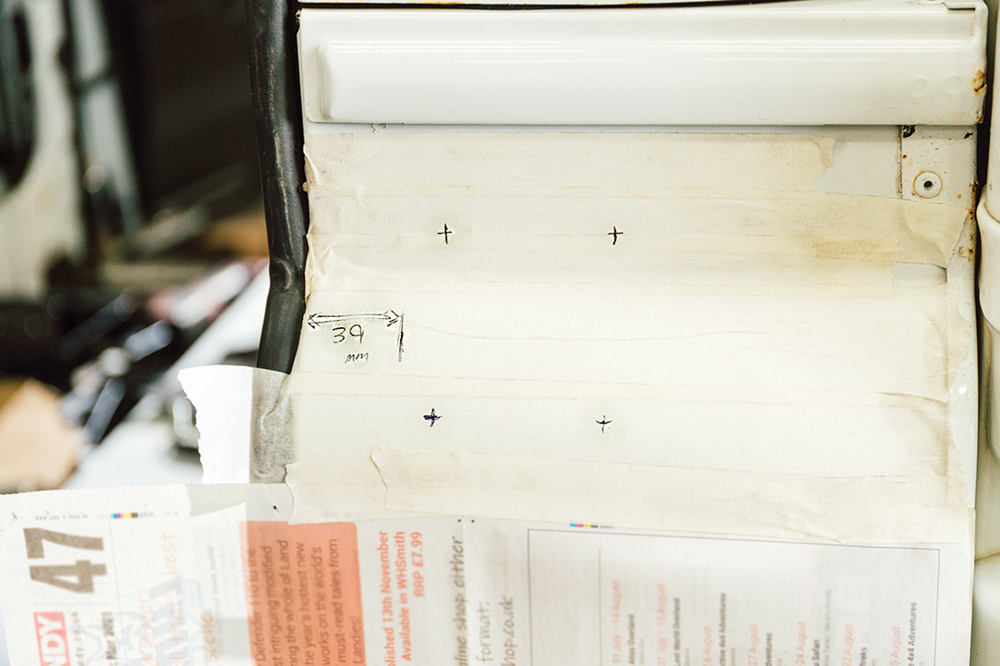
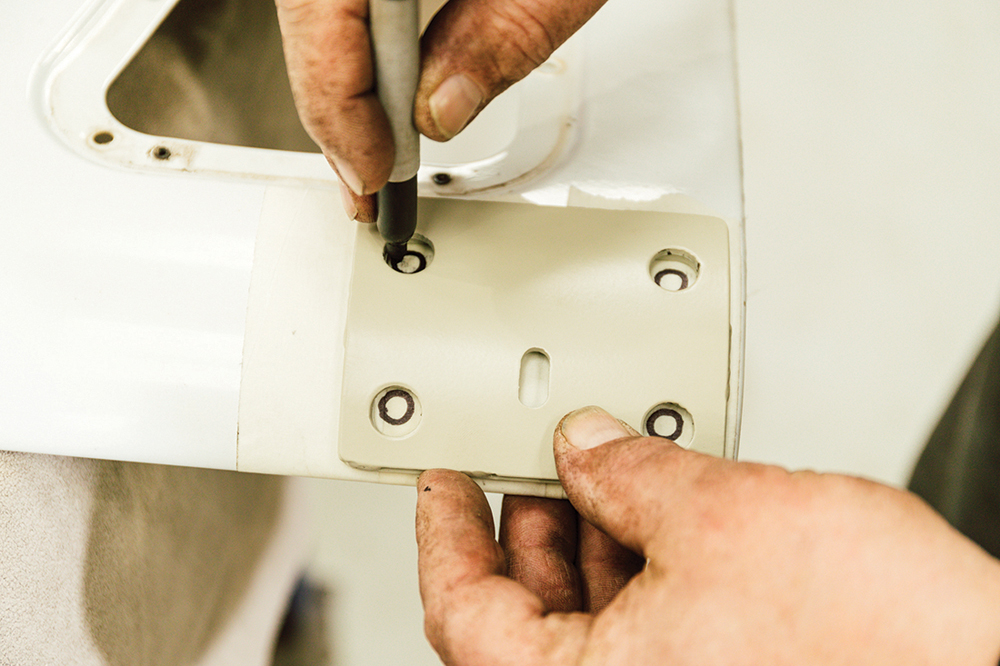
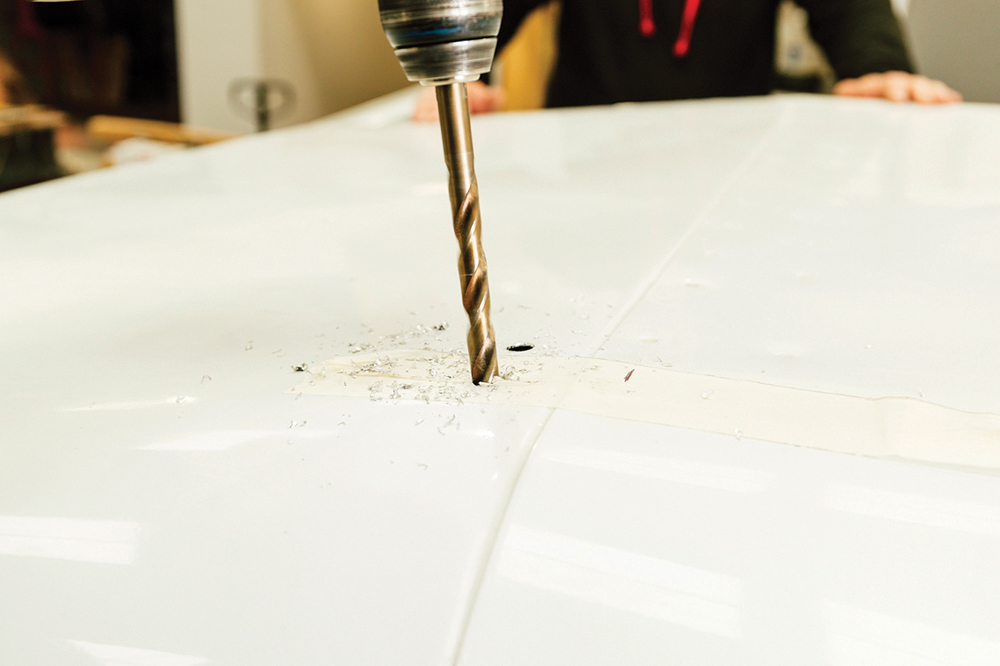
Cutting the body: As at the front, an aperture for the cage mount needs to be cut. Steve measures 39mm to the left, then 132mm to the opposite side of the bracket.
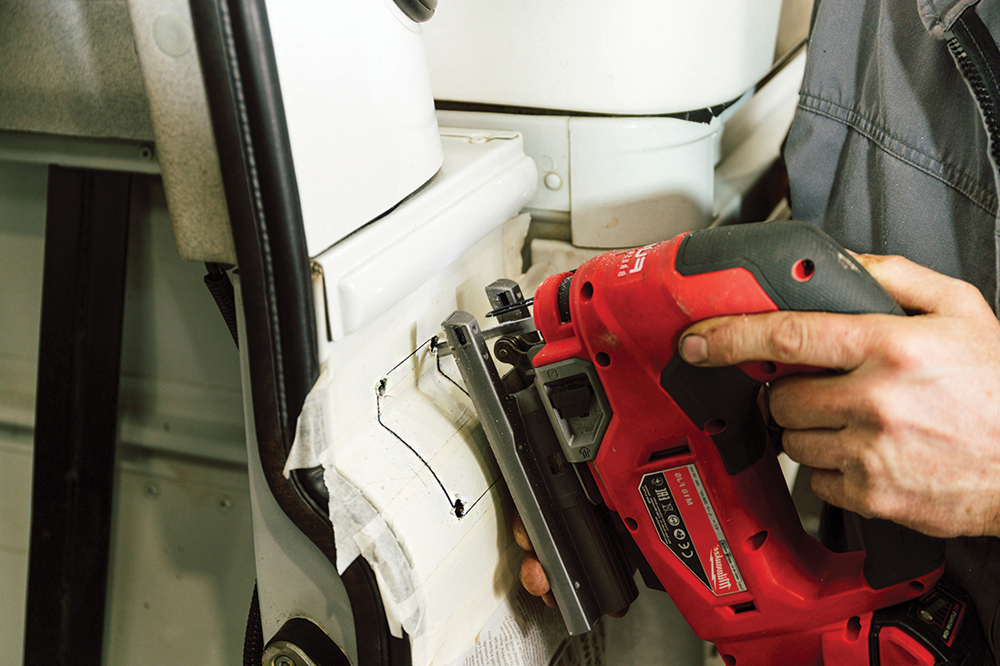
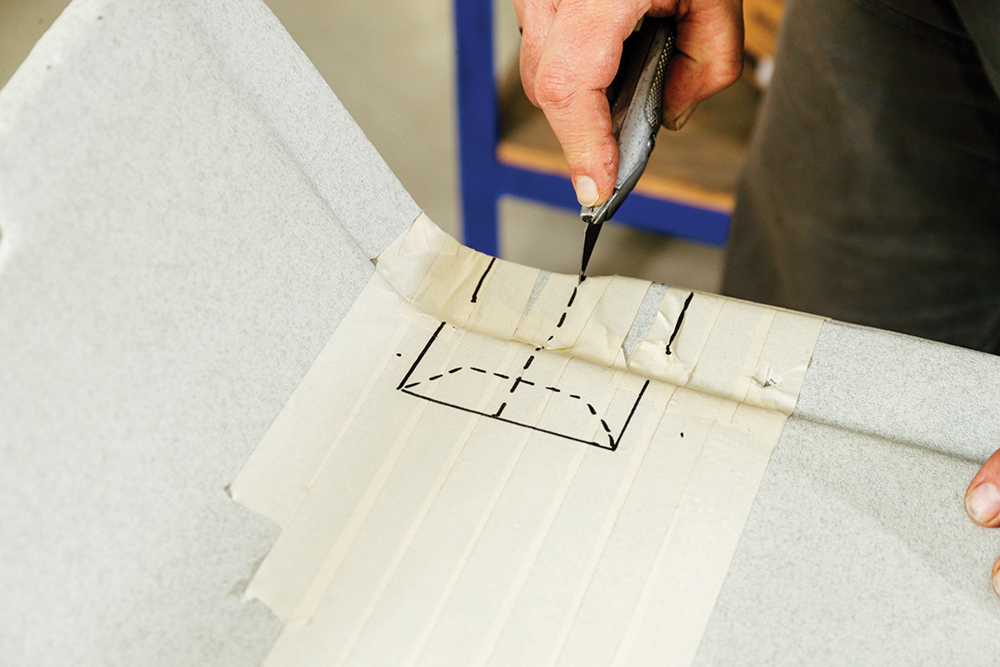
Cut it out: Steve uses the supplied template to mark the corner holes and joins them up. Each corner is drilled for an access hole, then a jigsaw makes the complete cut.
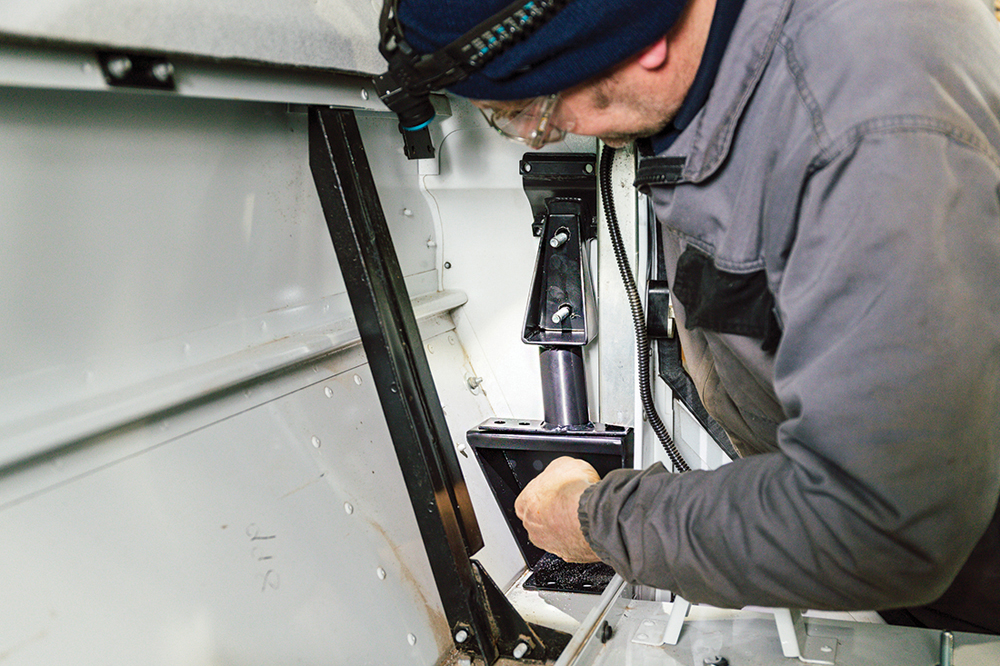
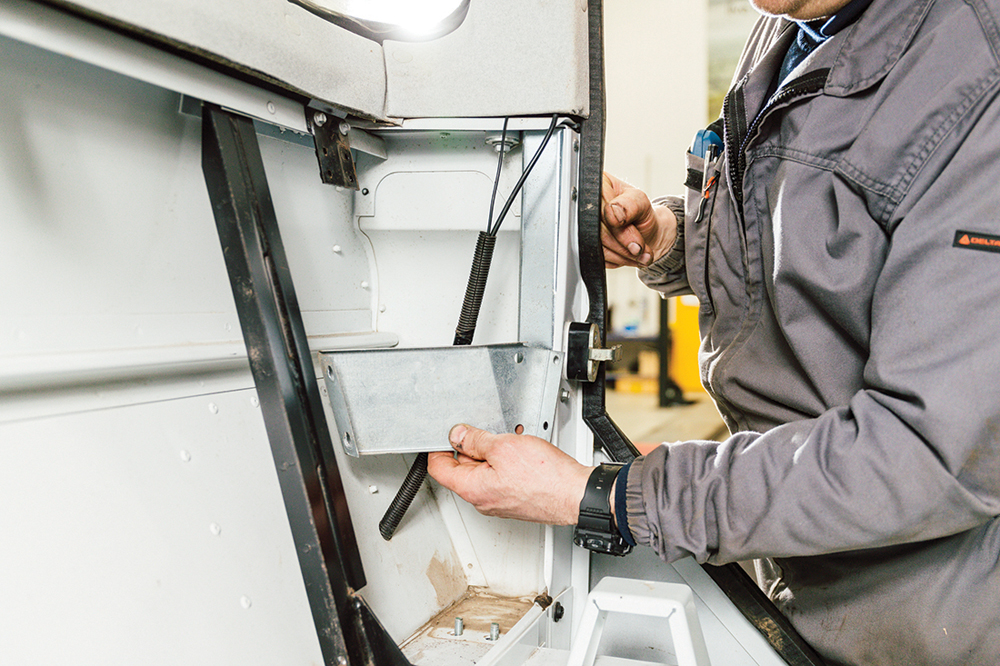
Internal bracketry: The internal chassis-to-cage brackets are initially dry-fitted to confirm the brackets fit in the body aperture, or if any shims are needed on the lower brackets.
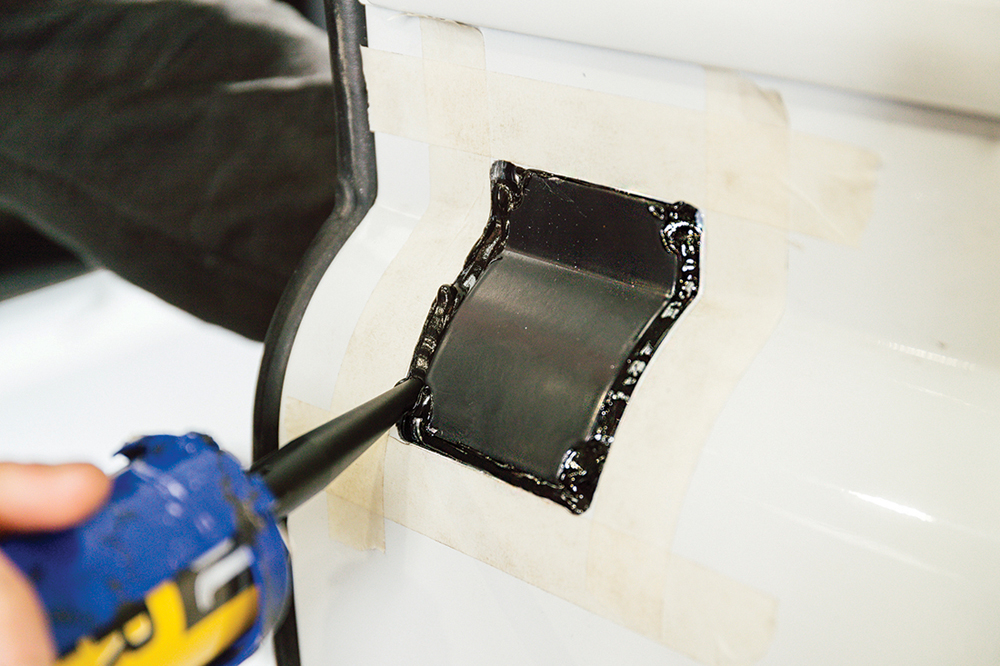
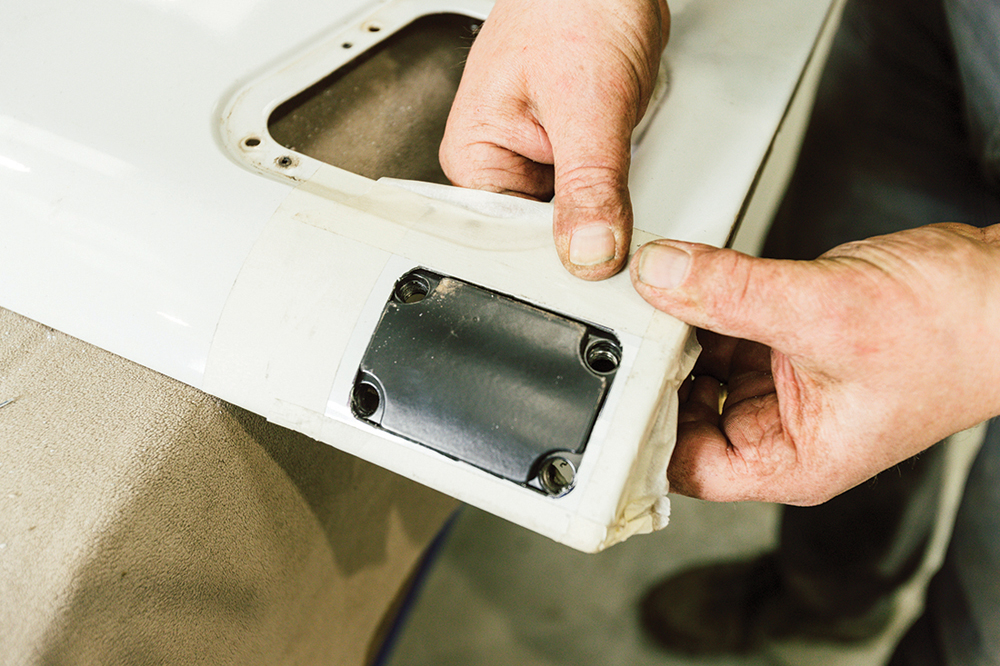
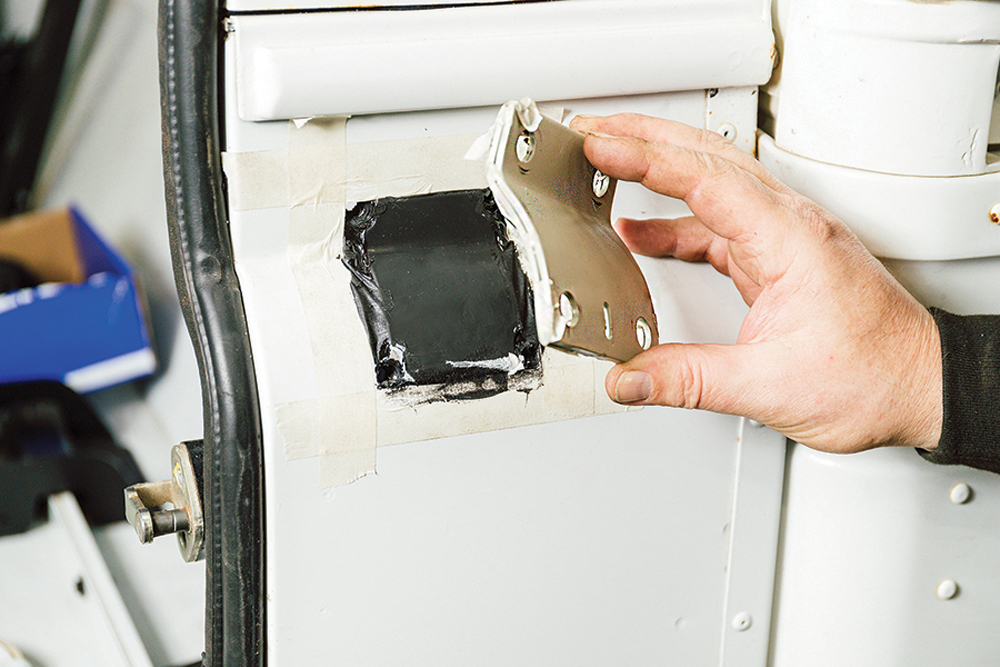
Watertight: Polyurethane sealant is applied around the tub bracket lip, which is then fed into position. Any gaps are filled in from the outside. Masking tape aids sealant removal.
Leave overnight: Setting plate is bolted to the bracket, having put masking tape on the face, and left overnight. Crucially, the bolts are left loose between the chassis to tub brackets.
Day two – assembly
Day two: Next morning, setting plate is unbolted and removed, which is easy thanks to the masking tape. Masking tape on the rear tub exterior is removed.

Big bits go on: The C-hoop fits on the truck with gaskets between the hoop and body. The four bracket bolts are fitted each side, only finger-tight to permit adjustment later.
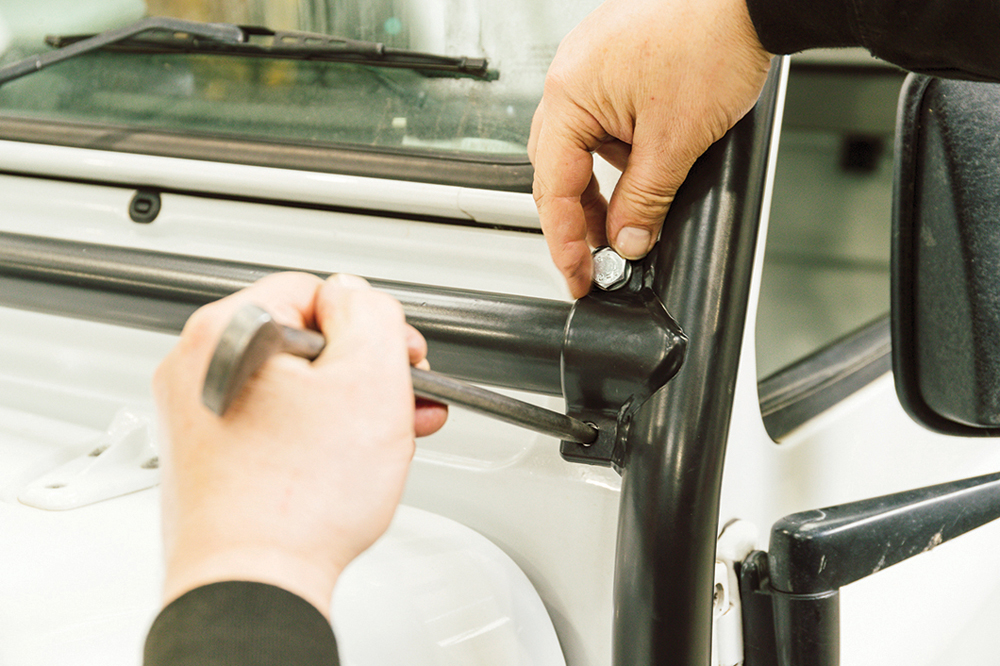
More stripping: Placing cardboard between door hinge and B-post, check-strap brackets are removed, then bolts refitted for water ingress protection. Front seats are then removed.
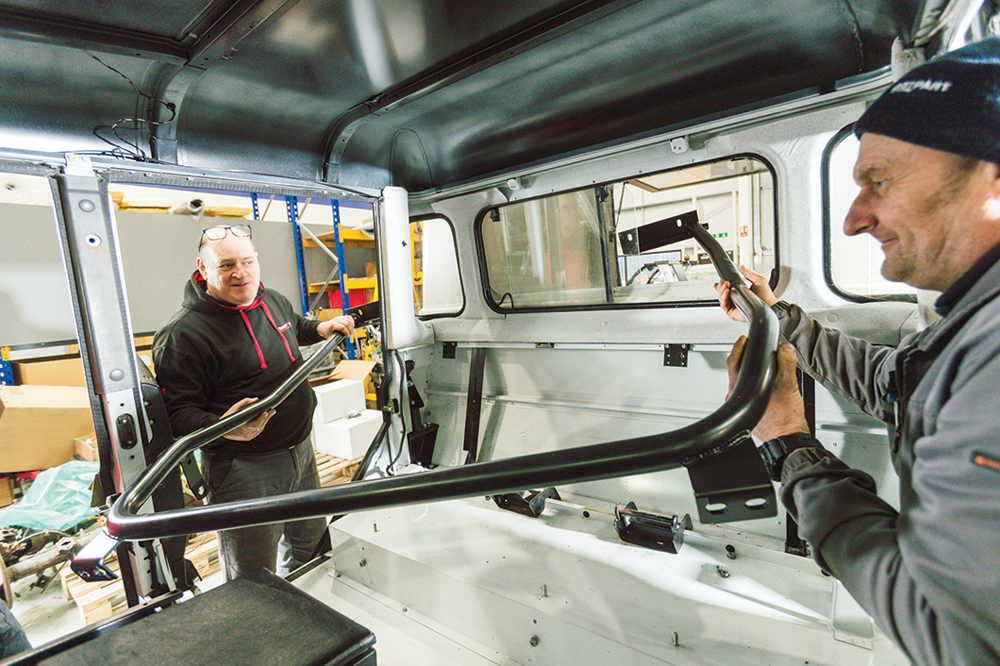
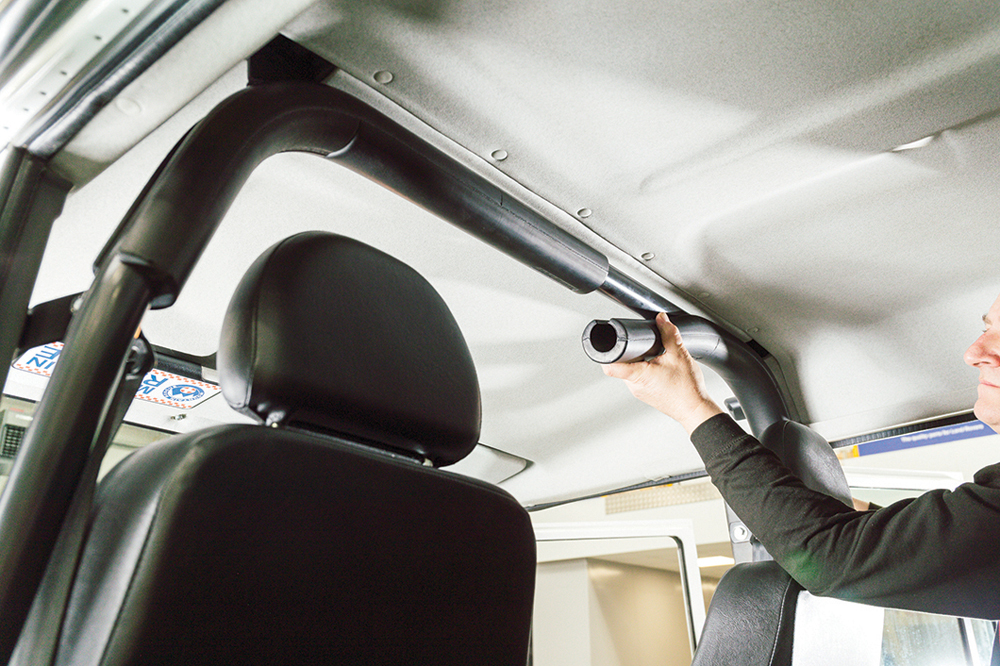
Thread the needle: The B-hoop is threaded into the vehicle, and one leg is fed through the open rear window. The hoop then moves forward, to sit over the dashboard.
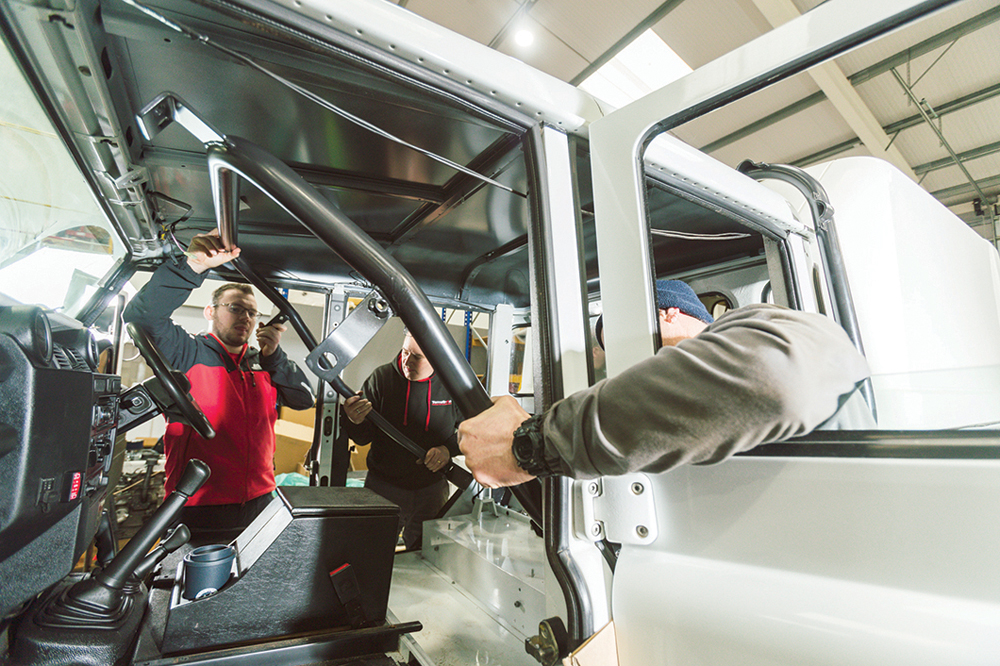
Tight fit: The hoop legs now rotate downwards as it moves backwards, so the feet eventually locate into position behind the front seat box. Top locates against the roof.
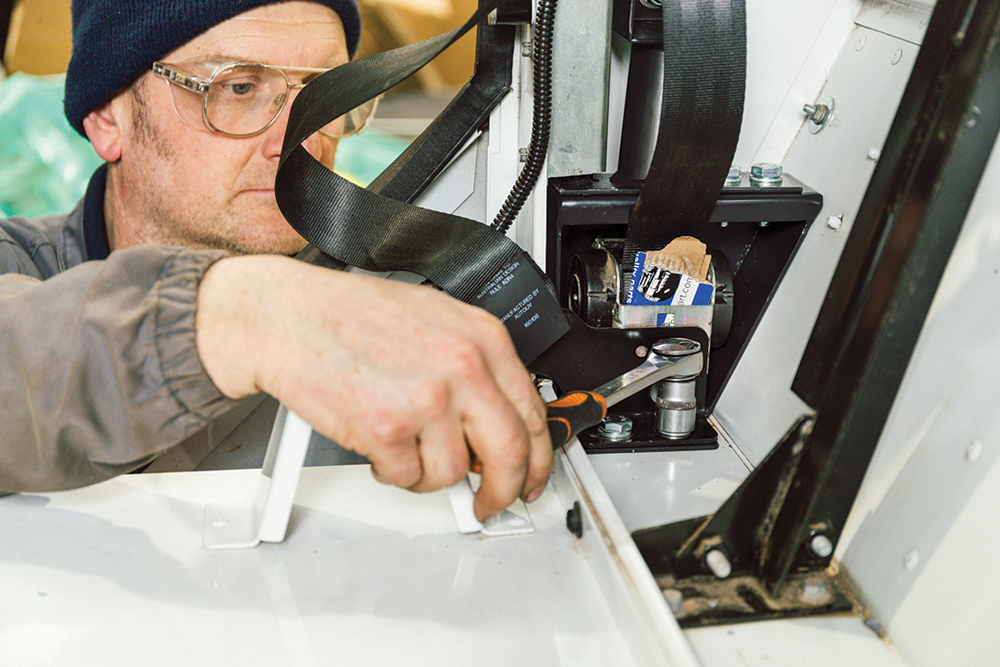
Fix it in position: A top hat spacer goes under each B-post seat belt top mount, then Eddie fixes the cage to the body with a 7/16-inch UNF bolt on both sides.
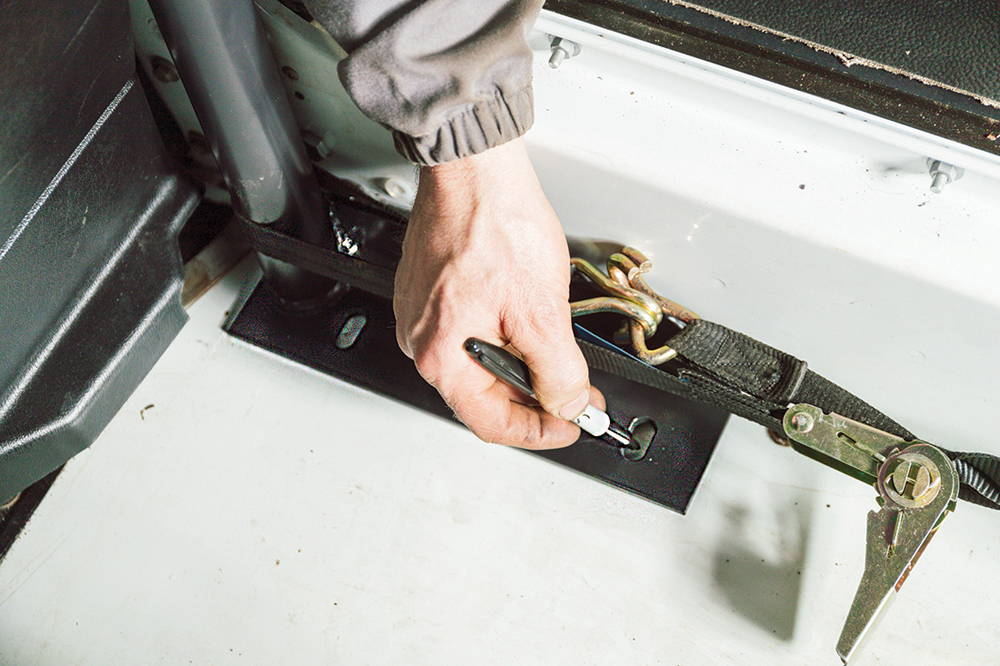
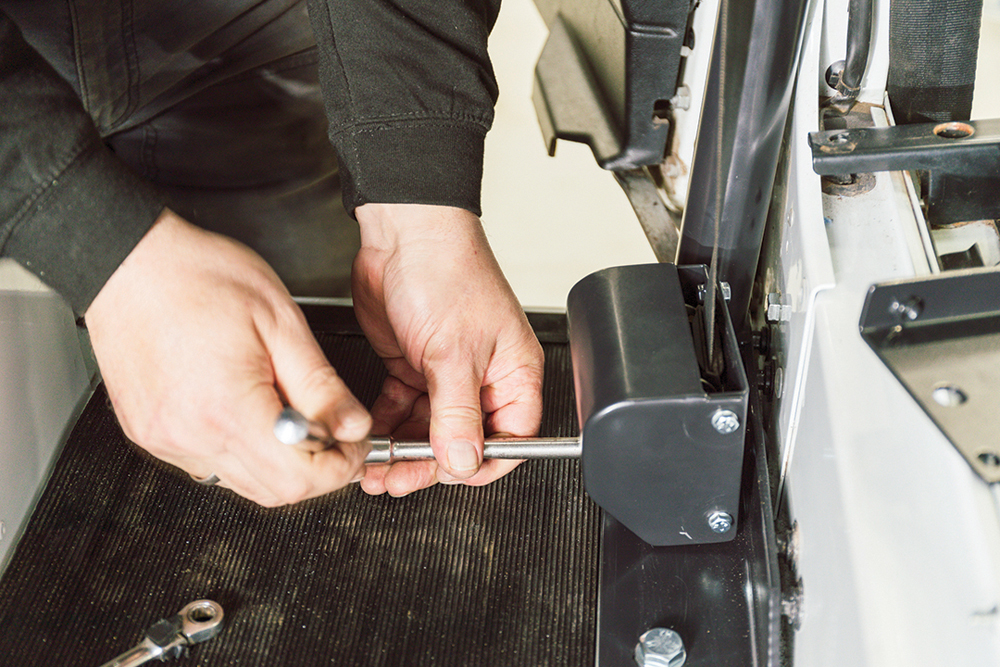
Hone the fit: Ratchet straps between hoop legs help adjust the fit so rear doors close nicely. Then mark and drill mounting holes, confirming they’re into the chassis.
Topside: The B-hoop is now fully tightened to the floor, pulling the hoop down. Holes are then marked and drilled in the roof for the B-hoop’s external fixings.
Shim up, don’t pull down: The B-post top (roof) bar goes on, with some sealant underneath to prevent water ingress. Shims are fitted inside to fill the gap between inner hoop and roof.

Coming together: With the bulkhead bars loosely fitted, one side hoop is offered up. There’s four locations to line up, front to back, hence Steve, Eddie and James working together.
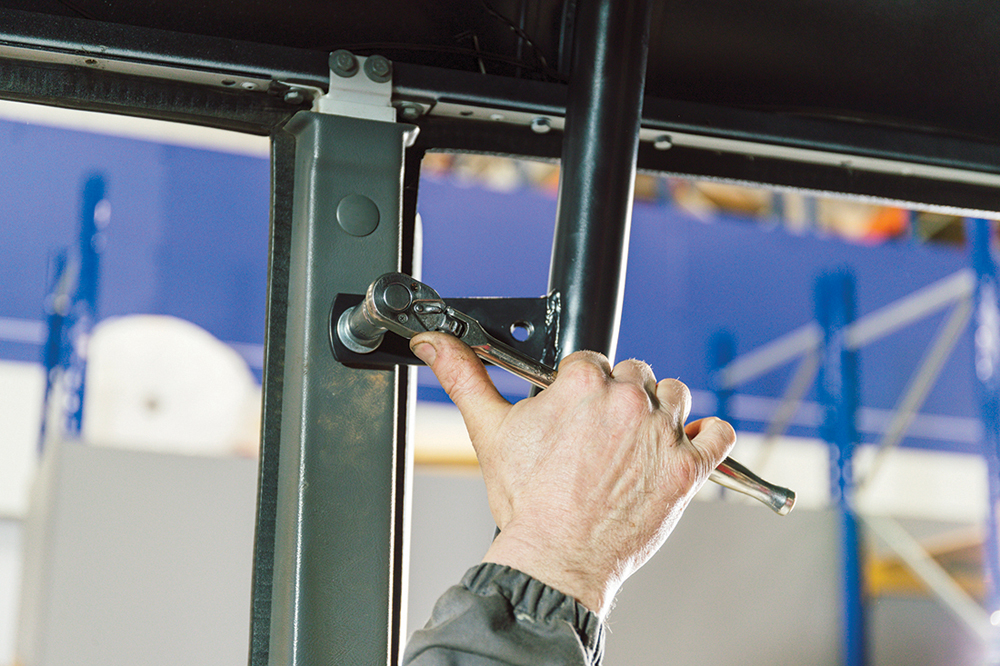
Line it up: Eddie uses a ‘podger’ or pry bar to line up the fixing holes between bars and brackets. Fixings go in, but only finger-tight, as adjustment will be needed.
Tighten the lot: The roof to external hoop fixings are tightened, then all other fixings can be tightened, pulling the cage together, and fixing it downwards to the vehicle.
Professional finish: Eddie trims the headlining to fit over the internal hoop brackets. For a neat edge he allows excess material, to be folded over after trimming the backing board.
Belts refitted: Steve refits rear seat belts into cage brackets, refits top mounts, then removes his cardboard wedge holding the belt. He confirms the belt operates correctly.
Day three – finishing up
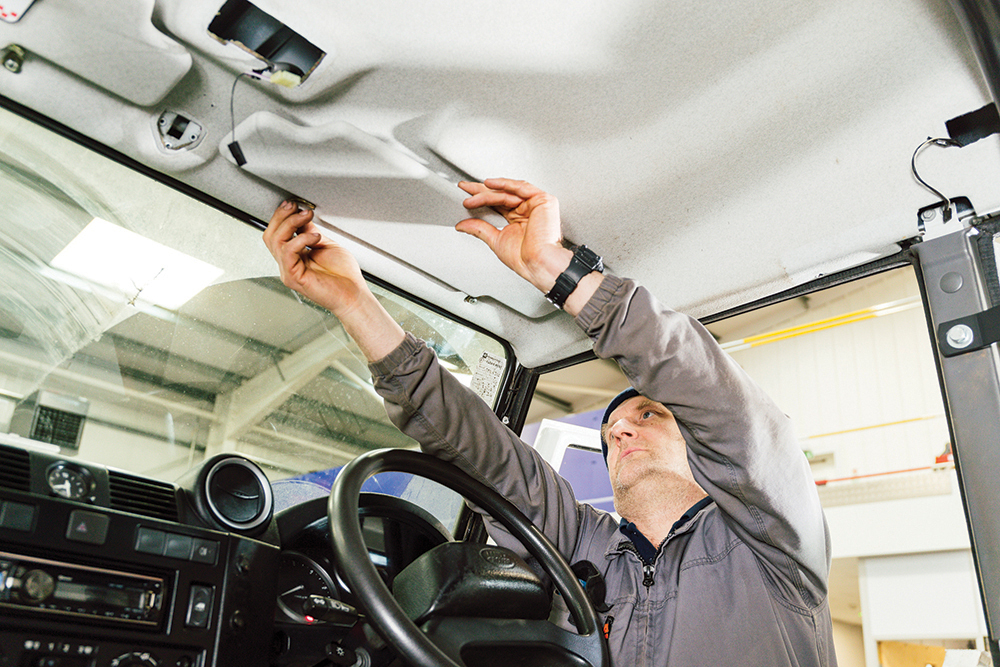
Headlining in: Steve and Eddie replace the headlining, refitting the fir tree clips to hold it in position. The sun visors, rearview mirror and interior light are then refitted.
Front belts: Eddie fits the front seat belt reels into the metal housing which now fixes to the new B-hoop and incorporates back plates that holds the reels in position.

Miscellaneous bits: Narrow headlining trims are fitted, remembering volumetric alarm sensor above driver. Rubber floor mat is trimmed to fit around the cage brackets.
Final touch: Lastly, the front and rear seats are refitted, and Eddie trims the internal hoop protector, putting the join equidistant between the front seats, then cable ties it on.
Big reveal: The end result. Note how neatly the cage fits, thanks to careful trimming and fitting. Such neatness reflects the time and care put into the job for a great result.
Like to have your own Land Rover library?
Try our All-Access Digital Subscription. You'll get access to over 7 years of Land Rover Monthly – that’s more than 100 issues plus the latest digital issue. All issues are fully searchable so you can easily find what you are looking for and what’s more it’s less than 10p a day to subscribe. Click the link above to find out more details and start enjoying all the benefits now.