


01 April 2018
|
 A specialist windscreen fitting company will make the job look easy
: credit: © Dave Barker
A specialist windscreen fitting company will make the job look easy
: credit: © Dave Barker
An electrically-heated windscreen means no more misting up on wet days, no more clearing ice and snow, and no more frozen wipers. Dave Barker explains how it's done
Model: Defender
Time: 4 Hours
Cost: £450 fitted
Difficulty: 2/5 stars
Tools needed: General workshop tools and a specialist windscreen fitting service.
Parts: Oil filter £5 • Air filter £12 • Fuel filter £20.50 • Sump bung £4.50 • 5W30 engine oil £45 • 80W90 gear oil (litre) £25
Contact: MPB 4x4, Unit 2, Holme Mill Ind Est, Holme Mill Lane. Keighley BD22 6BN; Tel: 01535 661203; mpb4x4.co.uk
Work safely: • It’s advisable to wear protective gloves or barrier cream to protect the skin from oils and sharp edges of components, and eye protection as required. • Wear eye protection and suitable protective gloves when handling the windscreen, and be aware of the possibility of it breaking.• Ensure other personnel are clear of the area when removing the old screen.
Once you’ve had a heated windscreen you might never buy a vehicle without one again. In winter, if you’ve got a frozen windscreen, simply turn on the heated screen as you do with a heated rear window and the ice is quickly gone – no more cans of de-icer are needed. Or if the windscreen is misted-up, a few minutes with the heated screen switched on provides clear vision. If I ever needed to replace the windscreen in a Defender then I would certainly think about fitting a heated version.
The cost difference between a heated and a standard screen is not that great, and the Britpart fitting kit used here makes the wiring easy because the cables, connections, relay and switch are supplied in the kit. This kit also comes with an OEM Land Rover-style switch which fits directly into the centre console on the 2002-onward Td5 Defender. A kit, DA1400, is also available for other Defender models and is supplied with a Carling Contura switch. The wiring kit is straightforward as to what should be connected to where, but it leaves it to you to decide where to run the wiring loom.
Running wiring between the battery/fuse box and the dash and the windscreen is not always straightforward and care is needed when running wiring under rubber mats, and so on.
The Defender windscreen with its traditional rubber seal is not the most complicated or difficult screen to fit, especially compared to a bonded windscreen or the type fitted in most modern cars. To do the windscreen swap yourself, you need to be confident you can both remove the existing windscreen, and fit the new heated windscreen, otherwise it’s advisable to use a specialist windscreen fitting company, and most will come out and fit a windscreen that you have supplied yourself. To be honest, they make fitting a windscreen look easy, and the job costs less than the cost of buying a second windscreen if you crack it while fitting.
Fitting the electrical kit

Step 1: The Britpart heated screen wiring kit, DA1401, (with OEM Land Rover switch for 2002–15 vehicles) includes cables, connectors and relays.
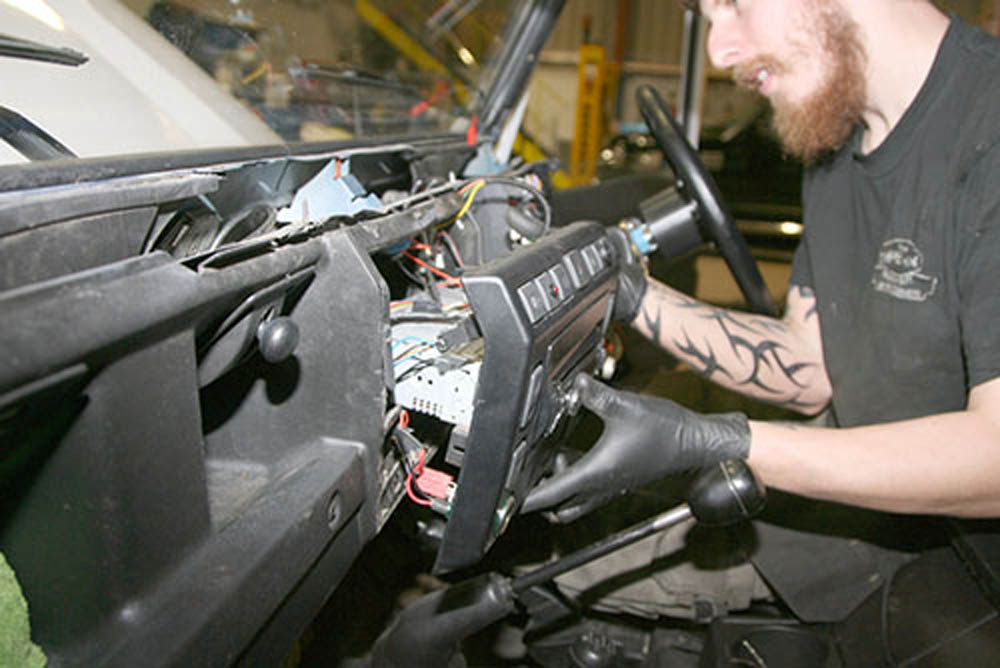
Step 2: To fit the wiring and to remove and replace the windscreen, sections of the dash top panel need removing, starting by removing the instruments.

Step 3: Unscrew and remove the retaining screws, then lift out both of the windscreen demister vents from the dash top panel.
Step 4: Next, unscrew and remove from the ends of the dash top panel, the panel end facia and the dash top end grab handle panel.
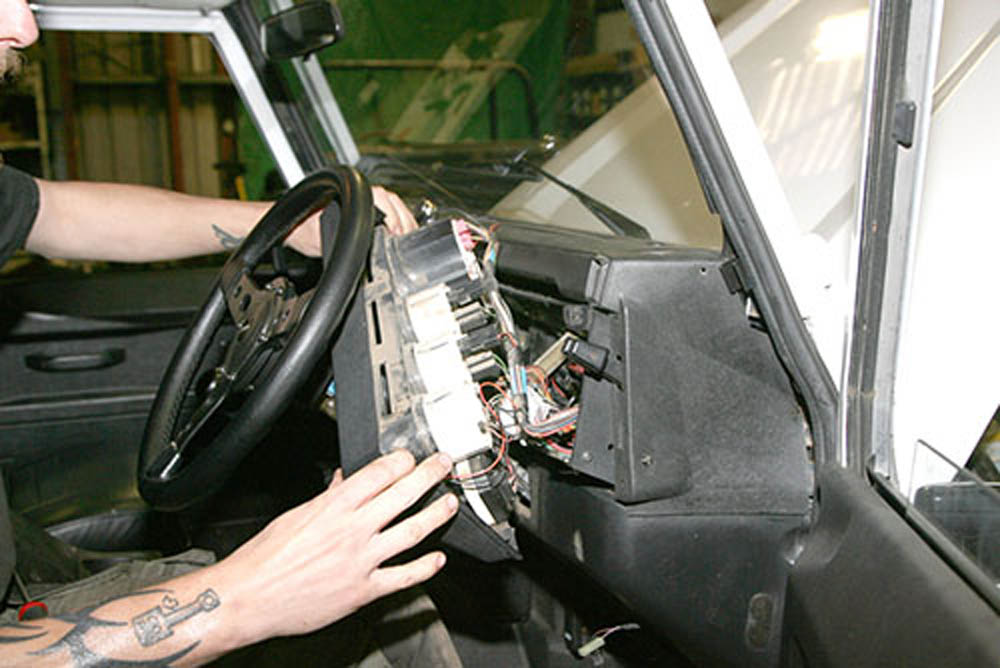
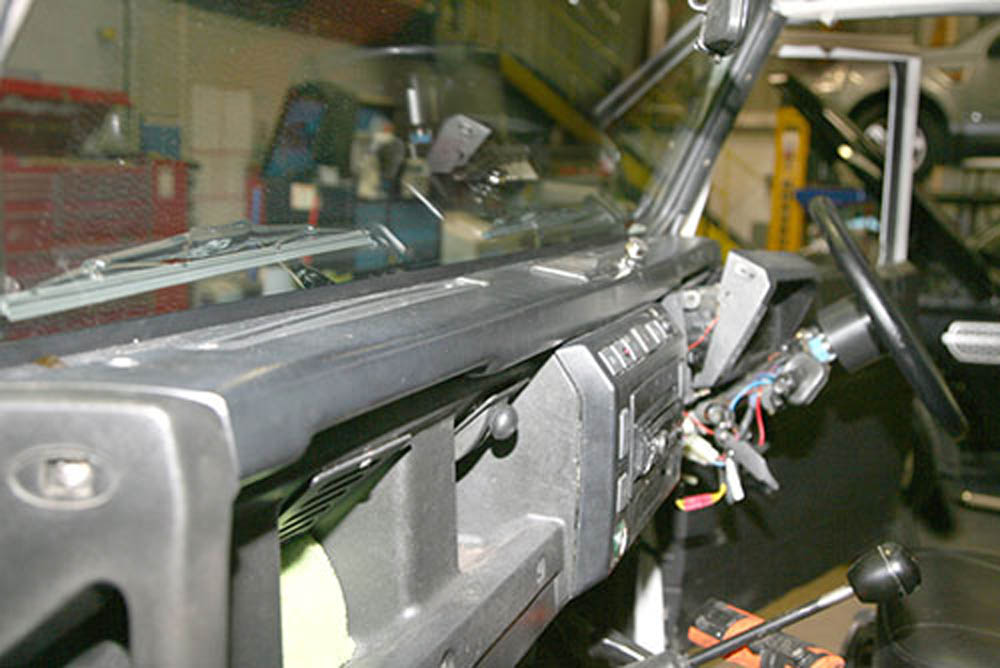
Step 5: With the instrument panel and the facia ends now removed, unscrew the retaining screw then unclip and lift out the dash top panel assembly.

Step 6: Unscrew the three top and two lower screws holding the Td5 centre instrument/switch console in position to the bulkhead, and release it.
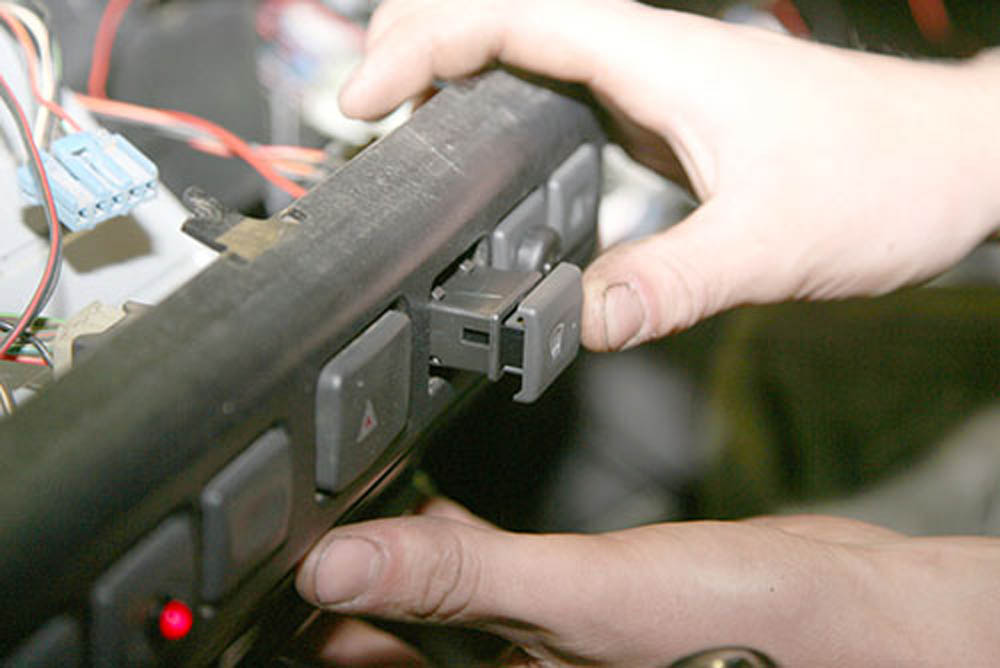
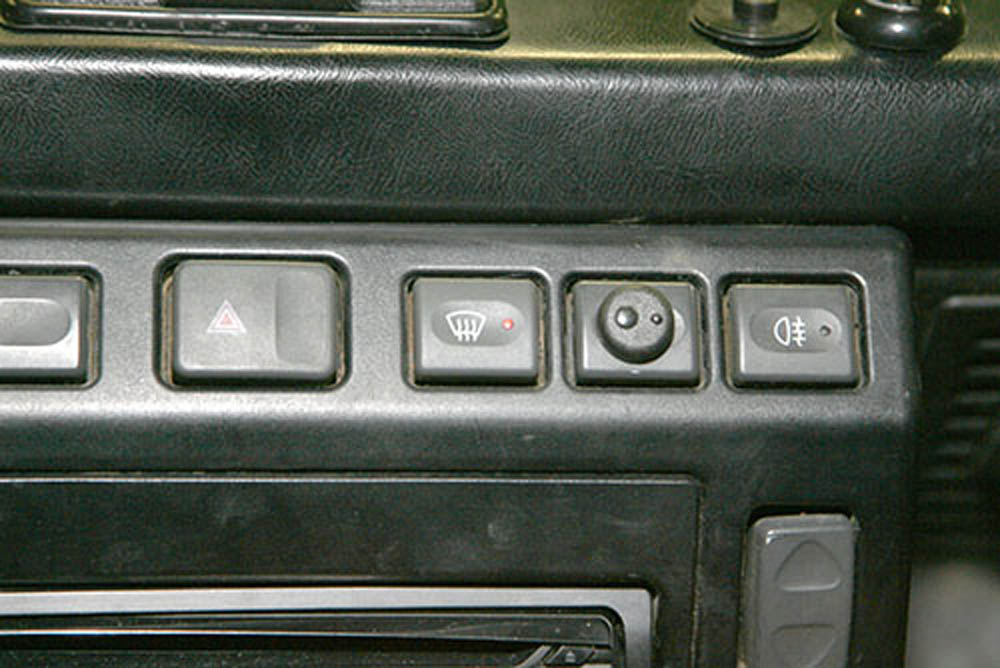
Step 7: With the console freed, push fit the new heated windscreen on/off switch into a spare socket in the console. You may need to push out a blanking plate first.

Step 8: Lift any floor matting and sound deadening from the floor and from around the transmission tunnel, ready to run the wiring loom to the new windscreen.
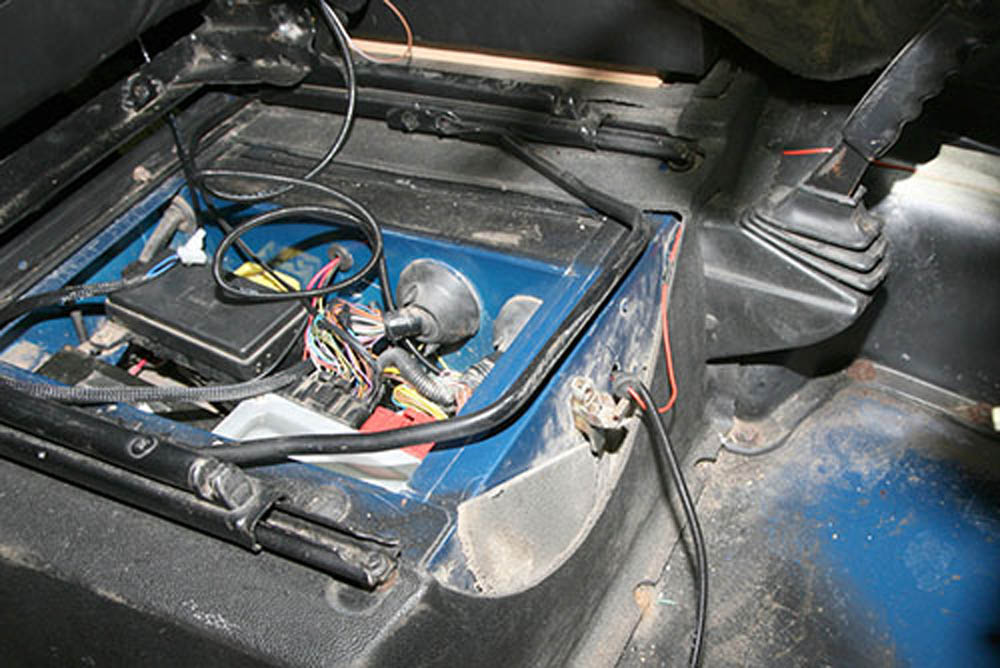
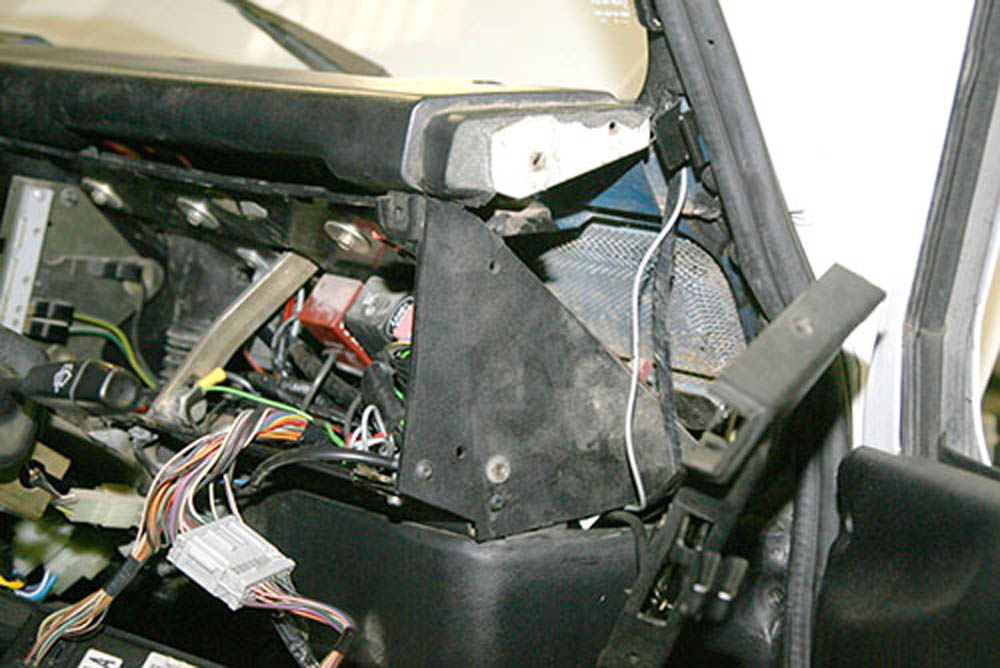
Step 9: Find a suitable route to run the wiring loom to the heated windscreen from a live and ignition supply, then install the wiring loom.
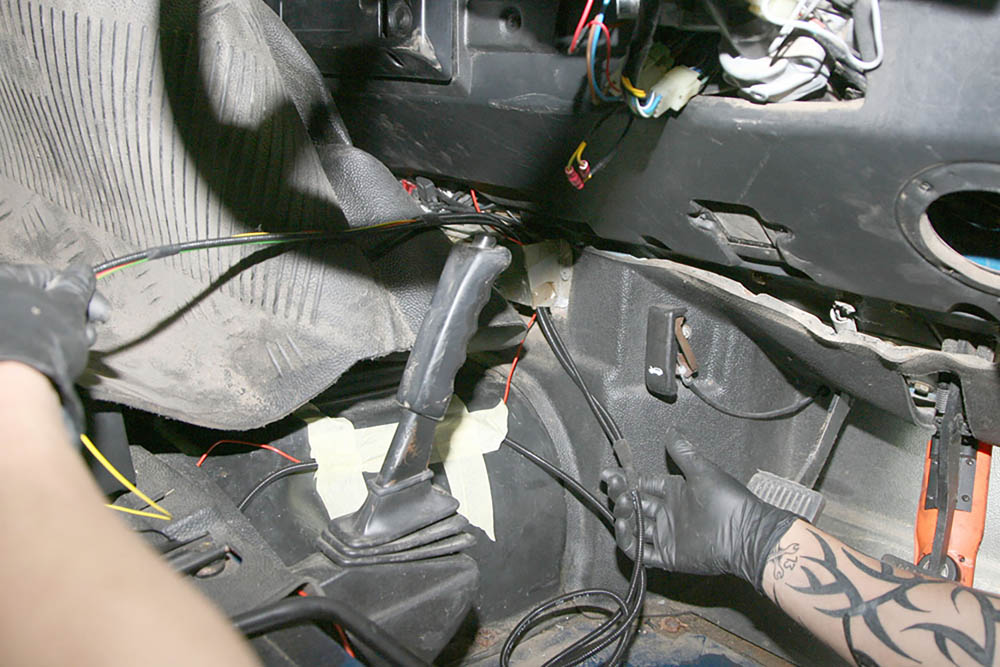
Step 10: Carefully run the heated windscreen wiring loom from under the seat box along the transmission tunnel and then up through the dash.
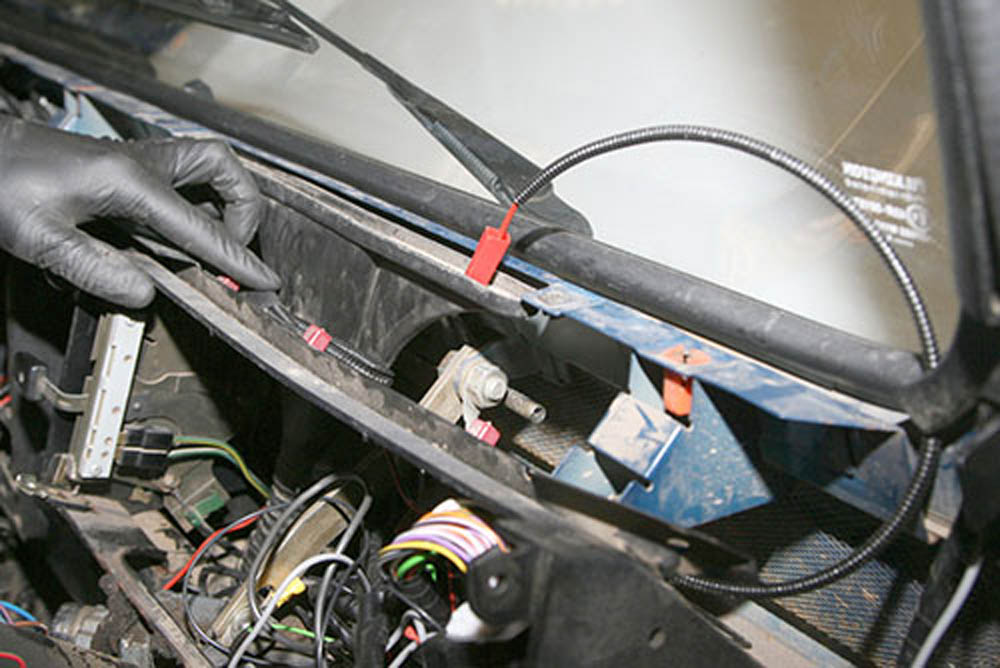
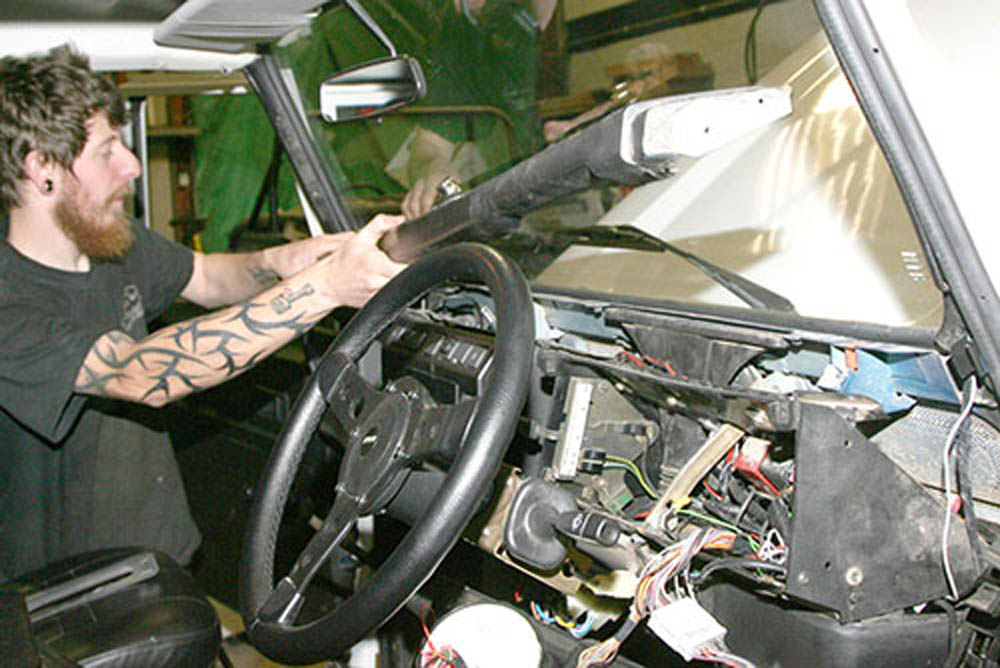
Step 11: The new heated windscreen wiring loom needs to be fed up behind the instruments panel, and from there to both sides of the windscreen.
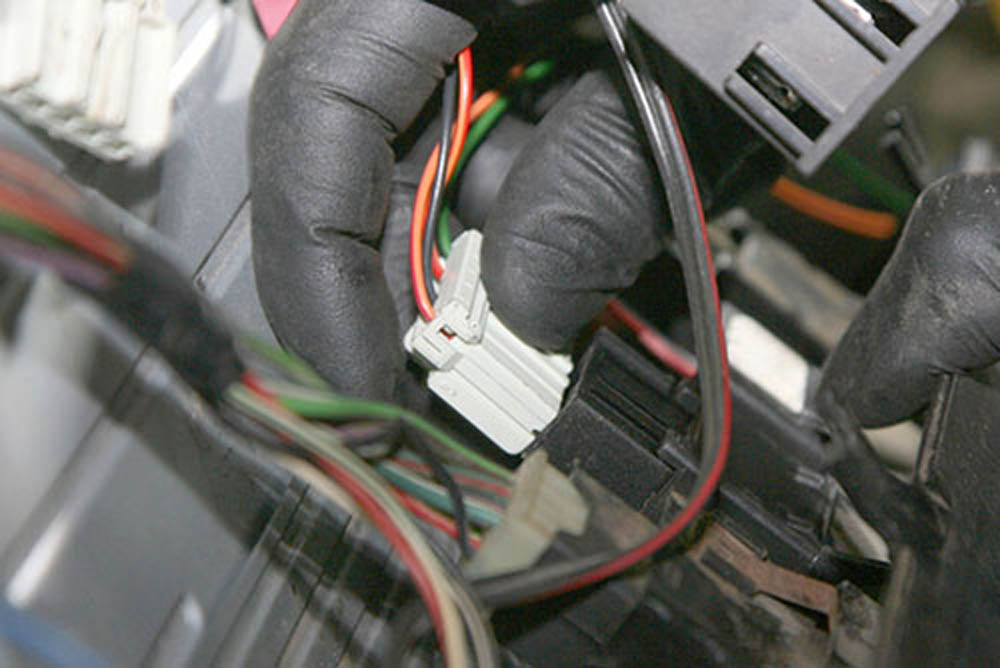
Step 12: A multiplug connection on the new wiring loom needs to be fed along to the instrument/switch console and connected to the new heated screen switch.
Step 13: Once connected, and when the wiring loom is safely routed and not going to be trapped, refit the switch instrument/switch console.

Step 14: With the heated screen wiring loom now installed, the loom and relays need to be fitted and connected in the under seat fuse box.

Step 15: The Britpart heated windscreen wiring kit has a small relay pack, this can be held in position with double sided tape in the fuse box area.
Installing the heated screen
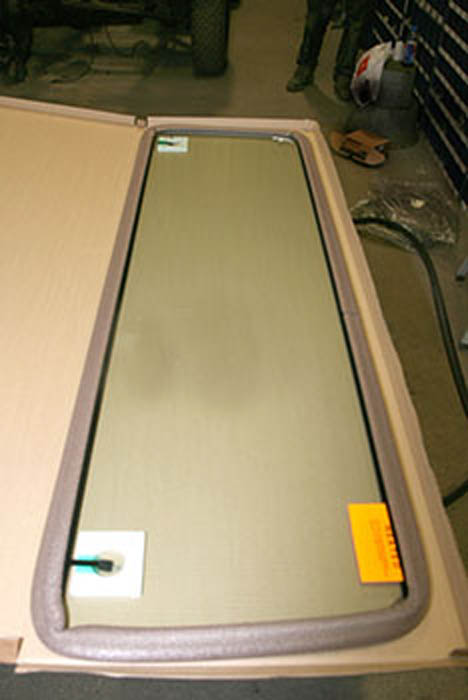
Step 16: The new Defender heated screen is part number LR 042724 (superseded from CMB000411). It is supplied with protective foam edging attached, as shown.
Step 17: To remove the old windscreen start by detaching the windscreen edge plastic trim panels that are held by screws onto both A-posts.
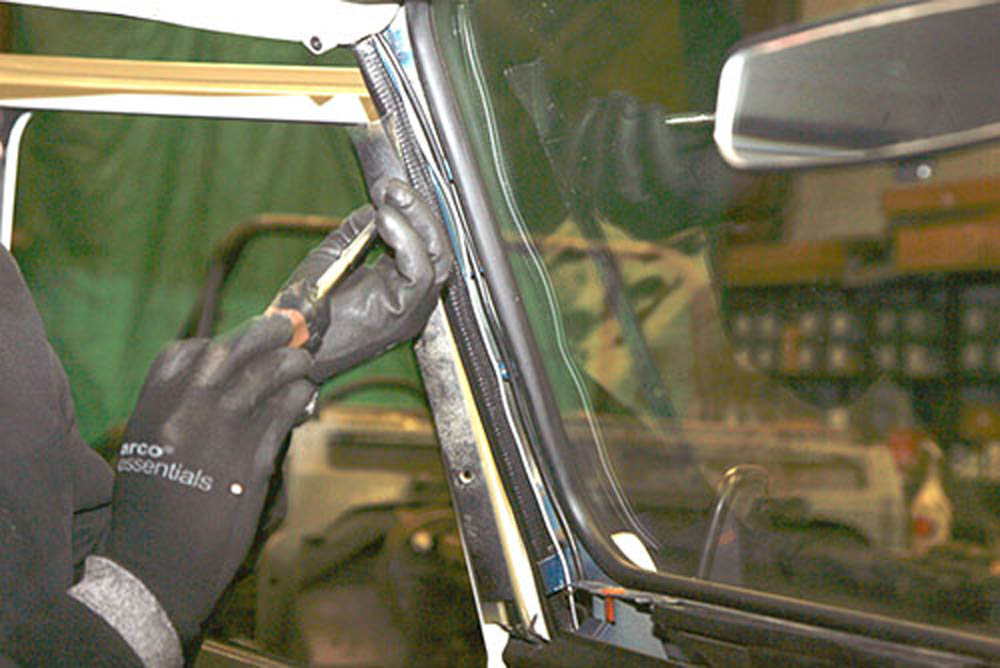
Step 18: As the specialist windscreen fitter applies force to push the windscreen out, he also releases the rubber windscreen seal from the windscreen frame.

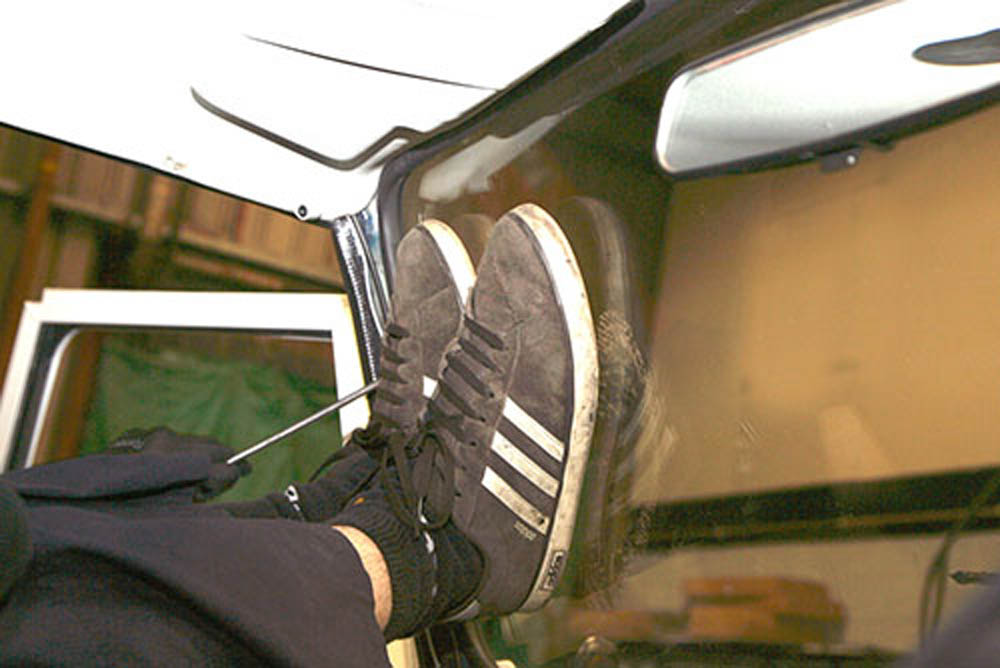
Step 19: As force is gently applied to the screen and the rubber seal is released from around the frame the windscreen with seal is slowly forced out.
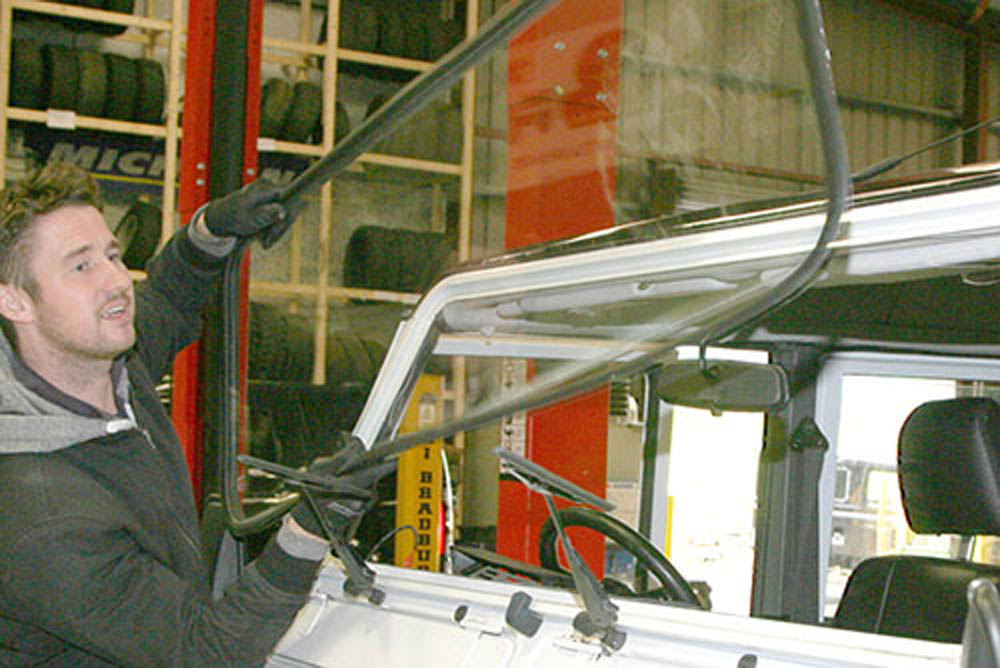
Step 20: Once the rubber seal has been released from all around the windscreen frame, the windscreen and seal can be lifted out.

Step 21: The windscreen rubber is fitted around the new screen. Using the old seal is easier as it’s more supple, but fit new if it is split or damaged.

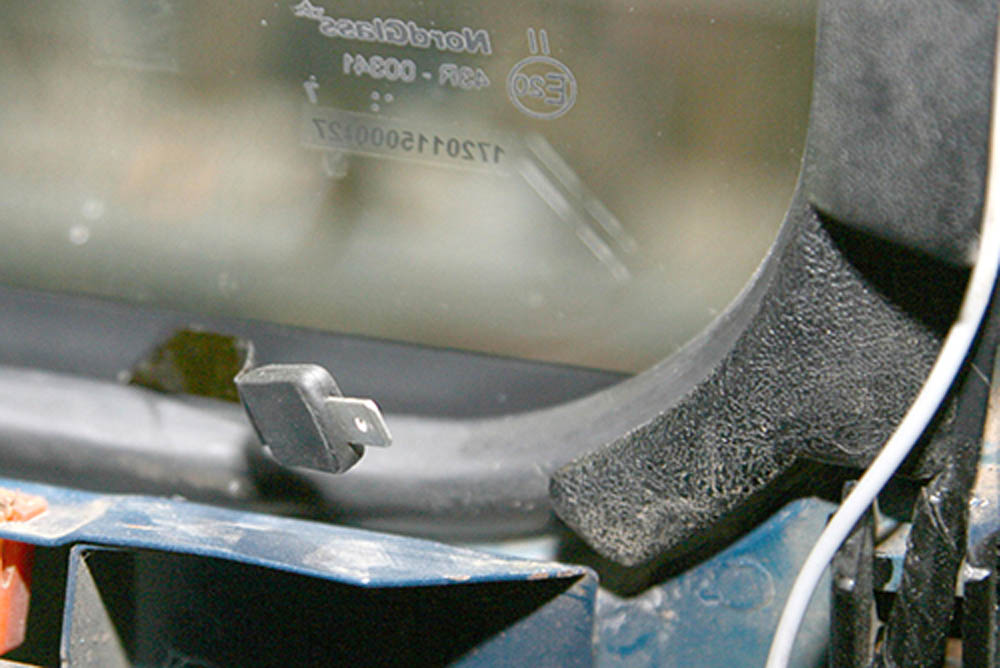
Step 22: Remove labels and the foam protection from around the wiring connections; these are firmly attached and need to be carefully scraped off the glass.
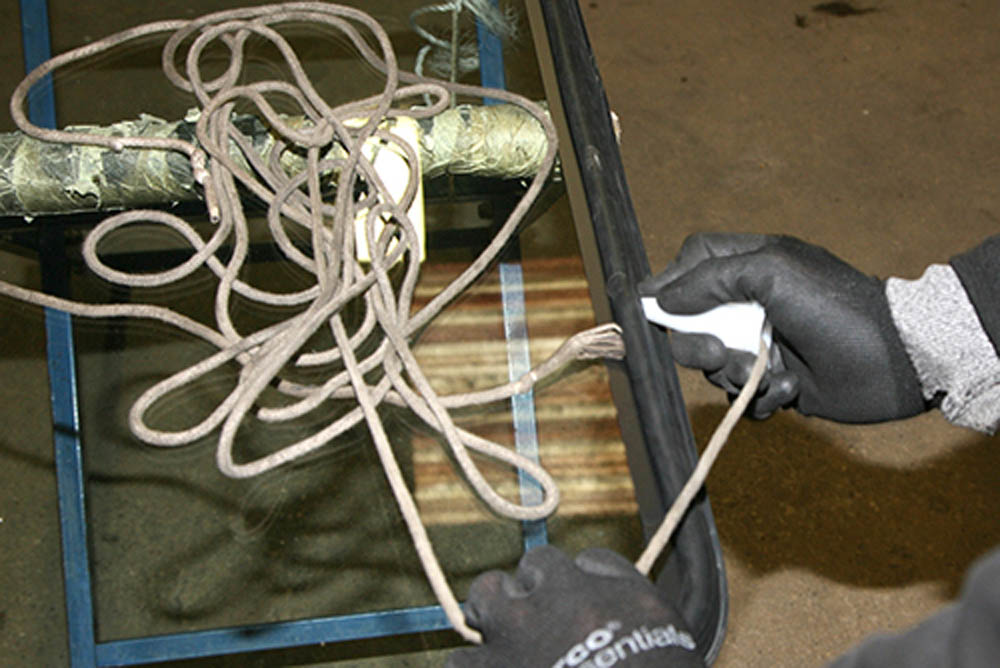
Step 23: A cord is fed into the channel of the seal, to be pulled out as the screen is fitted, drawing the lip of the seal over the frame.

Step 24: The new heated windscreen is offered up onto the Defender and carefully fitted into position into the windscreen frame.

Step 25: Gentle pressure is applied to the windscreen as the cord is pulled out along the seal, forcing the seal edge over the frame.
Step 26: Before the new heated windscreen is fully in position, checks are made that the wiring connections are free and not trapped in the seal.

Step 27: With the screen fully in position, the wiring loom connectors are coupled up to the heated screen’s wiring connectors at each end.

Step 28: Check and (if needed) re-position the heated screen wiring connections and loom, to ensure they’re clear of the dash top panel when fitted.
Step 29: Refit the dash top panel, demister vents and the end panel facia and grab handle panel, along with the instruments panel console
Step 30: Connect the live cables to the heated screen wiring loom, and you now have a fully fitted and working heated front windscreen.
Did you know that you can now get access to the entire archive of Land Rover magazine content with our brand new digital archive? You can enjoy all the issues since the launch of the magazine – use the search bar below to find features, reviews and other great content: