


09 January 2024
|
 Installing easy-access terminals is an easy DIY job
: credit: © Alisdair Cusick
Installing easy-access terminals is an easy DIY job
: credit: © Alisdair Cusick
The battery on a Defender isn’t so simple to reach. Alisdair Cusick reports on a neat solution that takes just a couple of hours to fit
Need to know
Time taken: 2 hours.
Cost: £108 (parts only).
Tools needed: Sockets and spanner set, drill, multimeter, paint pen.
Difficulty: 2 out of 5
Models: 2007-2016 Defenders.
Parts used: Mobile Centre, 25JSPANLKIT02, £108.
Work Safely
• Use the right tool, for the right job.
• Disconnect the battery earth lead before starting work.
• Reconnect the earth lead last, after completing the job.
• Take care to avoid tools and cables accidentally touching battery terminals while working.
• Ensure the vehicle is stable and securely supported before working underneath it.
• Wear eye protection when working under a vehicle.
• Get an expert to do the job, if in any doubt about it.
Thanks to: Ian Baughan at IRB Developments and Tim Consolante from Mobile Centre: irbdevelopments.com; mobilecentre.co.uk.
Unlike many other Land Rovers, the battery on a Defender isn’t conveniently mounted in a corner of the engine bay, but is instead fitted under the nearside front seat. To access the battery means pulling the seat base off, moving the sound-deadening, and then removing the seatbox metal cover. It can be a frustration, particularly as the times we need the battery we’re rarely on the driveway with plenty of spare time, but under pressure wanting to charge the vehicle, or perhaps use it to jump-start another.
There’s a neat solution to the problem that effectively places the battery terminals in a place of your choosing, and takes just a few hours to fit. Anything battery-related needs suitably rated components because of the immediately available current straight from the battery. Mobile Centre’s kit uses 35mm pure copper cable rated to 240A, with terminals rated at 450A, so will comfortably handle even the most demanding use.
When fitted, you have a pair of battery terminals you can then jump start off, charge the vehicle through, or utilise as a power source for accessories without the need to strip any interior to access them. Here, Ian Baughan of IRB Developments walks us through fitting a kit to a 2.4-litre Puma Defender 90.
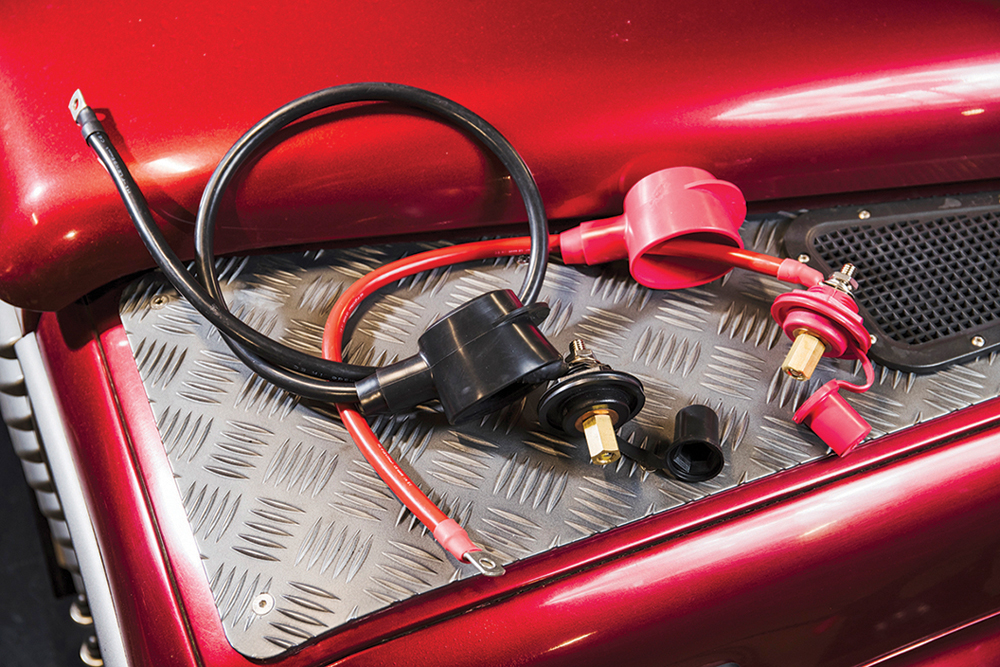
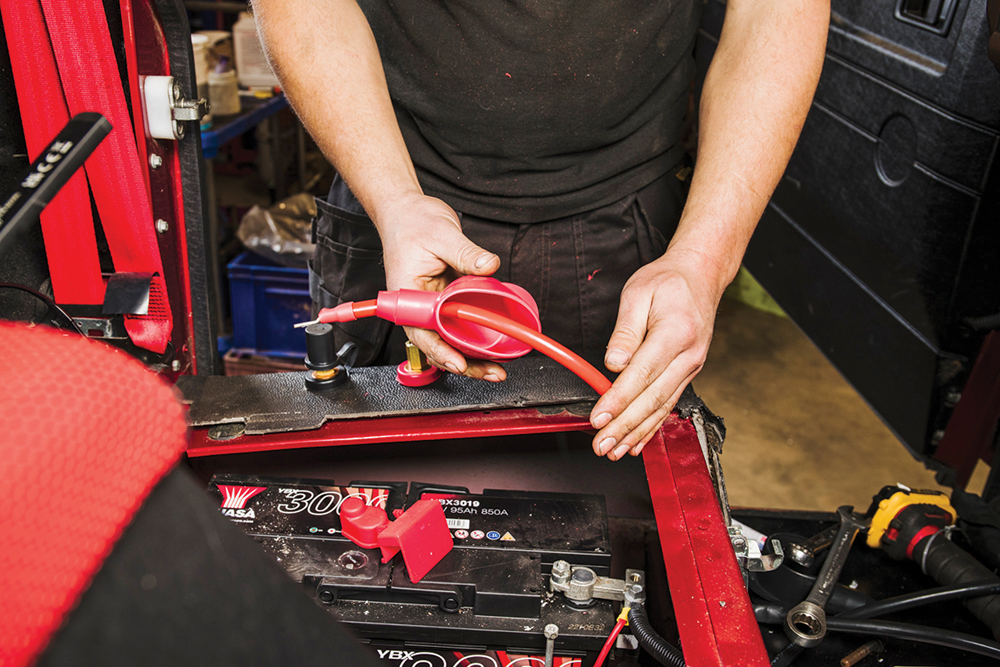
The kit: We simply have two leads to fit. The positive (red) goes straight to the battery positive, the earth (black) is longer and goes to the chassis earth point.
Top tip: Remove the seat completely for improved access. Four bolts, with two washers under each. Clean the threads with a tap if they’re troublesome coming out.
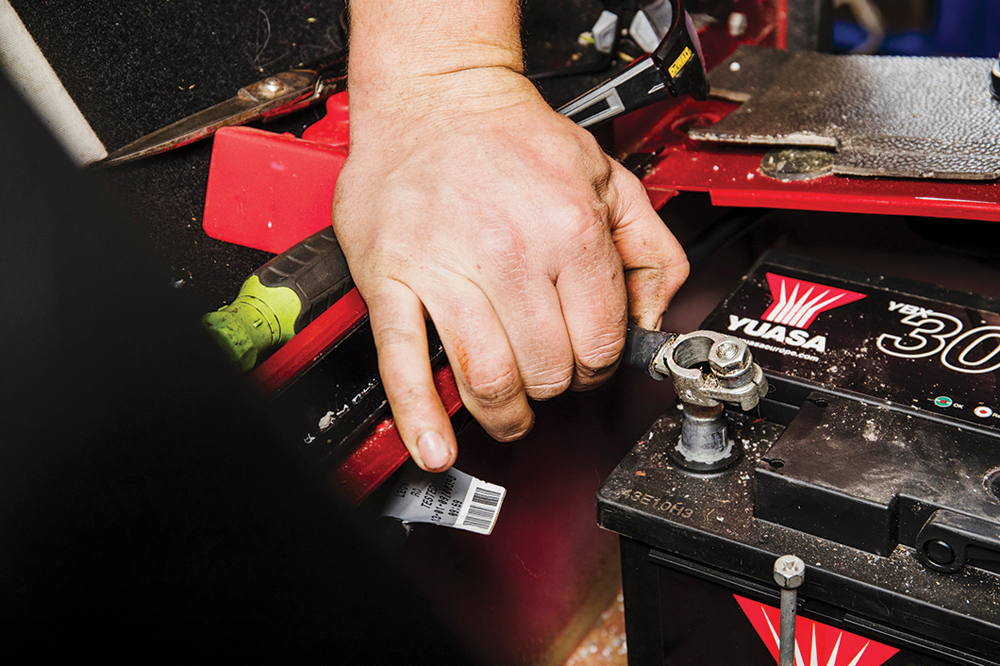
Isolate the car: Remove the battery negative. Often a bit of a courtesy with many jobs Ian does, but vital when working near, or with, the battery as we are today.
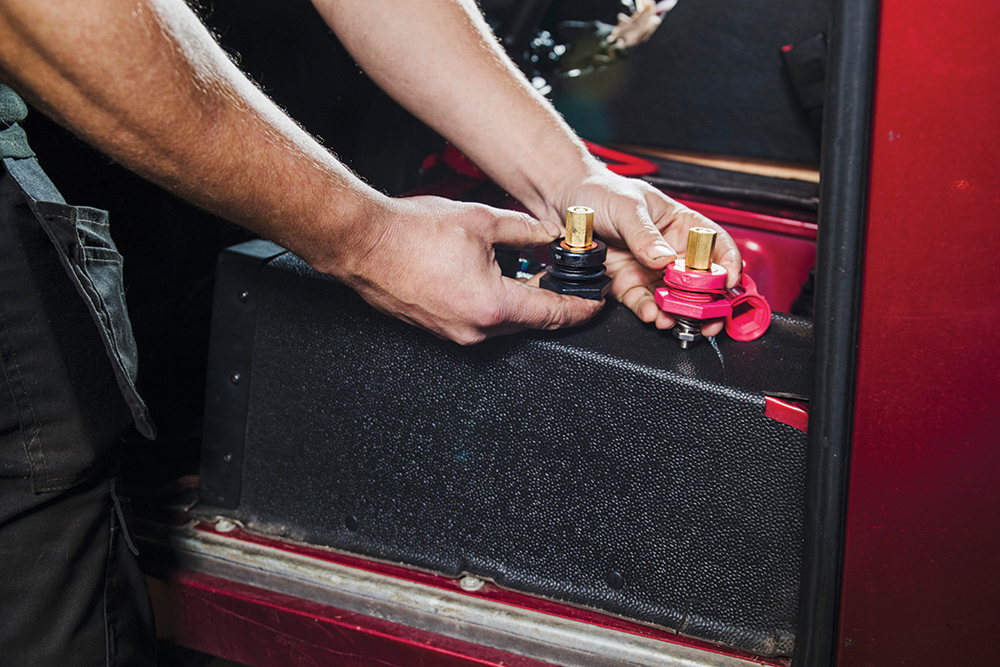
Choices: Decide where the posts will fit. Most common is on the side of the seat base, as they’re then out of the way whilst being easy to access.
Anywhere goes: Alternatively, they can go on the front of the seat box, but they can get caught on feet. Consider carefully what might be best for your intended use.
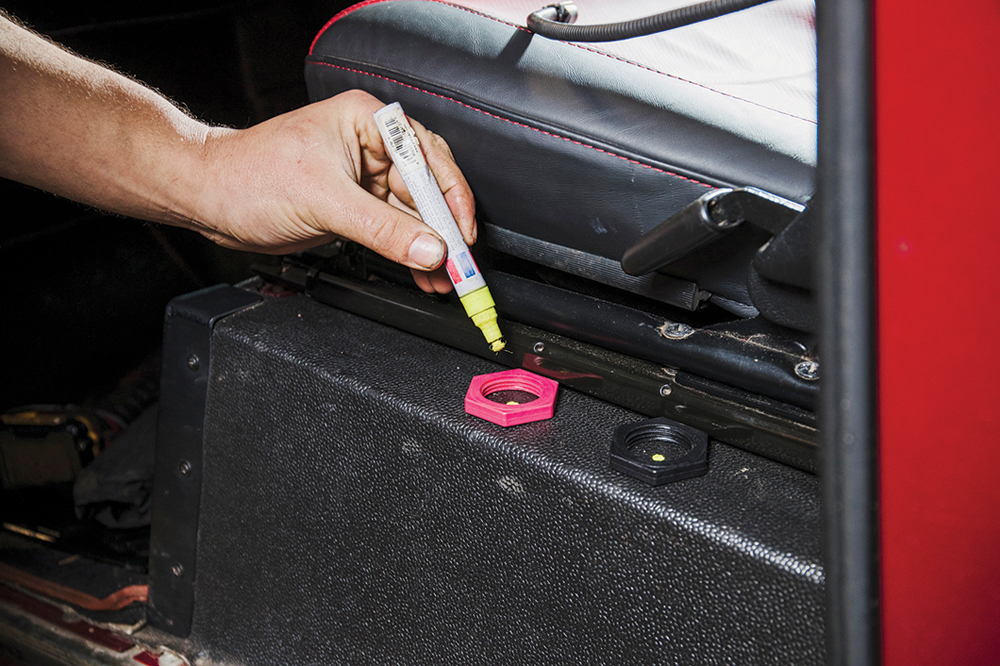
Measure, mark: In this instance we’re mounting on the side of the seat. Mark a position while checking there’s adequate clearance for the seat base, and inside the seat box, too.
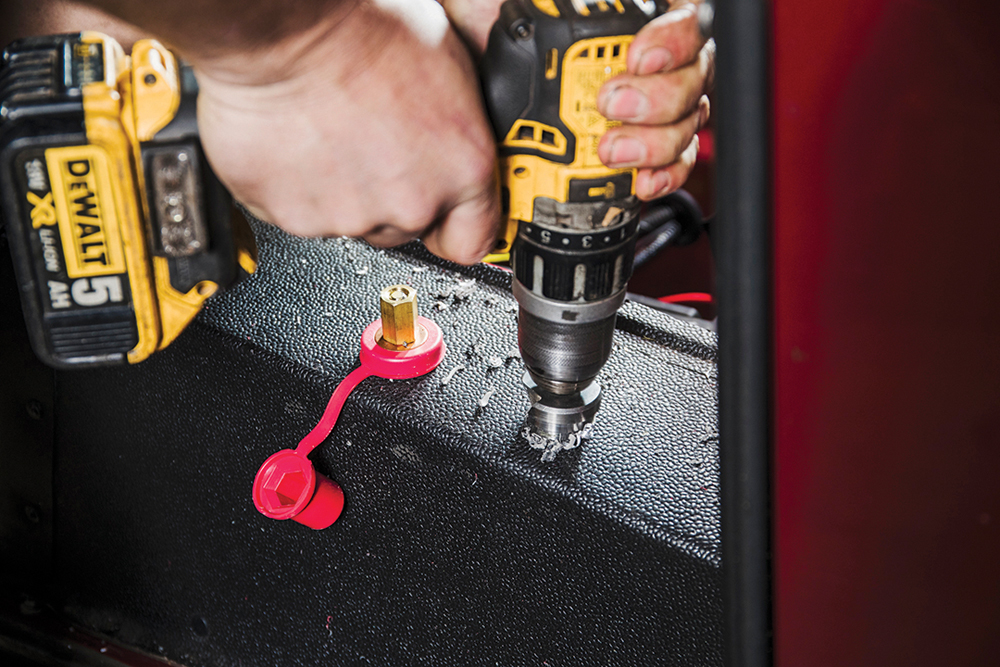
Cut twice: Drill a small pilot hole initially, then enlarge that to accurate size using a step drill to work up gradually. Don’t go oversize, or you’ll have problems.
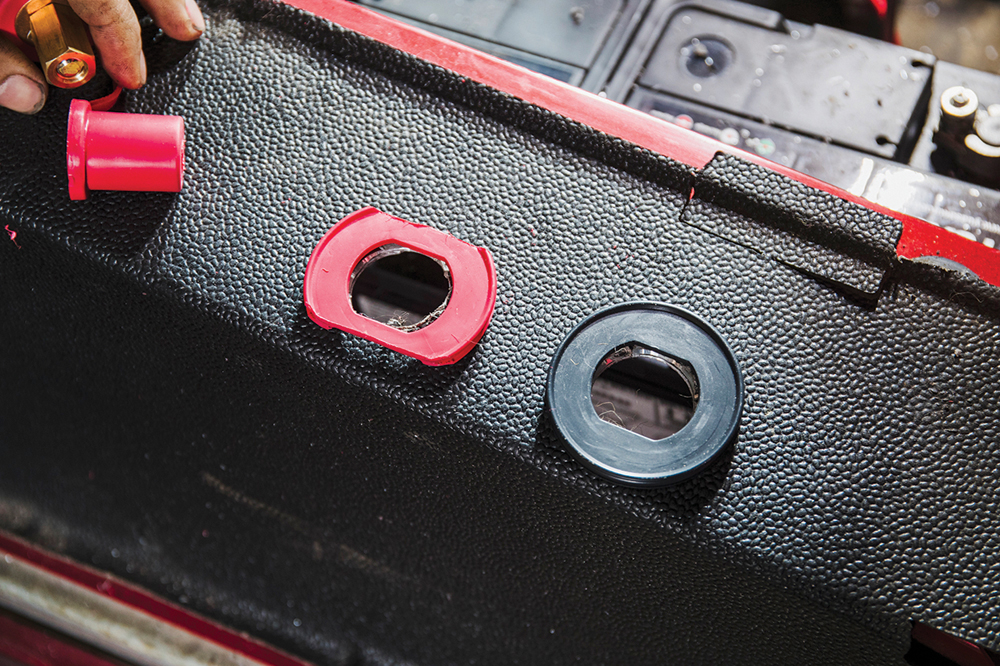
Trim and proper: The terminal’s gland mounts, for inside the seat box, may need trimming, as here. This allows for a seat box bracket that is near the positive terminal, underneath.
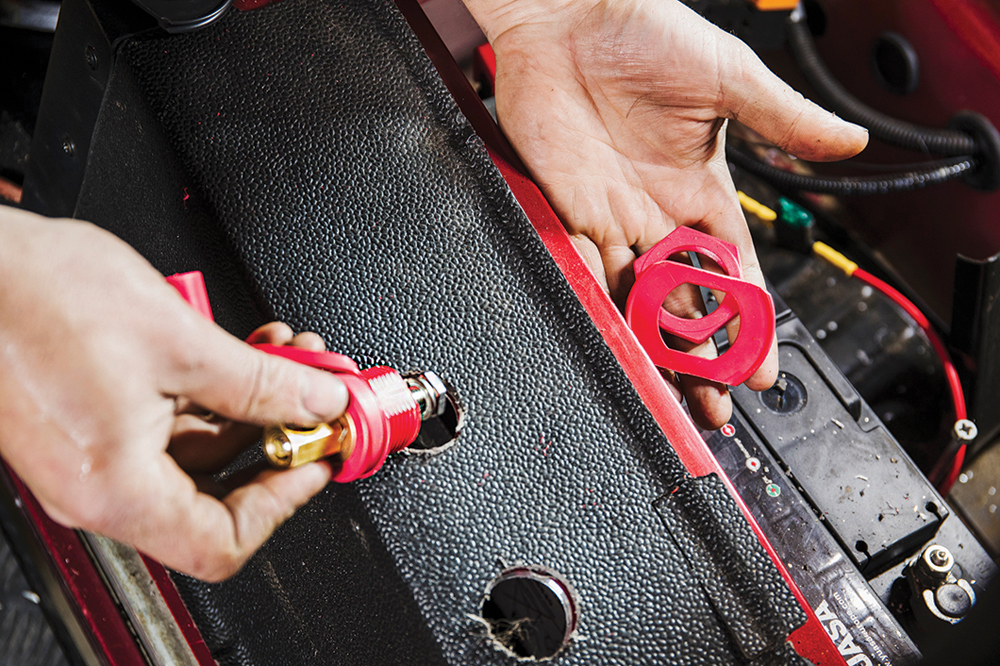
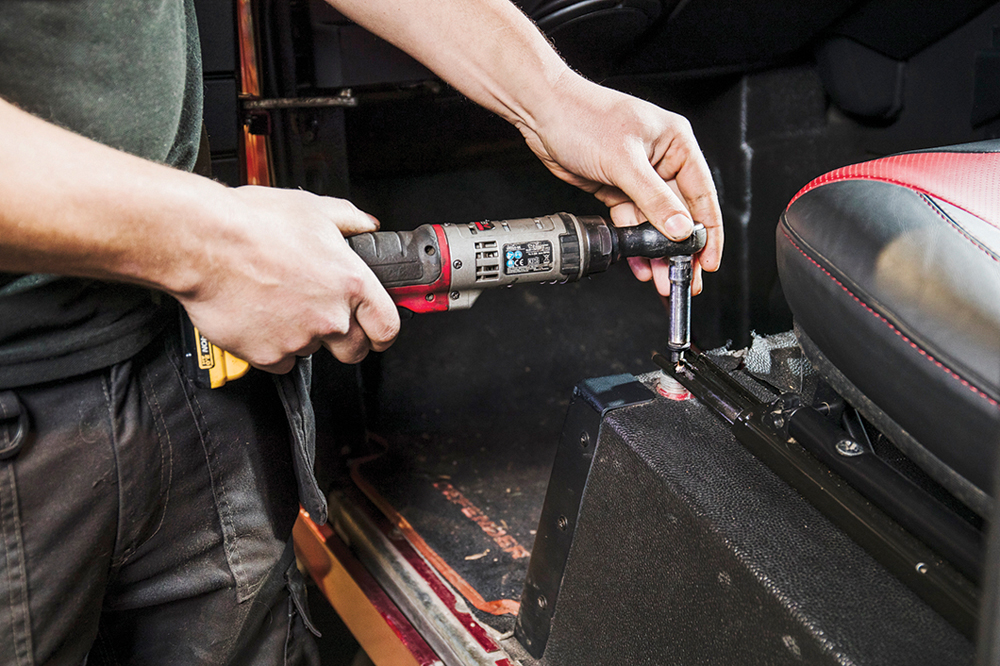
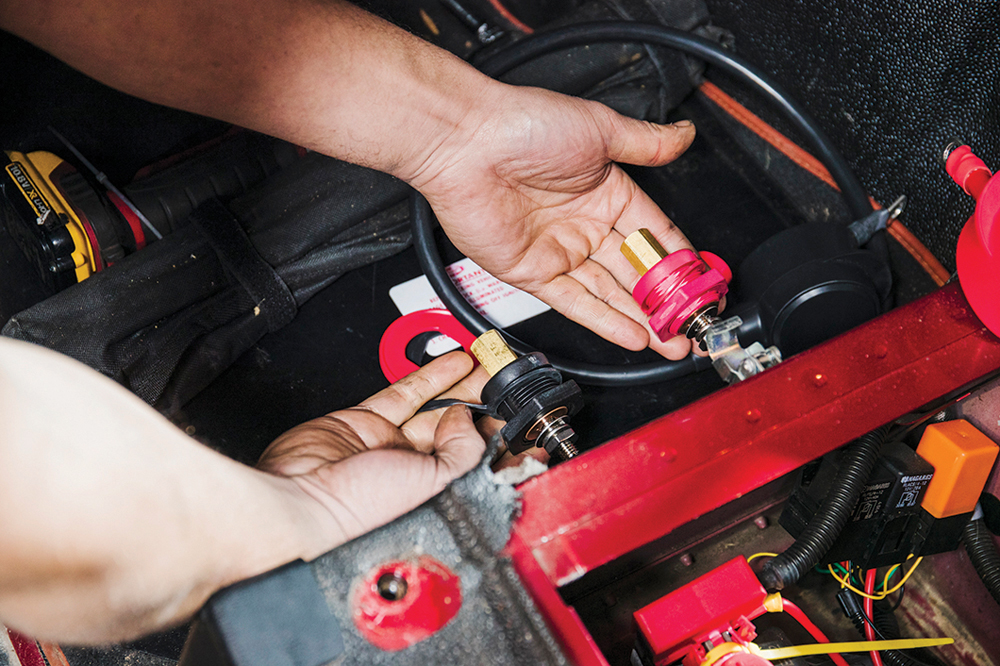
In they go: Mount the terminals with the gland mount and nut underneath in this order. Don’t cross-thread the plastic mounting thread, nor overtighten the plastic nut.
Cables on: The cables are mounted to the terminals under the seat box lip. Then slide on the rubber isolating glands and fit them securely on their terminal mounts.
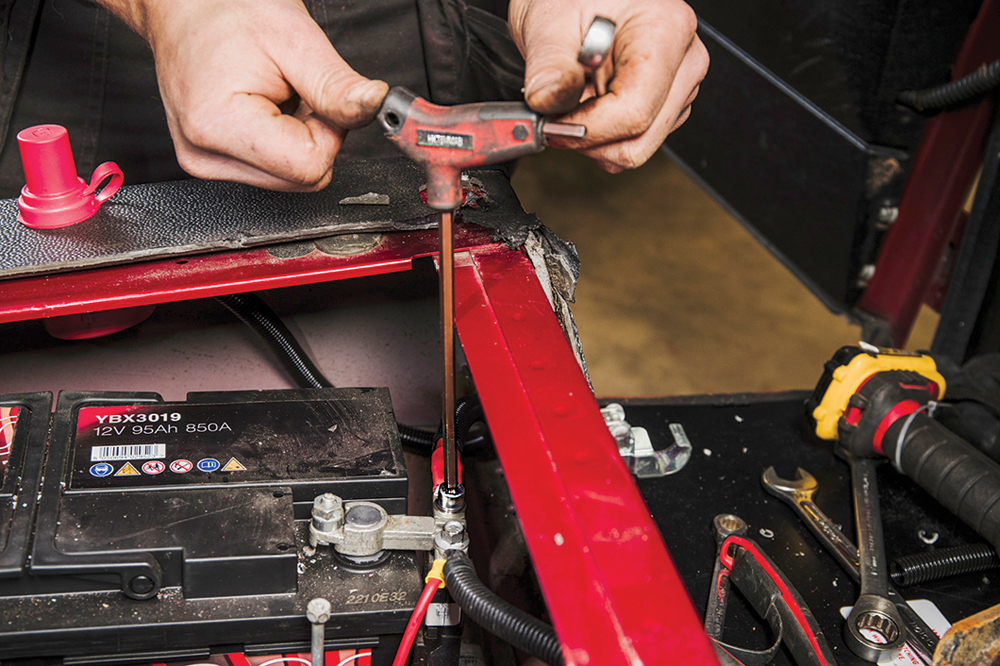
Why a longer earth lead? The factory battery earth clamp (reconnected here) doesn’t permit the mounting of extra feeds. Its fixing is only to close the clamp. Don’t force anything on.

Correct feed point: Instead, feed the earth terminal’s cable through the corner of the seat box, down towards the chassis. This is where the factory earth supply runs, with reason.
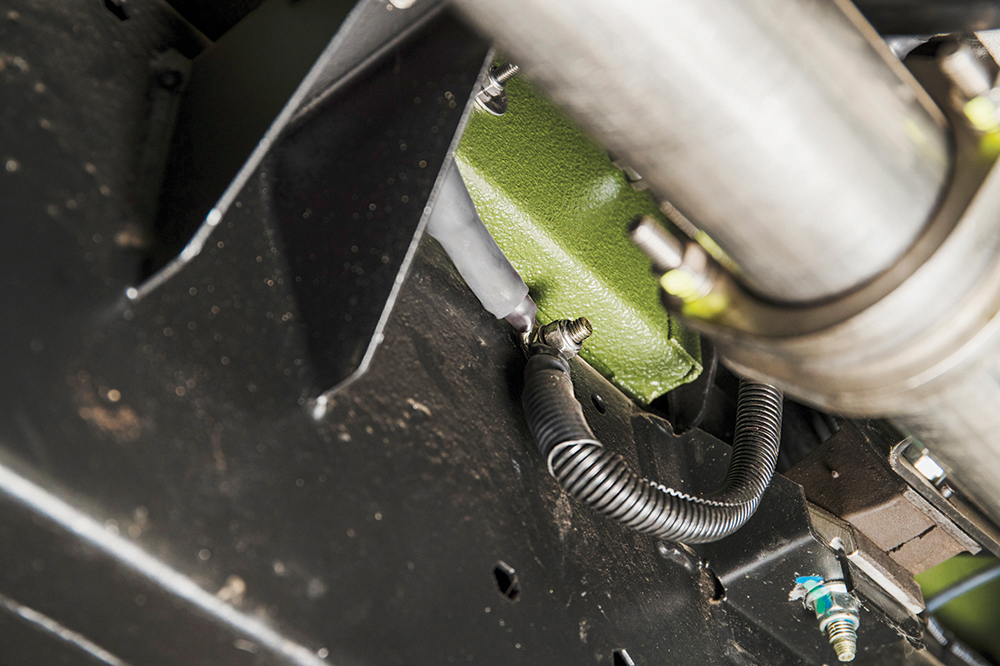
Chassis earth point: The reason is, there’s a factory earth point on the chassis, inboard of the seat box. This is the correct place to pick up an earth supply from. Clean off any corrosion with a wire brush, and fit.
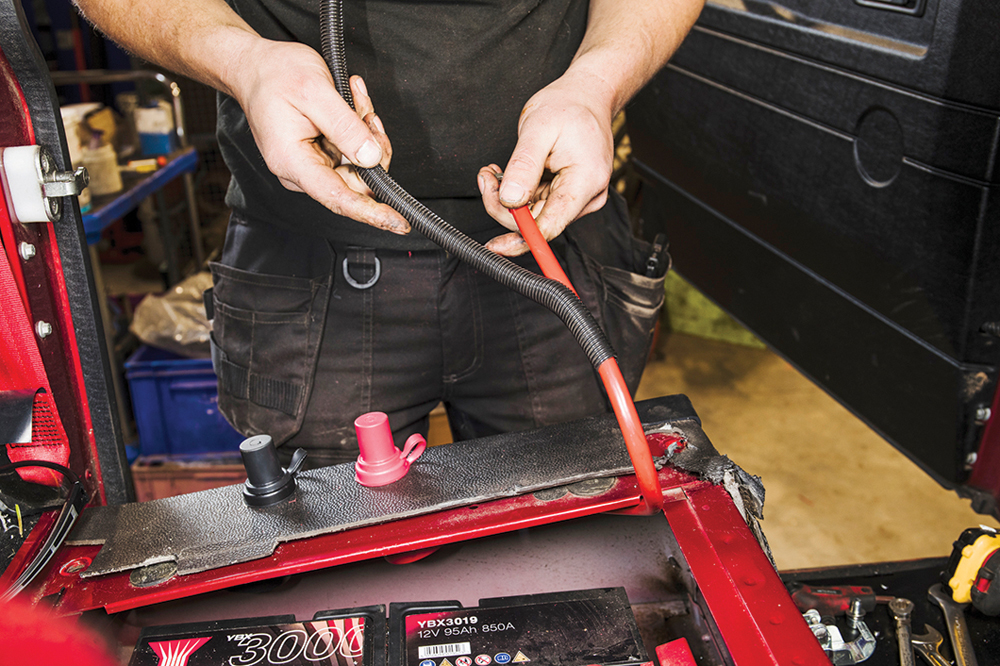
Do the job right: Add flexible conduit over the remote post feeds. This gives mechanical protection which stops the cables rubbing through from vibrations in use, causing a dangerous electrical short.
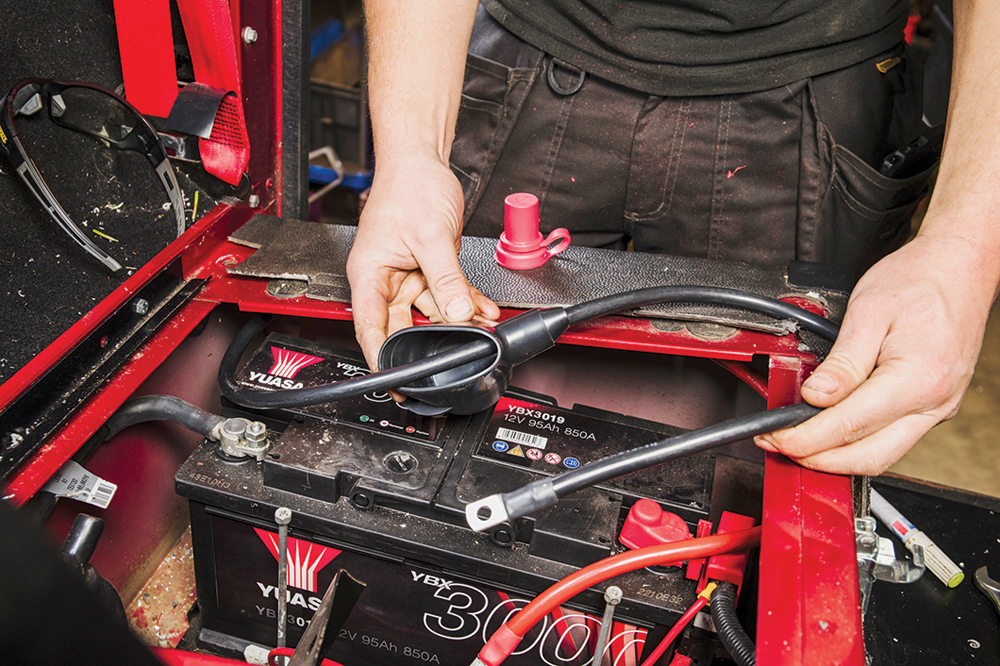
Reconnect the battery: Now connect the positive remote terminal’s feed to the battery terminal. This battery post does have extra mounting threads for auxiliary feeds, so Ian uses one.

Last few jobs: Fit a plastic isolating divider and terminal covers to prevent inadvertent shorts, reconnect the battery’s earth lead, clean out the seat box and refit the seat.
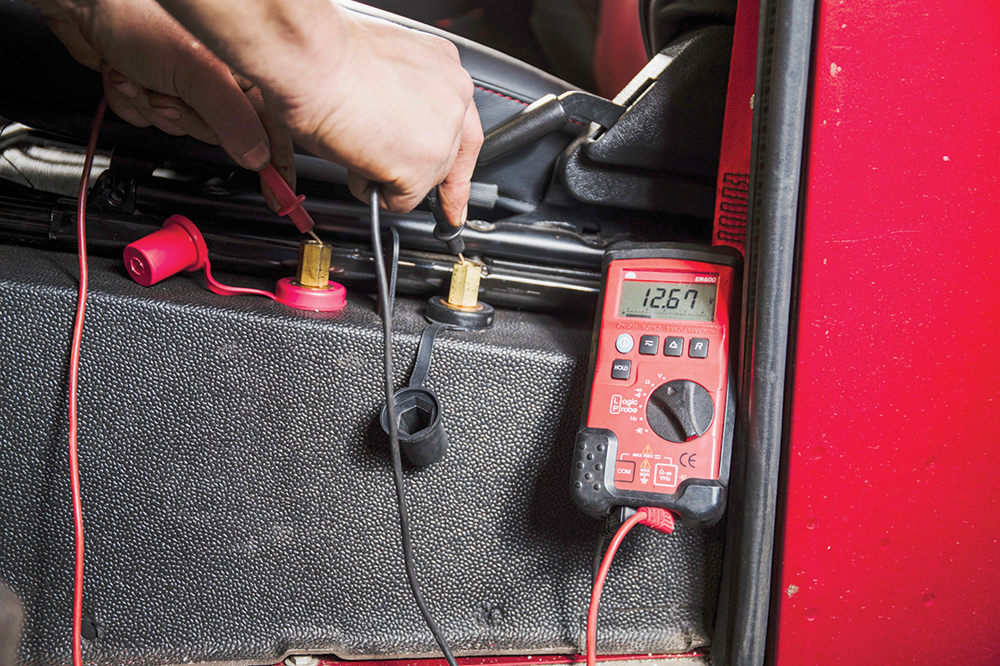
Does it work? To demonstrate, Ian puts a multimeter across the terminals, showing 12 volts. Remember to always refit the isolators after using the posts to prevent accidental shorts.
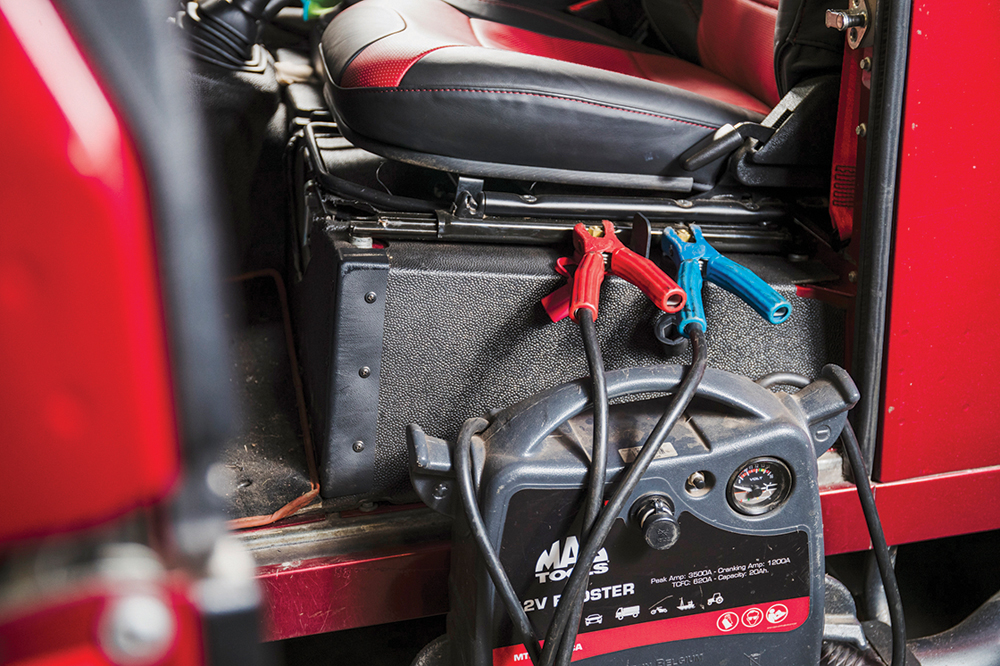
Battery terminals to hand: Jump-start a dead battery by connecting the jump pack or leads to the posts, as here. Or to charge, connect the charger’s crocodile clips to the posts.
Like to have your own Land Rover library?
Try our Budget Digital Subscription. You'll get access to over 7 years of Land Rover Monthly – that’s more than 100 issues plus the latest digital issue. All issues are fully searchable so you can easily find what you are looking for and what’s more it’s less than 10p a day to subscribe. Click here to find out more details and start enjoying all the benefits now.